
Starlink Installers in Waita should assess the property and the customer’s intended use before recommending a mounting and WiFi arrangement. A meeting venue needs coverage where attendees sit and where the presenter works. A Waita organiser should describe typical events and the number of active devices.
This guide focuses on preparing wifi for a meeting venue. It describes a planning scenario for a customer in Waita, rather than a completed local project or a promise that every property has the same requirements.
Start with the right installation brief
Decide whether visitors need only browsing or simultaneous video and uploads. Plan a private route for venue administration and identify any fixed presentation equipment.
Write down the result you expect in practical terms: which rooms must connect, what people will do online and who will operate the equipment. Include existing network hardware in the brief. This helps distinguish work that is essential now from an optional upgrade, and gives different installers a consistent basis for their quotations.
What to ask Starlink installers in Waita
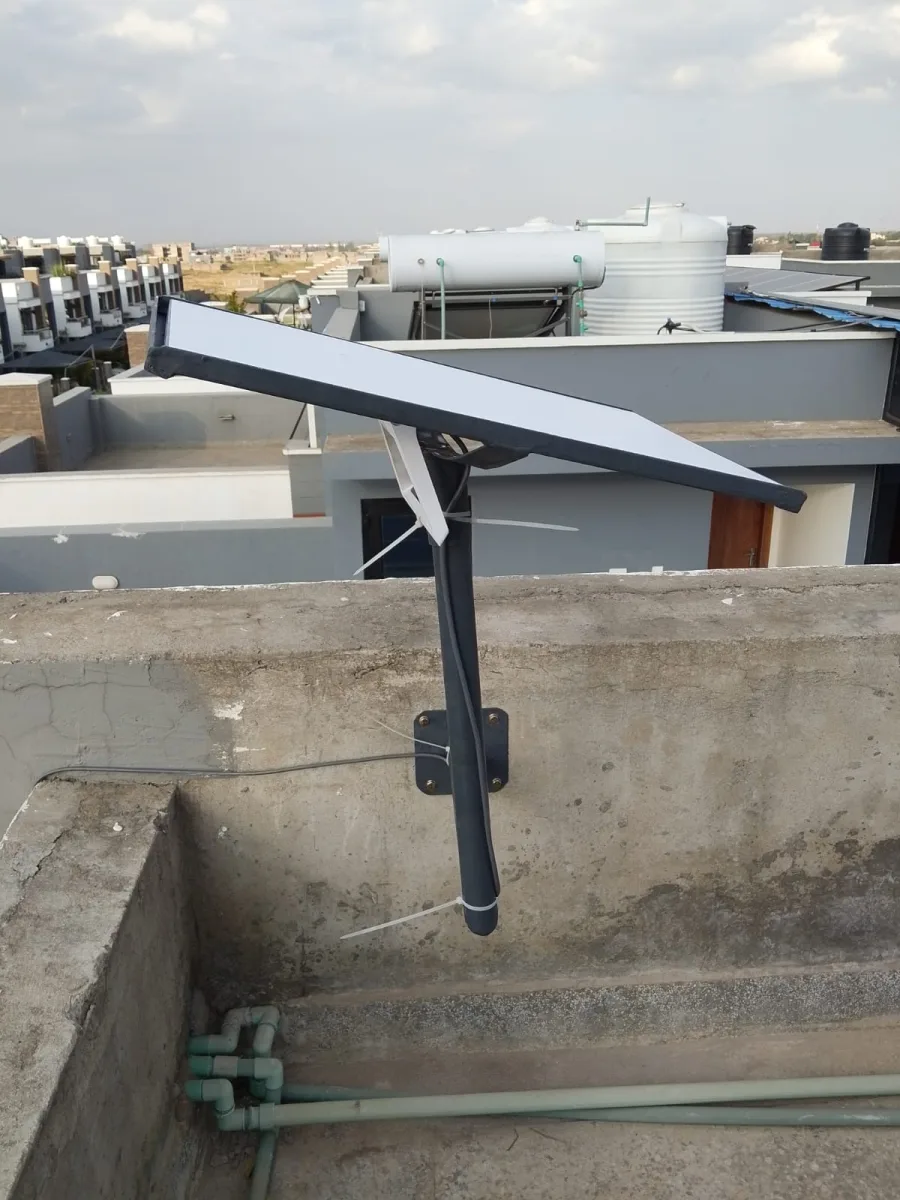
Ask the installer to explain the proposed dish position, the route into the building and the indoor coverage design as separate decisions. Starlink recommends checking the sky view with its app before installation. Follow the instructions for your specific kit model; accessories and installation details should not be assumed interchangeable.
Use the official obstruction-checking guidance when discussing the survey. A photograph of an open yard cannot replace an assessment from the proposed dish position. The quoted mount should also suit the building and allow an agreed cable route.
Compare the full scope and ongoing costs
Request an itemised written quotation showing hardware, labour, mounting materials, travel and any network extension. Confirm whether account setup assistance is included, who pays the subscription and whether electrical work or backup power is outside the price. Ask how a change discovered during the survey will be approved.
Check current service availability and the applicable plan directly with Starlink for the intended address. Prices and plan conditions can change. Avoid accepting an installation quote as a guarantee of a particular speed, uninterrupted service or suitability for every application.
Test the result before handover
Run a sample meeting before the first important event. Test the presenter connection and several attendee positions, then document how visitor credentials are distributed.
Keep a record of the installed models, agreed coverage areas and support contact. The customer should retain control of the service account. Ask for a demonstration of normal checks and safe restart procedures, and clarify when a fault should go to the installer versus the service provider.
Common booking questions
Can the installer quote before visiting?
Photographs and a property description can support an initial estimate. Ask which assumptions require a site check, including safe mounting access, cable length and indoor coverage. A useful estimate identifies those assumptions rather than hiding them inside a single total.
Does installation include WiFi in every room?
Only if that coverage is included in the agreed design. The dish connects the property to the service, while routers and access points distribute the connection locally. Specify the rooms before work begins and test those rooms before signing off.
Request a site-specific quotation
To discuss starlink installers in waita, contact SpaceKits with your location, property type, kit status and the rooms or buildings you want connected. Ask SpaceKits to confirm visit availability, the proposed scope and the written price for your particular site before booking.
Call or WhatsApp +254742648998. Include the main requirement from this guide so the conversation starts with the job you need completed. SpaceKits installation assistance and Starlink’s subscription service are separate parts of the purchase.
7 smart checks before booking
Use these seven checks when comparing starlink installers in waita. Keep the answers with your quotation so the agreed work can be reviewed at handover.
- Property: confirm the exact address, access arrangements and the person authorised to approve work.
- Equipment: identify the kit model and every accessory the installer will supply or reuse.
- Mount: request the proposed position and the survey findings supporting it.
- Cable route: agree the building entry point and how the route will be protected.
- Coverage: list the rooms and devices included in the installation tests.
- Price: separate installation charges, recurring subscription costs and optional additions.
- Handover: obtain equipment records, support details and the results of the agreed checks.
For related locations and wider site planning, see the Kitui County installation guide. Ask starlink installers in waita to explain any difference between the initial estimate and the final scope before work proceeds.
A worked planning example for Waita
Consider a meeting venue with a presenter and attendees. This is an illustrative buying situation, not a report of work at a named customer property. The useful question for Starlink Installers in Waita is how the proposed installation serves the presentation point and representative seats.
The main planning risk is that the demonstration does not resemble a real event. Address it in the written brief before comparing prices. The installer should explain which parts of the proposal resolve that issue, what information still needs a site visit and which assumptions could change the final cost.
A practical acceptance approach is to run a practice session before the first important meeting. Keep the result with the quotation, equipment list and site photographs. If a different property in Waita has different needs, change the test accordingly; a copied checklist should not replace the actual user’s requirements.
A practical survey brief before anyone climbs onto the roof
Start your discussion with Starlink Installers in Waita by describing the property in a way someone unfamiliar with it can understand. A useful brief identifies the entrance, occupied buildings, roof access arrangements, router location and the rooms where internet is essential. Photograph the building from safe ground-level positions and explain any locked gates, restricted working hours or landlord approvals. Do not climb onto a roof to obtain a photograph for a quotation.
Separate what you know from what the installer must assess. You may know where the office desk is, but the installer still needs to judge the mounting position and route. Mark uncertain measurements as estimates. This prevents an approximate cable distance from becoming an assumed fixed requirement on the day of installation.
Arrange a named decision-maker for the visit. If the person paying is away, agree who may authorise the position of a bracket or a change in scope. A short written brief is useful for a family property as well as a business: it reduces conflicting instructions when several people are involved.
Compare feasible mounting positions, not just mounting height
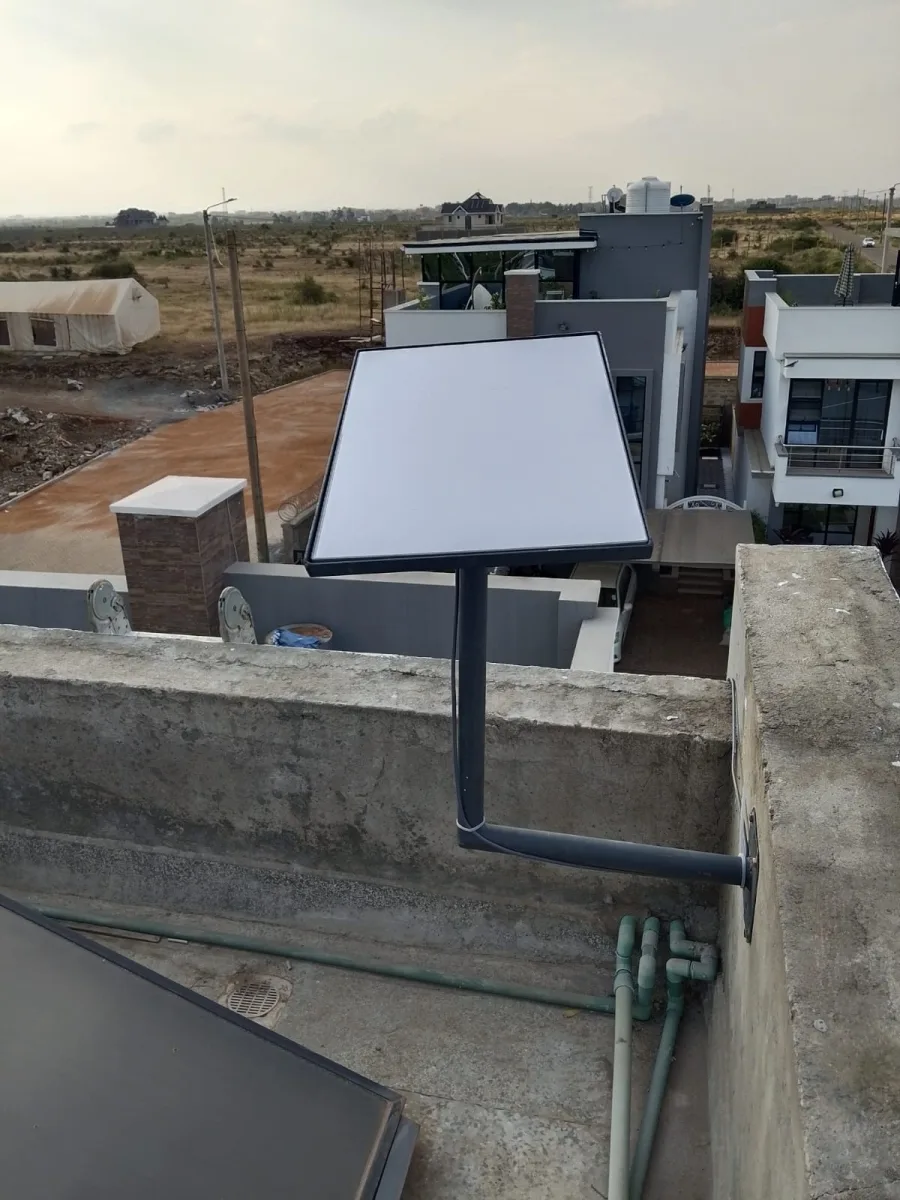
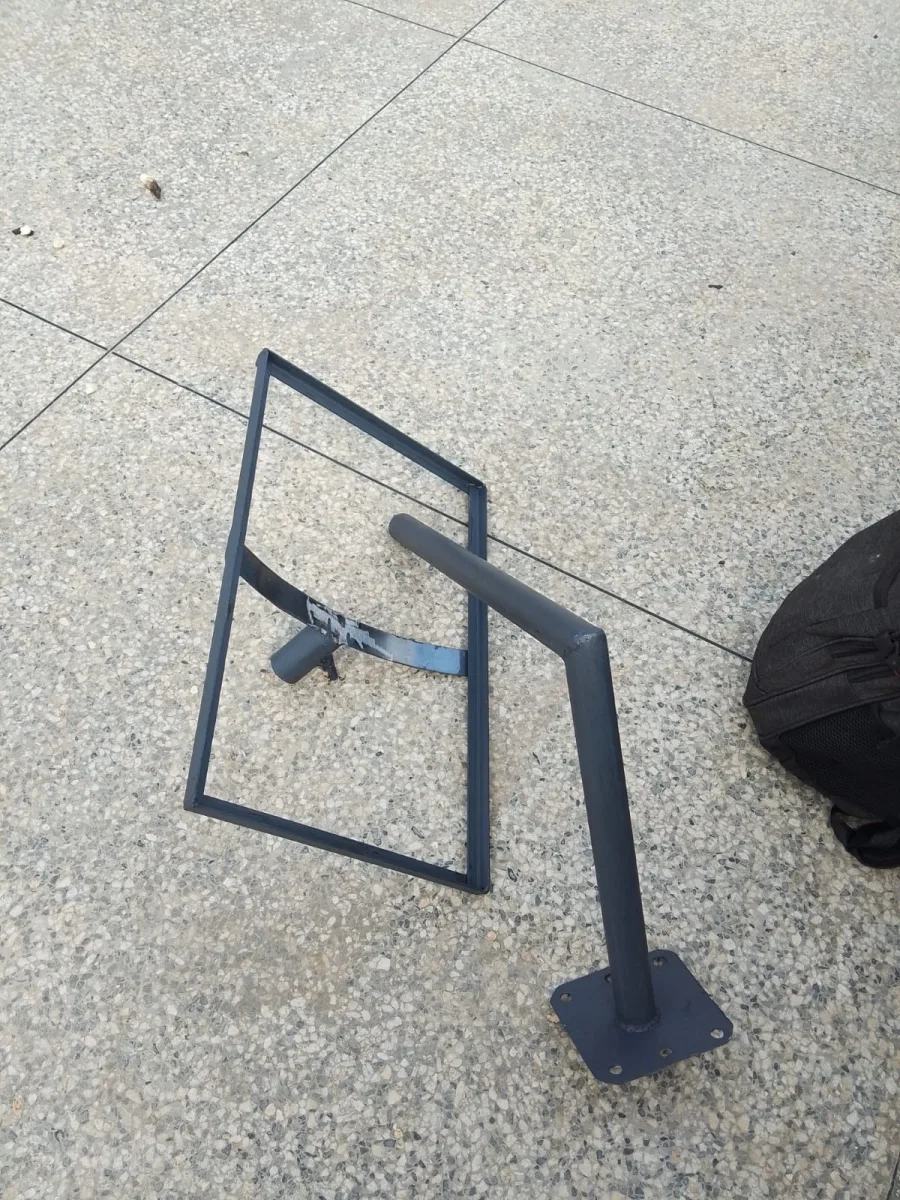
A dish position must work as part of the whole installation. Ask Starlink Installers in Waita to explain both the sky-view assessment and the practical reason for the proposed support. An accessible position with a suitable view may be preferable to a more difficult position that offers no meaningful benefit. Conversely, an easy cable route should not dictate a location with an unsuitable sky view.
Use the Starlink app’s obstruction tools and the installation guidance for the actual kit. Ask for the survey result to be recorded alongside a photograph of the selected position. Do not assume a neighbouring property’s installation proves that your roof has the same conditions. Buildings, trees and the intended mounting point can differ even over a short distance.
Discuss future changes as well as today’s layout. Planned roof repairs, an extension or growing vegetation may affect access or the view. The contractor should explain what can reasonably be considered now and what will require another assessment later. Keep structural and electrical decisions with people competent to carry out that work.
Make the cable route an explicit part of the job
Before drilling begins, walk through the proposed route with Starlink Installers in Waita. Identify where the cable will enter, where equipment will sit and which surfaces will be affected. The route should be included in the scope so that the owner is not surprised by a visible cable across a finished wall or by equipment positioned in an inconvenient room.
Ask how the installer will protect exposed sections and finish the entry point. Compatibility, allowable lengths and connector handling depend on the equipment, so use the manufacturer’s instructions rather than improvised assumptions. An existing cable should be assessed before reuse; the fact that it was used for another device does not establish suitability for the new installation.
Document the route while it is visible. Photographs and labels help when furniture moves or later building work takes place. For a rented property, keep the owner’s permission and any reinstatement agreement with the installation record. A neat finish matters, but it should accompany a suitable route rather than conceal an unresolved design issue.
Choose indoor coverage from a room-by-room plan
Satellite connectivity and indoor WiFi are separate parts of the result. A connected dish does not establish that every room has useful coverage. Give Starlink Installers in Waita a simple layout showing walls, floors and the actual work positions. List the endpoints that matter first: a study desk, reception terminal or detached office is a clearer requirement than asking for a signal everywhere.
Compare a central router position, an additional access point and a wired endpoint against that layout. Mesh placement also needs a viable connection back to the main router; placing a node in the weakest room without considering that link may not resolve the problem. Starlink’s mesh instructions explain why placement and the connection between nodes matter.
Ask the installer to explain the trade-off in plain language. What work does the extra equipment do, which room does it serve and what would happen without it? The answer should help you choose a sensible first installation. It should also identify any room, outdoor area or separate building that is outside the quoted coverage.
Describe simultaneous use and the task that cannot fail
A device count is a starting point, not a complete workload description. Ten idle phones do not behave like ten people joining video meetings. Tell Starlink Installers in Waita what users will do at the same time and which activities are most important. Include uploads, remote meetings, cloud applications and any local equipment that must remain reachable.
For a shared property, explain the difference between residents, visitors and administrators. Ask what separation the proposed network equipment supports and how that separation will be tested. Separate WiFi names alone should not be treated as proof that private devices are inaccessible to visitors. The design and commissioning checks need to establish the behaviour you actually require.
Avoid treating one speed reading as a service guarantee. A useful acceptance exercise uses representative devices in their normal positions and records the task, time and conditions. Keep expectations proportionate to the selected service plan and the property design. If a business application has special networking requirements, raise them before purchasing equipment or scheduling the visit.
Plan electricity continuity around the complete network
If uninterrupted work matters, include power in the discussion with Starlink Installers in Waita. The dish is only one part of the load: the router, switches and access points serving essential rooms may also need to remain powered. A backup arrangement that supports one device but not the rest of the path can leave the user disconnected.
Define the requirement before selecting a battery or inverter. Is the aim to bridge a brief interruption, finish a meeting or support a longer working period? Ask a competent supplier to size the arrangement for the actual equipment and explain its limitations. Do not infer runtime from a battery label without considering the load and the complete system.
Where backup power is part of the contract, agree a suitable commissioning demonstration and operating instructions. Identify which devices are included and where the owner can safely observe the system status. Electrical modifications and protective arrangements should be specified by a qualified person. Keep this work itemised rather than assuming it is included in a basic dish-installation price.
Read an installation quotation as a scope of work
An informative quotation lets you see what you are buying. Ask Starlink Installers in Waita to separate kit supply, mounting materials, cable work, labour, travel and network extensions. Identify existing equipment that will be reused and any item whose condition remains to be checked. This makes two offers easier to compare without assuming that a lower total covers the same work.
Distinguish one-time charges from recurring service costs. Confirm who purchases the subscription and how the account will be controlled. Check current availability and plan conditions for the intended address directly through Starlink. An installer’s labour quotation should not be read as a permanent statement of subscription pricing or a promise of a particular performance level.
Look for exclusions and change conditions. If the survey reveals extra work, who approves it and when does the revised price become binding? Ask about revisit charges, workmanship support and responsibility for supplied versus customer-owned equipment. Keep the accepted quotation and any approved variations together so that final payment can be compared against a clear record.
Keep account ownership and everyday access clear
The customer should understand who controls the service account and who manages the local network. Discuss this distinction with Starlink Installers in Waita before setup assistance begins. Billing, account recovery and service changes are different responsibilities from helping a visitor join WiFi or restarting a router during a support call.
The owner should enter credentials privately and retain access to the account’s recovery channel. Avoid placing account passwords in public labels, group chats or documents handed to every user. If another person needs to assist, decide what access is actually necessary and remove temporary access when it is no longer required.
Write down responsibilities in ordinary language. Name the person who pays the subscription, the person who receives fault reports and the person allowed to approve configuration changes. In shared accommodation or an organisation, plan for staff or occupant changes. A handover process that relies entirely on the installer remembering the setup is difficult to maintain when circumstances change.
Use an acceptance test that reflects the property
Agree the handover checks with Starlink Installers in Waita before the final visit is considered complete. Begin with the connection and then test the agreed endpoints. Record the device used, its position and the activity performed. A test beside the router is useful as a reference, but it cannot by itself confirm performance in a room on another floor.
Choose a representative task: join a meeting, upload a normal work file or use the application for which the connection was requested. Where visitor separation is included, test it with a visitor device and check that staff functions still work. If multiple buildings are included, record each one separately instead of signing off an undefined whole-property result.
Treat unresolved items explicitly. Write down what remains, who will address it and whether it affects acceptance of the rest of the work. Keep observations factual: an application failed at a named desk under stated conditions is more useful than saying that the internet is bad. Good records make a follow-up visit easier to plan.
Troubleshoot by locating the affected part of the connection
When a problem appears, report its scope before changing settings. Tell Starlink Installers in Waita whether one device, one room or the entire property is affected. Note the time, relevant app alerts and whether power was interrupted. These details help distinguish a local coverage issue from a wider service or equipment problem.
Use a simple comparison where it is safe to do so. Try the same ordinary task near the router and at the affected location, and compare another device if available. Follow the equipment’s documented restart procedure only when appropriate. Repeated factory resets can erase useful configuration and create extra work without explaining the original symptom.
Do not climb onto a roof, open electrical equipment or disconnect unfamiliar components while troubleshooting by phone. The handover instructions should identify safe customer checks and when a technician is required. Provide screenshots without exposing account or billing information. A clear fault report can reduce guesswork even when a site visit is ultimately necessary.
Allow for maintenance, relocation and later expansion
An installation should remain understandable after the first day. Ask Starlink Installers in Waita for an equipment inventory, a simple connection diagram and photographs of the completed route. Store these with the quotation and support details. Labels should identify equipment or rooms without publicly exposing account credentials.
Before renovations or a move, check which parts of the installation will be affected. Moving the router, disconnecting an access point or changing a building layout may change coverage. A dish relocation also needs a fresh assessment of the proposed position. Do not assume that reproducing the old physical arrangement will reproduce the same result at another property.
For staged expansion, list likely future endpoints and ask which preparation is economical now. A sensible route or equipment location may be worth agreeing early, while additional hardware can wait until it serves a defined need. Keep future possibilities separate from the current acceptance checklist so that uninstalled work is not mistaken for an included feature.
Prepare a decision record you can use after installation
Before choosing Starlink Installers in Waita, keep a one-page comparison of the proposed options. Record the mounting position, covered rooms, supplied equipment, total initial cost, recurring responsibilities and the main uncertainty in each proposal. This makes it easier to explain the choice to a co-owner, landlord or manager without relying on a sales conversation from memory.
After installation, update that record with what was actually delivered. Attach the agreed test results, photographs and any open items. If an accessory or route changed, record the reason and approval. This gives the owner a useful reference for future support and helps a different technician understand the property if assistance is needed later.
The best next step is a specific enquiry rather than a request for a generic cheapest package. Describe the scenario in this guide, share the relevant site information and ask for a written proposal. Confirm visit availability and equipment compatibility before booking. Use the resulting scope as the basis for testing and handover, not merely as a price to be paid.
Manufacturer references and next steps
Use the instructions supplied with your specific kit and the current Starlink Help Center. For mesh planning, see the official mesh installation guide; for router options, check the Router Mini guide where applicable to your equipment. A guide for one model should not be assumed to cover another model.
Contact SpaceKits for a written installation quotation that reflects your actual property, equipment and required coverage.
Need CCTV, WiFi or Starlink installation?
SpaceKits helps homes, offices, shops and businesses plan CCTV, extend WiFi coverage and install Starlink in Kenya. Tell us your location and property type for a practical next step.
Request a QuoteChat on WhatsApp