
Need Starlink Installation or Network Optimization?
We help homes, offices, apartments, and businesses with Starlink installation, WiFi coverage improvement, and professional setup in Kenya.
Request Installation Chat on WhatsAppStarlink Kit Mounting Options: Best Ways to Mount Your Starlink for Reliable Coverage
If you’re setting up a Starlink kit, one of the most important decisions you’ll make is how to mount your dish. The right mounting option can improve signal strength, prevent weather damage, and keep your connection stable for years. In this guide, we’ll walk through the most popular Starlink kit mounting options, including pros, cons, and installation tips.
Talk to Spacekits
Need Starlink help for your home or business?
Talk to Spacekits before you buy or book installation. We help with kit supply, mounting, activation, router placement, WiFi coverage, and written quotes.
What Are Starlink Kit Mounting Options?
Starlink is designed to be flexible, so you can mount it in many different ways depending on your home setup, location, and budget. Starlink kit mounting options include:
Roof mounts
Wall mounts
Pole mounts
Tripod mounts
Portable mounts
RV or marine mounts
Each option affects performance, durability, and ease of installation.
1. Roof Mounting Options for Starlink Kits
Roof Mount (Fixed Mount)
A roof mount is one of the most popular Starlink kit mounting options, especially for homes and cabins.
Pros:
Strong line-of-sight to satellites
Less obstruction from trees or buildings
More stable in wind
Cons:
Requires professional installation for best results
Needs waterproofing and proper sealing
Can be expensive
Best For: Permanent installations and rural homes.
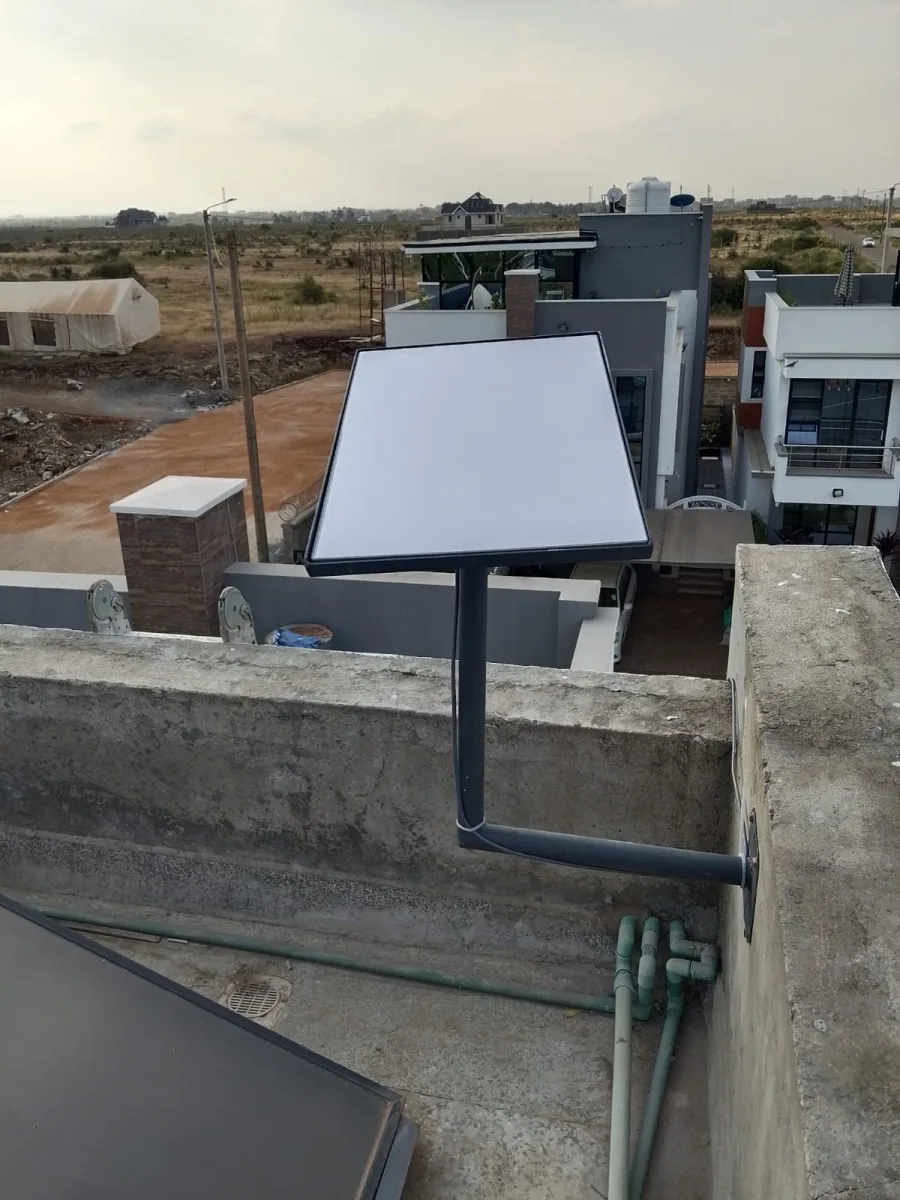
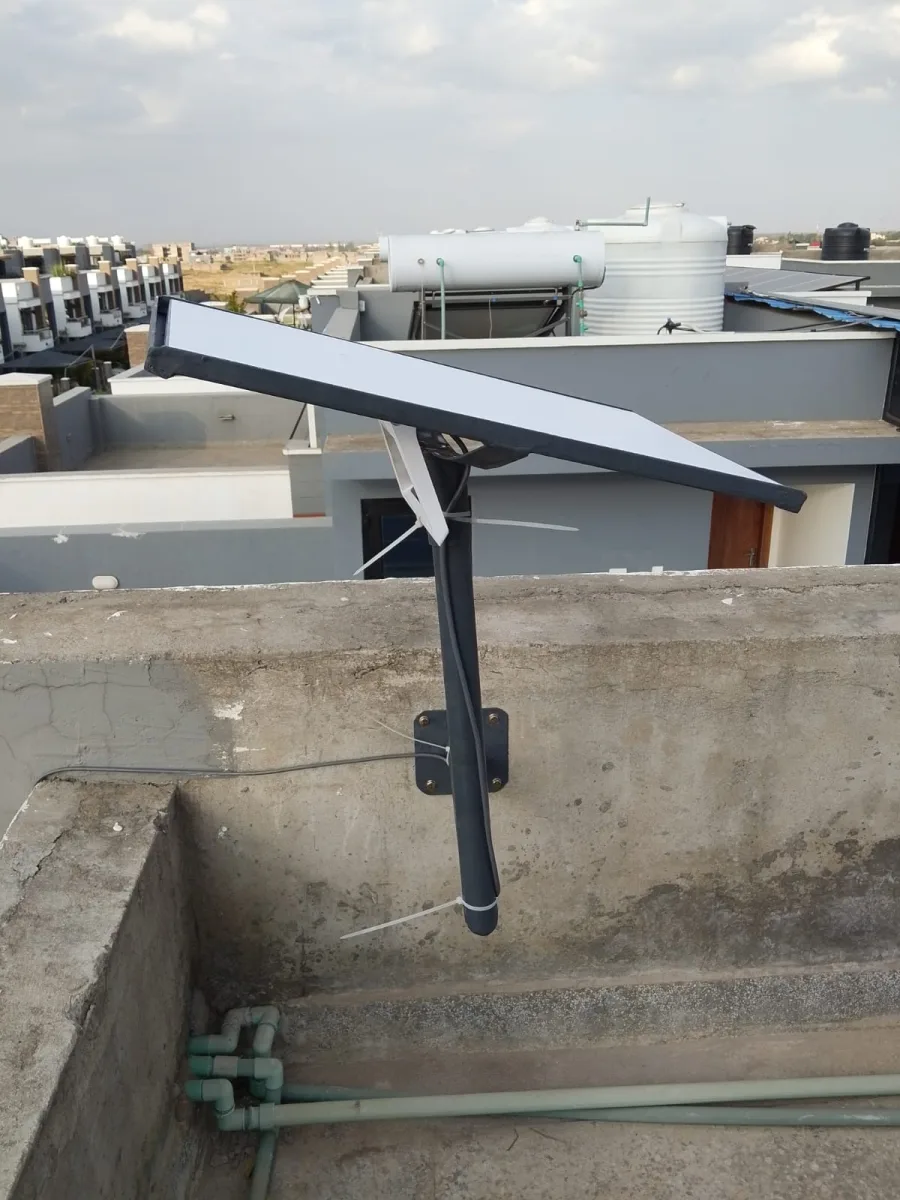
2. Wall Mounting Options
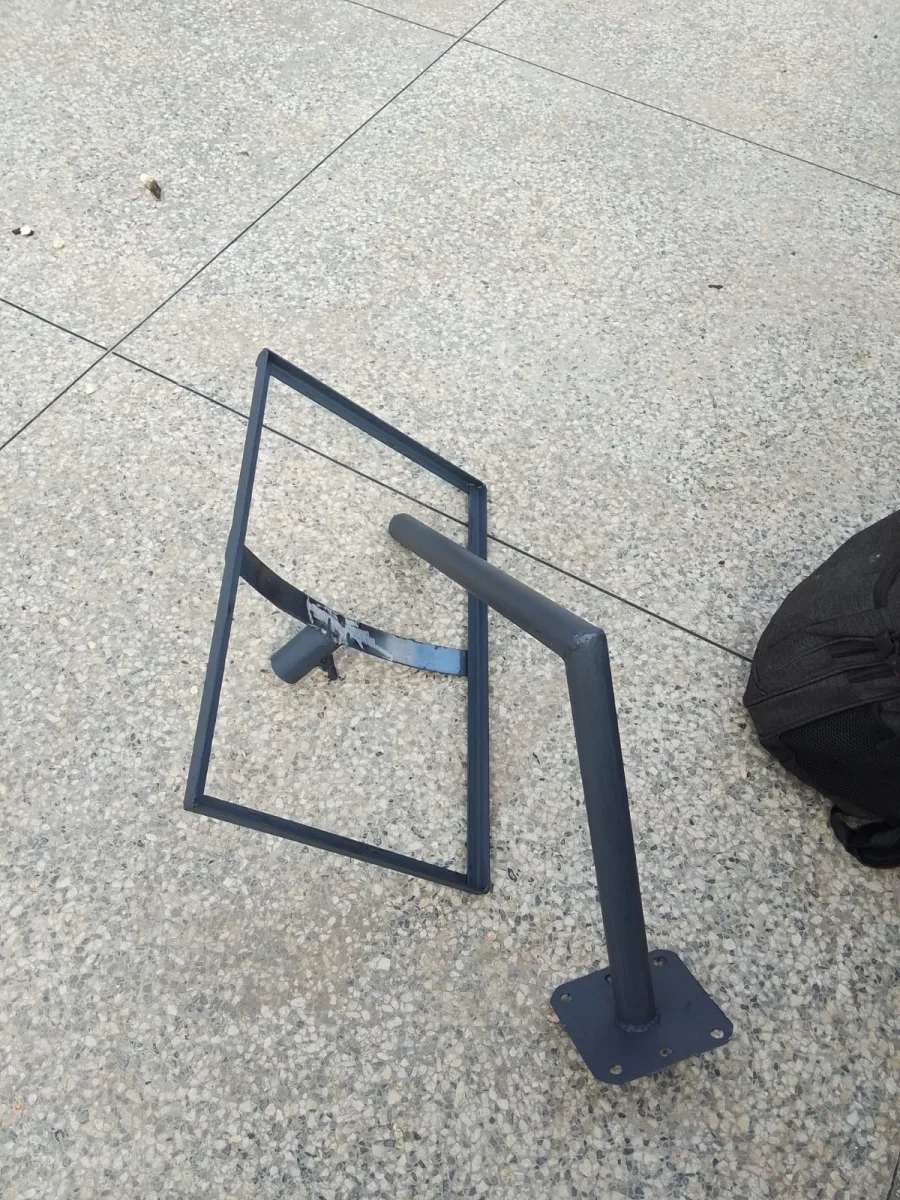
Wall Mount Bracket
A wall mount is ideal if you have limited roof access or want a quick setup.
Pros:
Easy installation
Affordable
Great for small spaces
Cons:
May be blocked by nearby structures
Less optimal angle compared to roof mounts
Best For: Apartments, small homes, or temporary setups.
3. Pole Mounting Options
Pole Mount (Ground or Roof Pole)
A pole mount offers excellent flexibility and is widely used by Starlink users.
Pros:
Adjustable height and angle
Easy to move and reposition
Can clear trees and obstacles
Cons:
Requires a strong foundation or base
Can be unstable in strong wind if not secured
Best For: Rural areas with trees, DIY installers, and temporary installations.
4. Tripod Mounting Options (Portable)
Tripod Mount
Tripod mounts are the most portable Starlink kit mounting option, perfect for campers and travelers.
Pros:
Quick setup
Portable
No drilling required
Cons:
Less stable in windy conditions
Requires level ground
Best For: RVs, camping, and temporary outdoor use.
5. RV and Marine Mounting Options
RV Mount
If you’re using Starlink on the road, RV mounting options offer the best mobility.
Pros:
Portable and secure
Designed for movement
Easy to set up
Cons:
Requires specific mounts
Higher cost
Marine Mount
For boats and yachts, marine mounting options are available to keep Starlink stable even in rough waters.
Best For: Boat owners, remote traveling, and off-grid living.
Choosing the Best Starlink Kit Mounting Option
When selecting a mount, consider:
✅ Line of sight — clear view of the sky
✅ Wind resistance — choose stable mounts in windy areas
✅ Ease of installation — DIY vs professional
✅ Portability needs — fixed vs mobile
✅ Budget — cost of mount + installation
Final Thoughts: Which Starlink Mounting Option Is Right for You?
The best Starlink kit mounting option depends on your lifestyle, location, and budget. For long-term, stable performance, roof or pole mounts are ideal. For mobility and travel, tripod or RV mounts are the top choice.
No matter which option you choose, the goal is the same: a clear view of the sky for uninterrupted Starlink coverage.
Starlink Kit Mounting Options: The Ultimate Guide to Reliable Installation
When it comes to Starlink, one of the most important factors in ensuring a strong, stable internet connection is how you mount your dish. The Starlink kit mounting options you choose directly impact signal strength, coverage, and durability—especially in areas with challenging weather or obstructed skies. Whether you’re setting up Starlink at home, in an RV, or at a remote cabin, this guide will help you choose the best mounting solution for your needs.
What Are Starlink Kit Mounting Options?
Starlink is designed to be flexible and user-friendly. The kit typically comes with a basic mount, but many users prefer upgrading to specialized mounts to improve performance. Starlink kit mounting options include roof mounts, wall mounts, pole mounts, tripod mounts, RV mounts, and marine mounts.
Choosing the right mount is not only about convenience—it can determine whether your Starlink performs at peak capacity.
Why Mounting Matters for Starlink
Starlink relies on a clear line of sight to satellites orbiting the Earth. Any obstruction—such as trees, buildings, or uneven terrain—can weaken the signal. The mounting option you select plays a major role in keeping the dish elevated and oriented correctly.
Here’s why mounting matters:
Signal strength depends on a clear view of the sky
Higher placement reduces interference
Proper mounting improves stability in wind
Secure mounting prevents equipment damage
Correct angle increases connectivity and speed
In short, the right Starlink kit mounting option is essential for reliable internet performance.
1. Roof Mounting Options for Starlink
Roof Mount (Fixed Mount)
A roof mount is one of the most popular Starlink kit mounting options, especially for homeowners and cabin owners. This option offers excellent visibility and stable positioning.
Pros:
Best line-of-sight for satellites
Reduced obstruction from trees and buildings
Long-term stable installation
High resistance to wind and weather
Cons:
Requires professional installation for safety
Needs proper sealing and waterproofing
May require permits depending on your location
Best For: Permanent installations and rural homes where a strong, reliable connection is needed.
2. Wall Mounting Options
Wall Mount Bracket
Wall mounting is a convenient option for people who cannot access the roof or prefer a lower installation point. Wall mounts use brackets that secure the dish to an exterior wall.
Pros:
Easy installation
Affordable
Great for apartments or homes with limited roof access
Cons:
Potential obstruction from nearby structures
Limited angle adjustment
Not ideal for areas with tall trees
Best For: Urban settings, apartments, or temporary setups.
3. Pole Mounting Options (Most Versatile)
Ground Pole Mount
A ground pole mount is one of the most versatile Starlink kit mounting options. It allows you to place the dish in an open area, away from buildings and trees.
Pros:
Easy to install and reposition
Excellent line-of-sight
Can be raised higher to avoid obstructions
Great for remote or rural locations
Cons:
Needs a strong foundation or base
Requires proper anchoring for wind stability
Not ideal for areas with heavy snow without extra support
Best For: Rural homes, cabins, farms, and outdoor areas with open space.
4. Tripod Mounting Options (Portable)
Tripod Mount
Tripod mounts are ideal for portability and quick setup. Many users choose this Starlink kit mounting option for temporary or mobile use.
Pros:
Quick and easy setup
No drilling or permanent installation
Portable and lightweight
Great for camping or temporary use
Cons:
Less stable in strong wind
Requires level ground
Not recommended for long-term use
Best For: RV travelers, campers, and temporary outdoor installations.
5. RV Mounting Options
RV Roof Mount
For users who need internet while traveling, RV mounting options are essential. These mounts secure the dish to the RV roof and are designed for mobility.
Pros:
Secure and stable for movement
Easy setup and teardown
Designed for traveling conditions
Cons:
Requires specialized mounting hardware
Higher cost than stationary mounts
May need professional installation
Best For: RV owners and frequent travelers who need reliable internet on the road.
6. Marine Mounting Options
Boat or Yacht Mount
For marine use, Starlink kit mounting options include marine mounts that can withstand waves, movement, and harsh weather conditions. Marine mounts often come with extra stabilization features.
Pros:
Designed for movement and sea conditions
Secure and durable
Maintains connection even while moving
Cons:
Higher cost
Requires specialized installation
Not necessary for land use
Best For: Boats, yachts, and marine travelers.
How to Choose the Best Kit Mounting Opti
Starlink
on
Choosing the right mount depends on your location, lifestyle, and budget. Here are the key factors to consider:
1. Line of Sight
The most important factor is a clear view of the sky. Trees, buildings, and hills can block the signal.
2. Weather and Wind
If you live in a windy area, choose a mount with strong stability and proper anchoring.
3. Portability
If you travel often, choose portable mounting options like tripod mounts or RV mounts.
4. Installation Difficulty
Some mounts require professional installation. If you want a DIY option, choose a tripod or pole mount.
5. Budget
Mounting costs vary. Roof and marine mounts tend to be more expensive, while tripod and wall mounts are affordable.
Installation Tips for Starlink Mounting Options
Here are practical tips to ensure your Starlink mount performs well:
Use a Clear Location
Choose a spot with a 100% clear view of the sky if possible.
Avoid Trees and Buildings
Even small obstructions can reduce signal quality.
Secure the Mount Properly
Use proper anchoring and bolts to prevent movement in wind.
Check Local Regulations
Some areas require permits for roof mounts or tall poles.
Test Signal Strength
After installation, test the connection at different angles and heights.
Common Mistakes to Avoid
To get the best performance from your Starlink, avoid these common mounting mistakes:
❌ Mounting too low
❌ Placing near trees or tall buildings
❌ Using unstable or weak mounts
❌ Ignoring wind and weather conditions
❌ Not securing the mount properly
Final Thoughts
Your Starlink kit mounting options are more than just a convenience—they’re the foundation of a reliable internet connection. Whether you’re setting up at home, in a remote cabin, or on the road, choosing the right mount can drastically improve performance and reduce downtime.
If you want the most reliable setup, roof or pole mounts are the best long-term solution. For mobility and convenience, tripod or RV mounts are ideal.
Need Starlink Installation or Network Optimization?
We help homes, offices, apartments, and businesses with Starlink installation, WiFi coverage improvement, and professional setup in Kenya.
Request Installation Chat on WhatsApp