
Need Starlink Installation or Network Optimization?
We help homes, offices, apartments, and businesses with Starlink installation, WiFi coverage improvement, and professional setup in Kenya.
Request Installation Chat on WhatsApp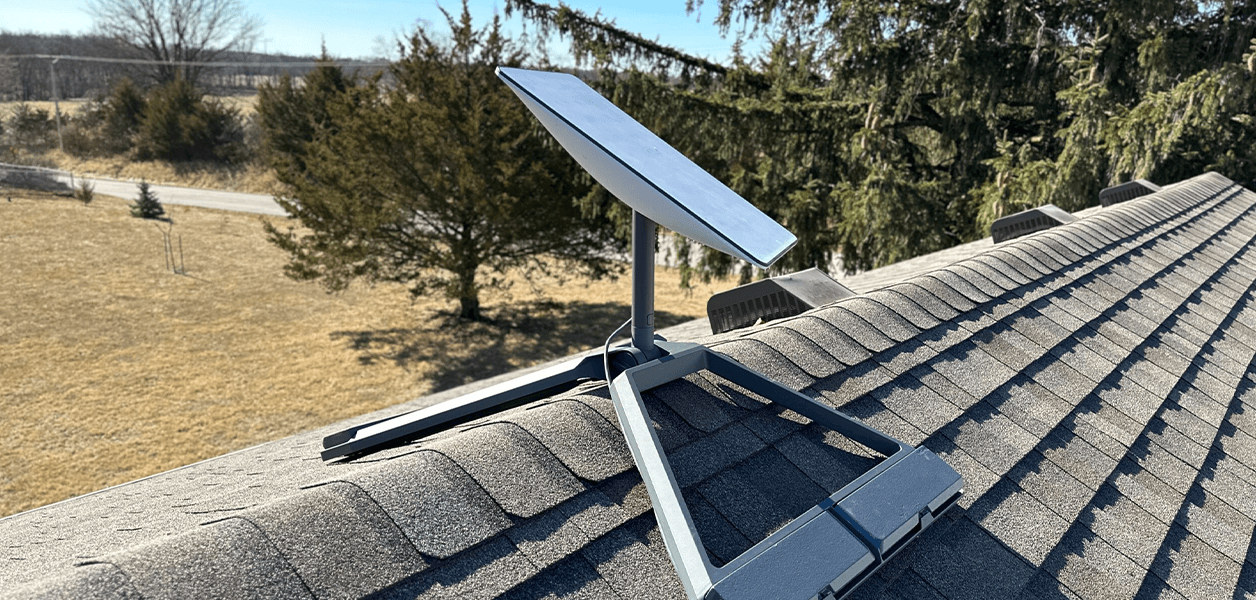
Starlink Installation: Your Complete Setup Guide
If you’re looking for fast, reliable internet in Kenya, Starlink has emerged as a popular solution. This guide will walk you through everything you need to know about starlink instalation from unboxing your equipment to achieving optimal internet speeds.
Talk to Spacekits
Need Starlink help for your home or business?
Talk to Spacekits before you buy or book installation. We help with kit supply, mounting, activation, router placement, WiFi coverage, and written quotes.
What is Starlink?
Starlink is a satellite internet service developed by <entity name=”SpaceX” entity_disambiguation=”aerospace company”>SpaceX</entity>. It provides high-speed broadband internet via low Earth orbit satellites, making it ideal for areas with limited fiber or cable connections.
Starlink Installation Requirements
Before beginning your Starlink installation, ensure you have the following:
Starlink Kit: Includes the satellite dish, Wi-Fi router, cables, and mounting tripod.
Clear Sky View: Dish should have a clear view of the sky for optimal connectivity.
Power Source: Ensure a stable power supply near the installation site.
Starlink App: Download the Starlink app for setup and troubleshooting.
Step-by-Step Starlink Installation
1. Unboxing and Initial Setup
Carefully unbox your Starlink kit. Place the dish on the tripod or mounting bracket. Connect the dish to the Wi-Fi router using the included cables.
2. Positioning the Dish
Use the Starlink app to scan the sky and find the best position. A clear view without obstructions like trees or buildings is crucial for stable internet.
3. Connecting to Power and Router
Plug in the dish and router. Wait for the dish to locate satellites. The status light should turn solid green once the connection is successful.
4. App Configuration
Open the Starlink app and follow on-screen prompts. Set up your Wi-Fi network name (SSID) and password. Test your connection speed to ensure optimal performance.
5. Securing the Dish
Once connected, securely mount the dish using the tripod or wall mount. Ensure it’s stable and not prone to movement caused by wind or animals.
Troubleshooting Starlink Installation
Dish Not Connecting: Ensure there is a clear line of sight and check for obstructions.
Slow Speeds: Reposition the dish or check for satellite congestion during peak hours.
App Errors: Update the Starlink app and ensure firmware is up to date.
Starlink Installation Cost in Kenya
Costs vary depending on location and installation complexity. Typically, the Starlink Kit costs around $599, plus a monthly subscription fee of $110. Professional installation may incur additional charges.
Benefits of Professional Starlink Installation
While DIY installation is straightforward, professional installation ensures:
Optimal positioning for maximum speeds
Secure mounting and weatherproofing
Quick troubleshooting and maintenance
Conclusion
A successfulstarlink instalation in Kenya can provide high-speed internet even in remote areas. By following this step-by-step guide, you can enjoy reliable connectivity and minimize setup issues.
Starlink Installation in Kenya: The Ultimate Guide
Access to fast and reliable internet in Kenya can be challenging, especially in rural or remote areas where fiber optic or cable connections are limited. Starlink, SpaceX’s satellite internet service, has become a game-changer by providing high-speed broadband via satellites orbiting the Earth. This guide will walk you through everything you need to know about Starlink installation, from unboxing the equipment to troubleshooting common issues, ensuring you get the most out of your internet connection.
What is Starlink?
Starlink is a satellite internet service developed by <entity name=”company”,”SpaceX”,”aerospace company”>SpaceX</entity>. Unlike traditional ISPs, Starlink uses a network of low Earth orbit (LEO) satellites to provide high-speed internet in areas where conventional broadband is unavailable or unreliable.
Key Features of Starlink:
High-speed internet even in remote areas
Low latency compared to traditional satellite internet
Easy installation with self-service options
Regular updates to improve performance
Starlink Installation Requirements in Kenya
Before starting your starlink instalation, make sure you have the right equipment and environment.
Equipment Checklist
Starlink Kit: Includes the satellite dish (Dishy McFlatface), Wi-Fi router, cables, and mounting hardware.
Power Source: Ensure you have a reliable power supply near your installation site.
Starlink App: Available on Android and iOS for setup and network management.
Environmental Requirements
Clear View of the Sky: Starlink requires an unobstructed view of the northern sky for optimal satellite connectivity. Avoid trees, buildings, or other obstacles.
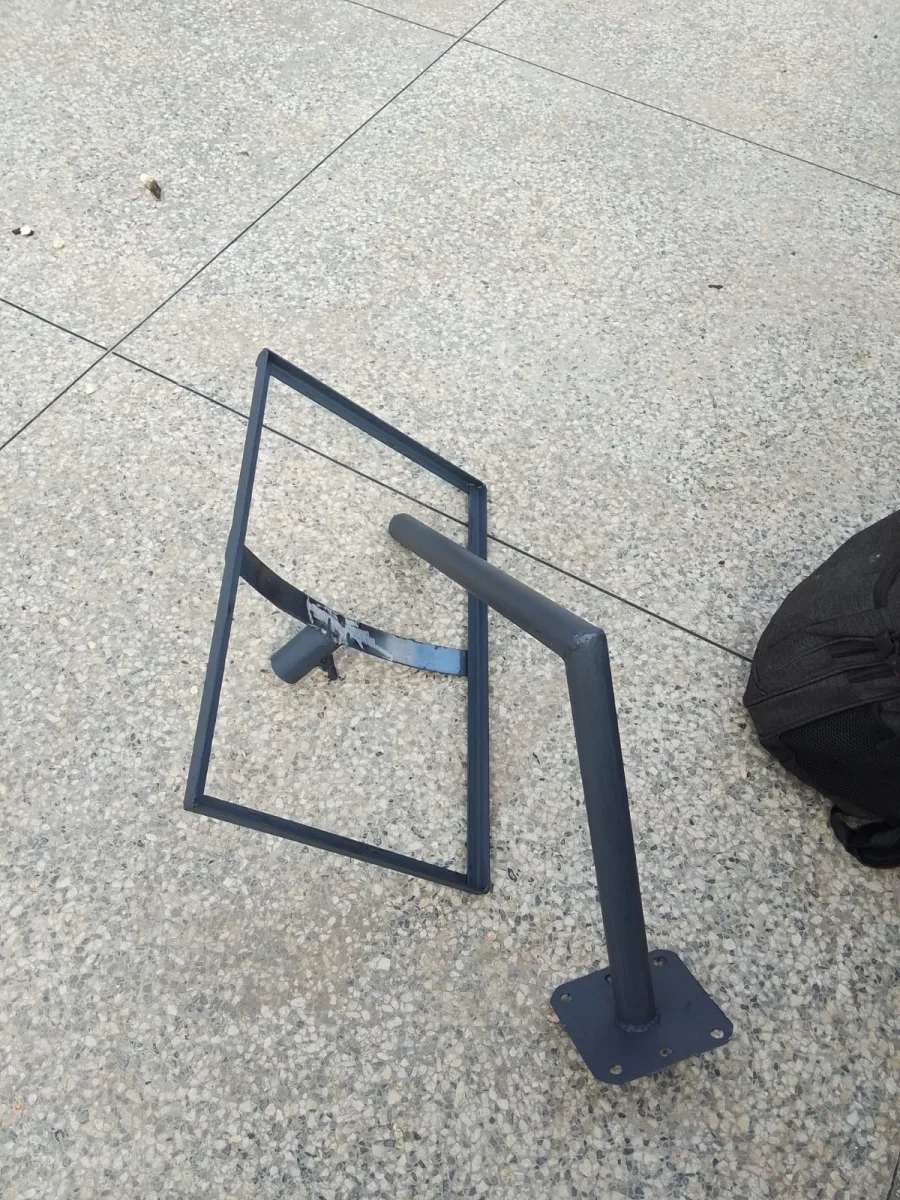
Stable Mounting Surface: The dish should be securely mounted on a tripod, roof, or wall bracket.
Safety Considerations: Avoid locations prone to strong wind, heavy rainfall, or lightning hazards.
Step-by-Step Starlink Installation in Kenya
Installing Starlink can be done as a DIY project or with professional help. Here’s a detailed guide for self-installation:
Step 1: Unboxing and Preparing the Equipment
Carefully unpack your Starlink kit. Inspect all components for damage. Lay out the satellite dish, router, cables, and mounting accessories.
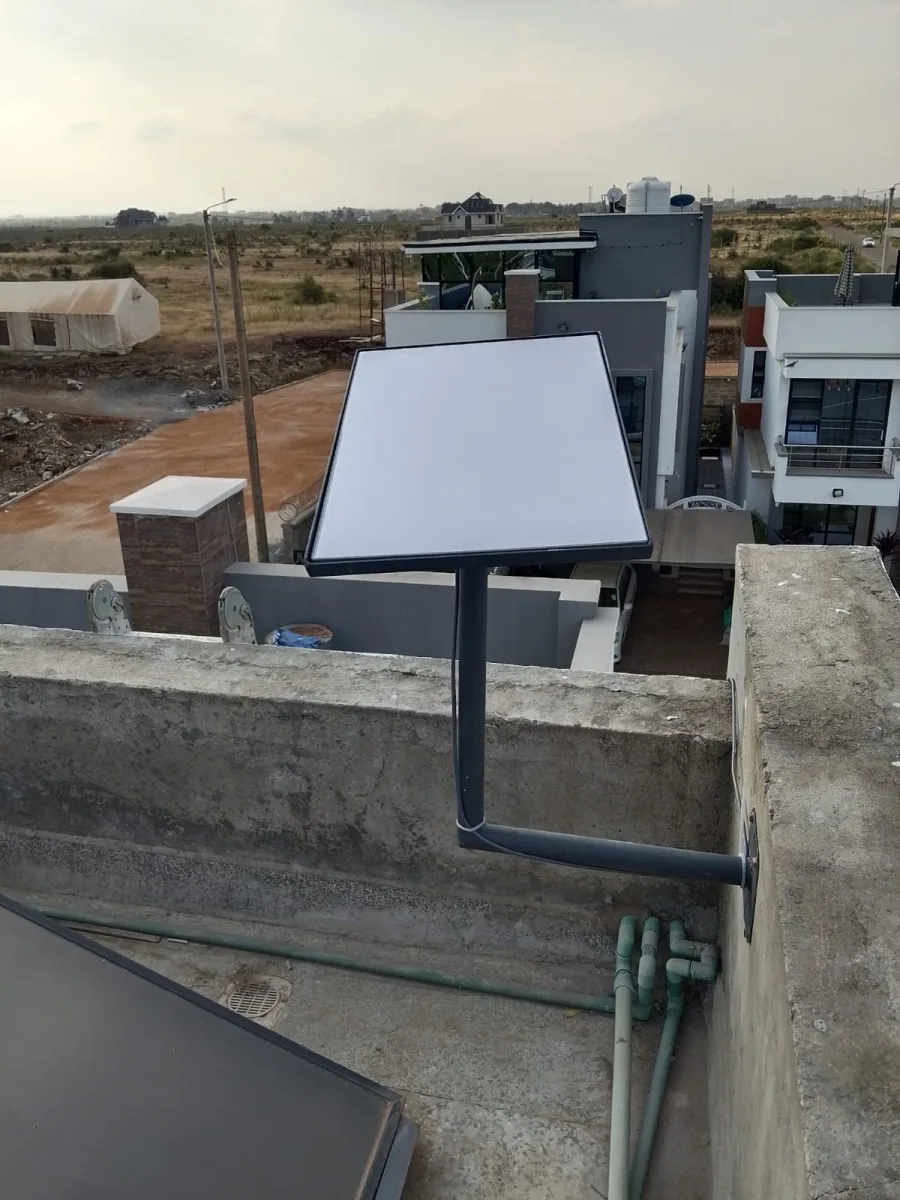
Step 2: Mounting the Dish
You can use the included tripod for temporary installation or a permanent mount for a rooftop or wall installation. Ensure the dish is stable and level.
Step 3: Positioning the Dish
Open the Starlink app and scan your surroundings to determine the best location. Starlink needs a clear view of the sky to maintain connectivity. Minor adjustments may be needed to avoid obstructions like trees or rooftops.
Step 4: Connecting the Dish to the Router
Connect the dish to the Wi-Fi router using the included cable. Plug the router into a power source. Wait for the dish to automatically find satellites. The status light will indicate connectivity:
Blinking Blue: Initial connection in progress
Solid Green: Successful connection
Step 5: Configuring the Network
Use the Starlink app to set your Wi-Fi network name (SSID) and password. Test the internet speed to confirm optimal performance.
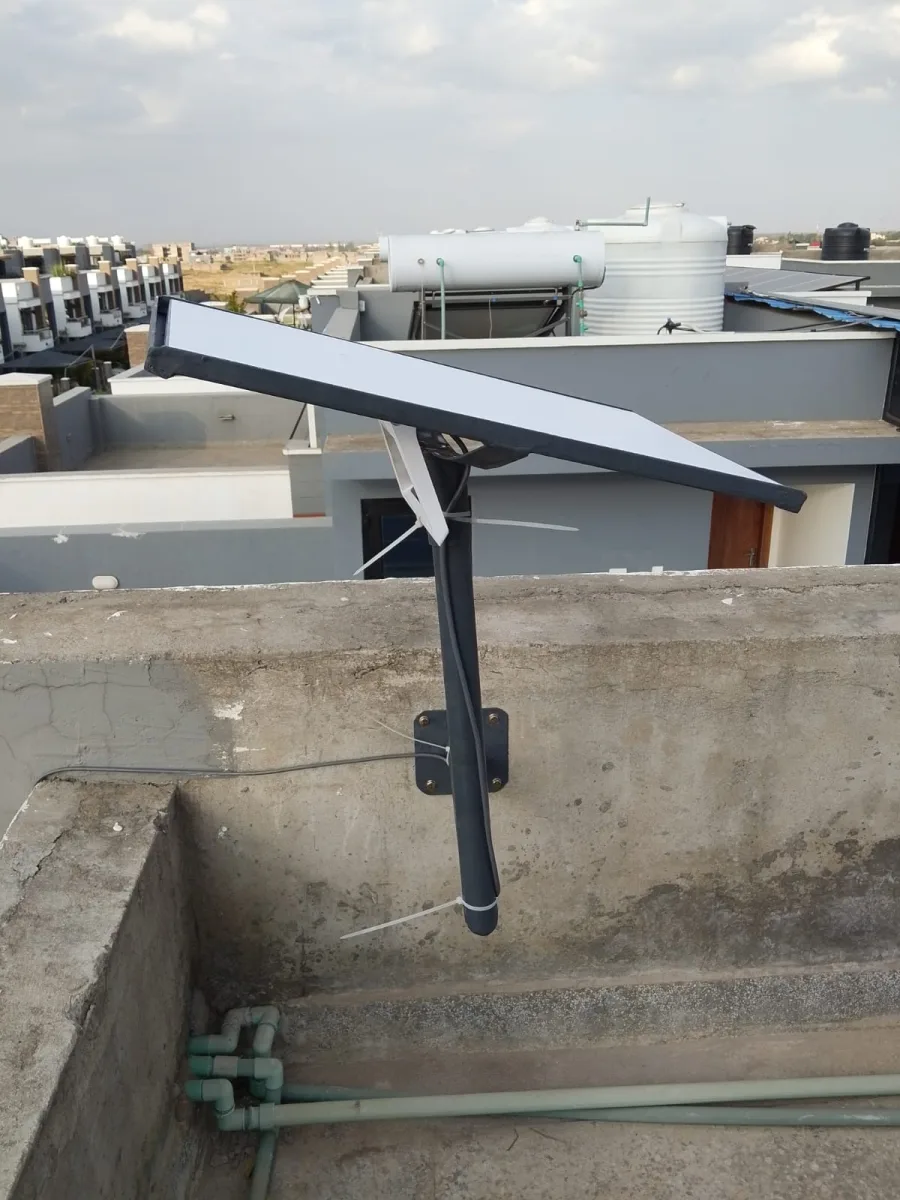
Step 6: Securing and Weatherproofing
For permanent installation, ensure the dish is securely mounted and weatherproofed. Use bolts and mounting brackets to prevent movement during strong winds.
Starlink Installation Tips for Kenya
Choose an Elevated Location: Install the dish on rooftops or poles to avoid obstructions.
Check Satellite Visibility: The Starlink app has a “Check for Obstructions” feature that helps identify the best location.
Regularly Update Firmware: Keep your Starlink system updated via the app for improved performance.
Consider Lightning Protection: Use surge protectors to prevent damage during storms.
Troubleshooting Common Starlink Installation Issues
Even after careful setup, users may experience some connectivity issues. Here are solutions to common problems:
| Issue | Solution |
|---|---|
| Dish not connecting | Ensure a clear line of sight, reboot the router, and check cables |
| Slow internet | Reposition the dish, check peak hour traffic, or restart the router |
| App error messages | Update the Starlink app and firmware |
| Dish movement in wind | Secure with additional brackets or tripod weights |
Starlink Installation Cost in Kenya
The cost of installing Starlink depends on whether you do it yourself or hire professionals:
Starlink Kit: Approximately $599
Monthly Subscription: Around $110
Professional Installation (Optional): $50–$100 depending on location and mounting complexity
Despite the costs, Starlink provides one of the fastest and most reliable internet options for remote Kenyan areas, making it a worthwhile investment.
Professional Starlink Installation in Kenya
While DIY installation is simple, hiring a professional can help ensure:
Optimal positioning for maximum internet speeds
Secure and weatherproof mounting
Faster troubleshooting in case of connection issues
Several local companies in Nairobi, Mombasa, and Kisumu now offer professional Starlink installation services, which is recommended for permanent setups or complex rooftops.
Starlink Internet Speed and Performance in Kenya
Starlink users in Kenya can expect:
Download Speeds: 50–250 Mbps
Upload Speeds: 20–40 Mbps
Latency: 20–40 ms
These speeds are sufficient for video conferencing, streaming, online gaming, and business operations even in remote areas.
FAQs About Starlink Installation in Kenya
Q1: Can I install Starlink myself?
Yes, Starlink is designed for DIY installation. The Starlink app guides you through positioning, setup, and network configuration.
Q2: How long does Starlink installation take?
A typical DIY setup takes 30–60 minutes. Professional installation may take longer depending on the mounting location.
Q3: Can Starlink work in rural areas?
Yes, Starlink is ideal for rural and remote areas with limited fiber or cable connectivity.
Q4: Do I need special permits for installation?
In most Kenyan regions, no permit is required, but rooftop installations should comply with local building codes.
Conclusion
A well-executed Starlink installation can bring fast and reliable internet to any part of Kenya, from cities like Nairobi and Mombasa to remote rural areas. Whether you choose a DIY approach or professional installation, following this guide ensures optimal performance and connectivity.
Starlink is revolutionizing internet access in Kenya, bridging the digital divide and enabling seamless communication, work, and entertainment.
Need Starlink Installation or Network Optimization?
We help homes, offices, apartments, and businesses with Starlink installation, WiFi coverage improvement, and professional setup in Kenya.
Request Installation Chat on WhatsApp