Need Starlink Installation or Network Optimization?
We help homes, offices, apartments, and businesses with Starlink installation, WiFi coverage improvement, and professional setup in Kenya.
Request Installation Chat on WhatsApp
Starlink Installation: A Complete Guide to Getting Online Faster
If you’re looking for high-speed internet in remote areas or want a reliable satellite connection, Starlink installation is the first step to enjoying seamless online access. Starlink, developed by SpaceX, provides satellite internet that reaches even the most rural locations where traditional ISPs struggle.
Talk to Spacekits
Need Starlink help for your home or business?
Talk to Spacekits before you buy or book installation. We help with kit supply, mounting, activation, router placement, WiFi coverage, and written quotes.
Why Starlink Installation Matters
Proper Starlink installation ensures maximum signal strength, stable connectivity, and optimal speed. Incorrect setup can lead to slower internet, frequent disconnects, and network issues. By following the correct installation procedures, users can:
Achieve faster download and upload speeds.
Maintain consistent internet connectivity in remote areas.
Optimize the satellite dish alignment for better performance.
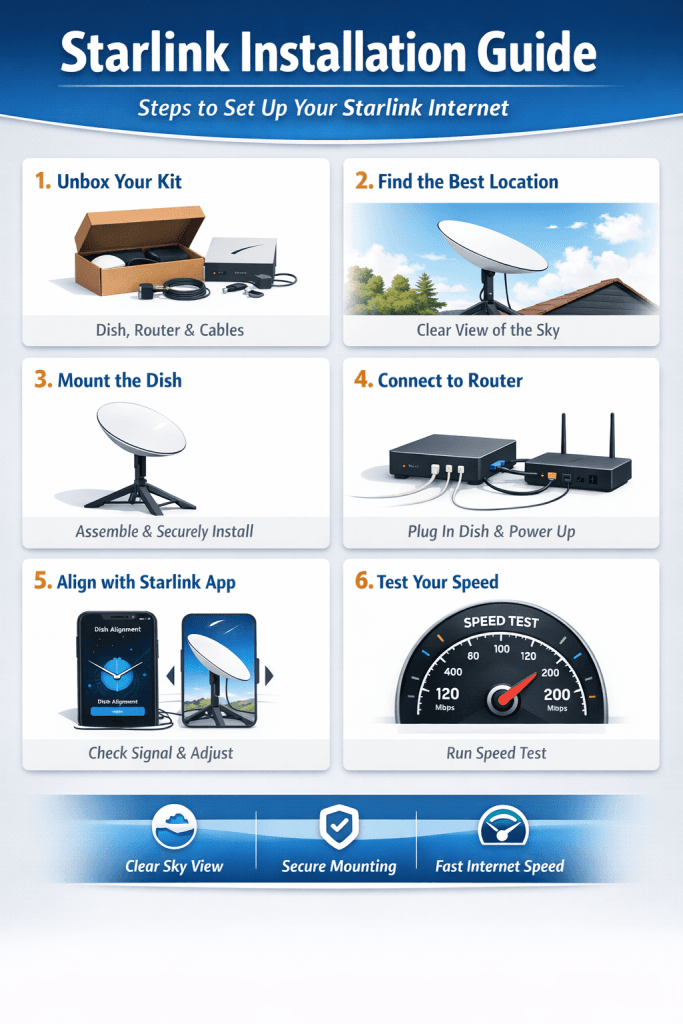
Step-by-Step Starlink Installation Process
Unbox Your Starlink Kit
The kit includes the Starlink dish, mounting tripod, Wi-Fi router, and necessary cables. Inspect all components to ensure nothing is damaged before starting installation.Choose the Right Location
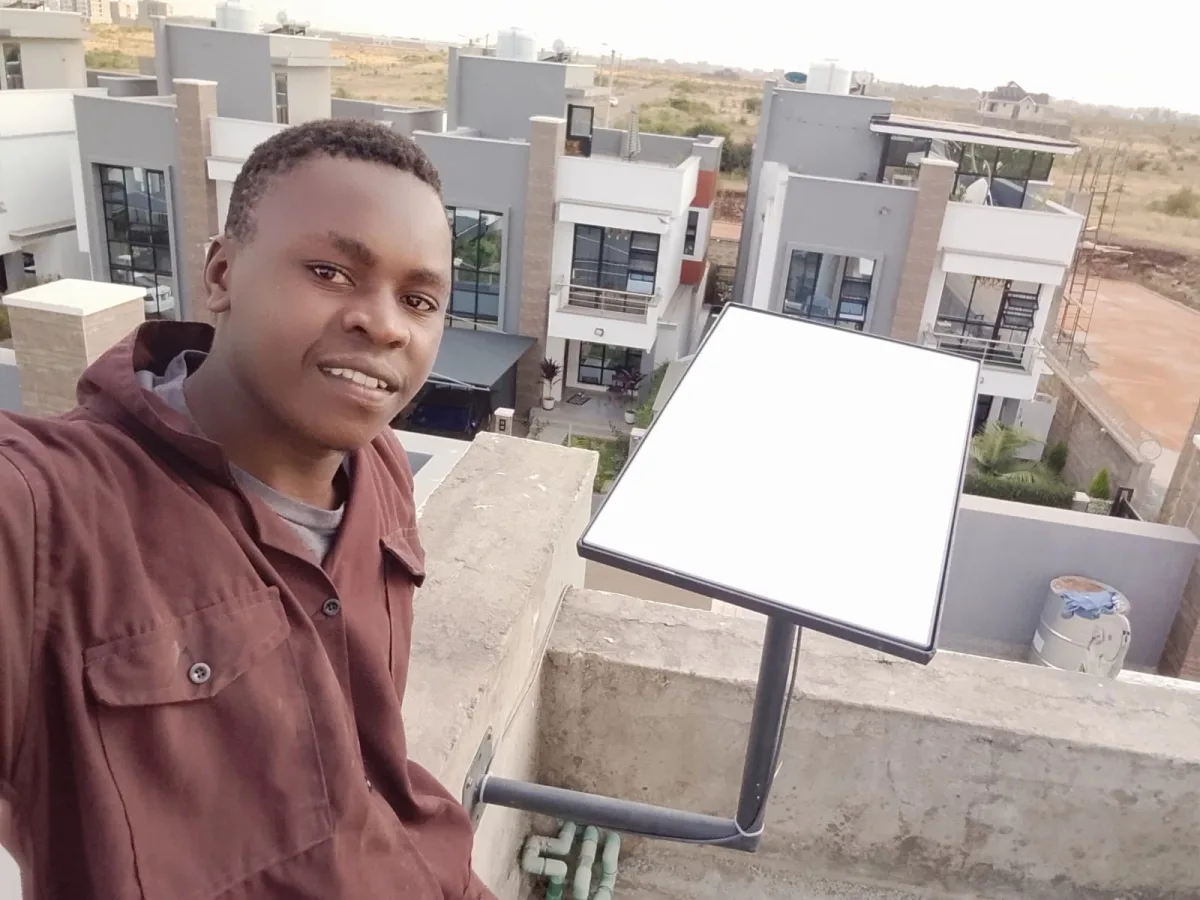
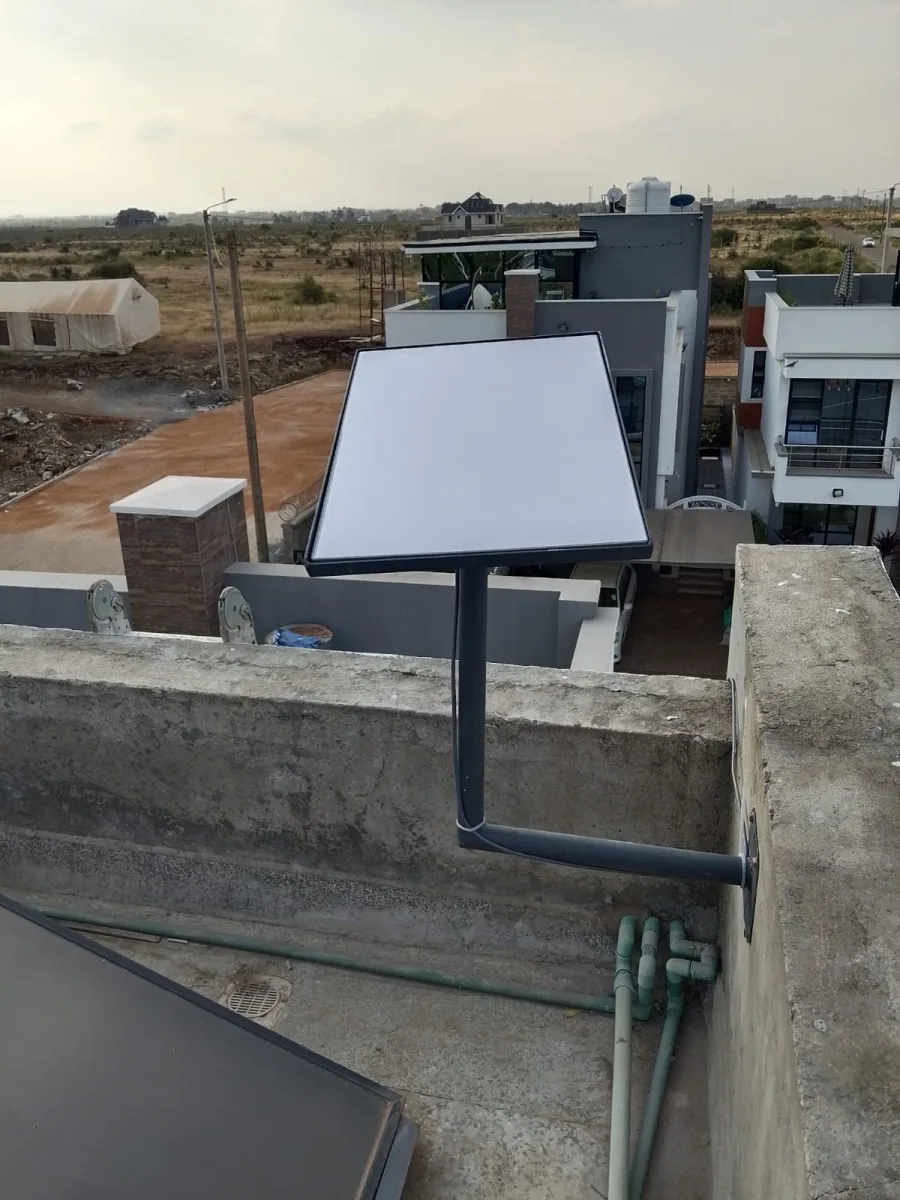
Place your Starlink dish in an open area with a clear view of the sky. Avoid obstructions like trees, buildings, or poles that may block satellite signals.Assemble the Starlink Dish
Connect the dish to the tripod or your chosen mount. Ensure it’s securely fastened to prevent movement during windy conditions.Connect the Router and Power Supply
Plug the Starlink dish into the router and then connect it to the power supply. The dish will automatically start searching for satellites.Use the Starlink App for Alignment
Download the Starlink app to check for obstructions, verify satellite visibility, and adjust the dish alignment if necessary. The app provides step-by-step guidance to ensure optimal setup.Test Your Connection
Once installed, run speed tests using the Starlink app or other speed test tools to confirm you’re getting the expected download and upload speeds.
Professional Starlink Installation Services
While many users can install Starlink themselves, professional Starlink installation services are available for those who prefer expert help. Professionals ensure:
Correct mounting and alignment.
Safety during roof or pole installations.
Troubleshooting and network optimization.
Tips for Maintaining Your Starlink System
Regularly clear snow, leaves, or debris from the dish.
Ensure cables are intact and connections are secure.
Update firmware via the Starlink app to access new features and improvements.
Conclusion
Investing in proper Starlink installation is crucial for enjoying reliable satellite internet. Whether you choose a DIY approach or hire professionals, following the right procedures ensures consistent high-speed connectivity wherever you are. With Starlink, even the most remote locations can enjoy seamless online experiences.
FAQs About Starlink Installation
1. How long does Starlink installation take?
Most DIY installations take about 30–60 minutes, depending on location and mounting type. Professional installation is faster, usually 15–30 minutes.
2. Can I install Starlink myself?
Yes! The Starlink kit is designed for easy setup. However, professional installation is recommended for roofs, large properties, or tricky alignment scenarios.
3. What equipment is needed for Starlink installation?
The Starlink kit includes the dish, mounting tripod, Wi-Fi router, and cables. No additional tools are required for standard setups.
4. Where should I place the Starlink dish?
Choose a location with a clear, unobstructed view of the sky. Avoid tall trees, walls, or poles that could block satellite signals.
5. Does weather affect Starlink performance?
Yes. Heavy snow, rain, or ice can temporarily reduce speed, but clearing the dish and using proper mounting can minimize disruptions.
6. How can I optimize my Starlink installation for maximum speed?
Use the Starlink app to check for obstructions.
Ensure the dish is level and securely mounted.
Keep the router in a central indoor location for better Wi-Fi coverage.
Additional Tips for Starlink Installation Success
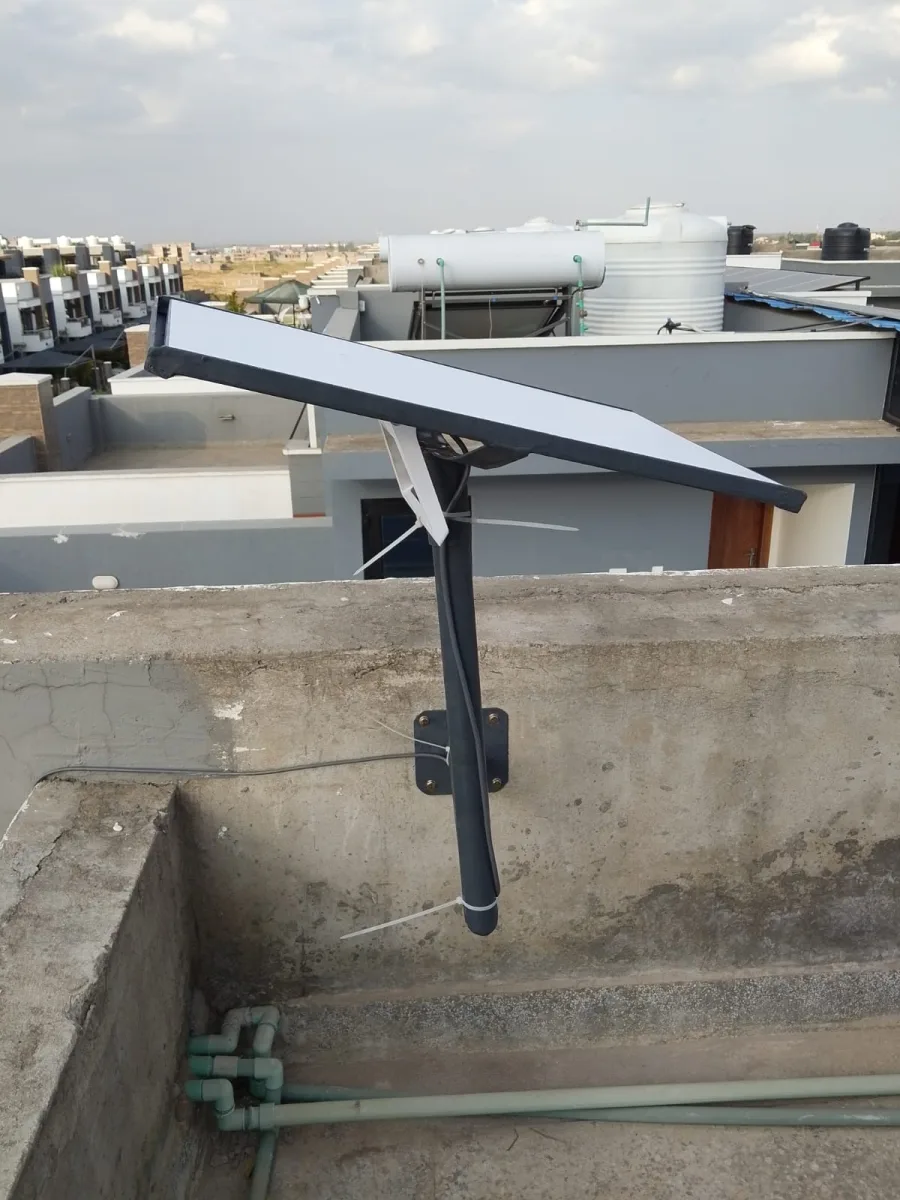
Mounting Options: Consider roof mounts, pole mounts, or ground tripods depending on your property.
Cable Management: Keep cables secure and avoid stretching or bending them sharply.
Safety First: If mounting on high roofs, use proper safety equipment or hire professionals.
Regular Maintenance: Clean your dish from snow, leaves, or debris to maintain strong signal strength.
Starlink Installation Services Near You
For a stress-free experience, professional Starlink installation services provide:
Correct and safe mounting on any surface.
Expert dish alignment for optimal satellite signal.
Setup verification and network optimization.
Troubleshooting support for initial connectivity issues.
Hiring certified installers ensures your Starlink system performs at its peak, giving you uninterrupted high-speed internet in any location.
Conclusion
Proper Starlink installation is essential for getting the most out of your satellite internet connection. Whether you choose to do it yourself or hire a professional, following these steps guarantees:
Faster download and upload speeds.
Consistent connectivity in remote areas.
Safe and secure mounting of your equipment.
With Starlink, even the most remote homes and businesses can enjoy reliable, high-speed internet. Start your Starlink installation today and experience the future of broadband connectivity.
Need Starlink Installation or Network Optimization?
We help homes, offices, apartments, and businesses with Starlink installation, WiFi coverage improvement, and professional setup in Kenya.
Request Installation Chat on WhatsApp