
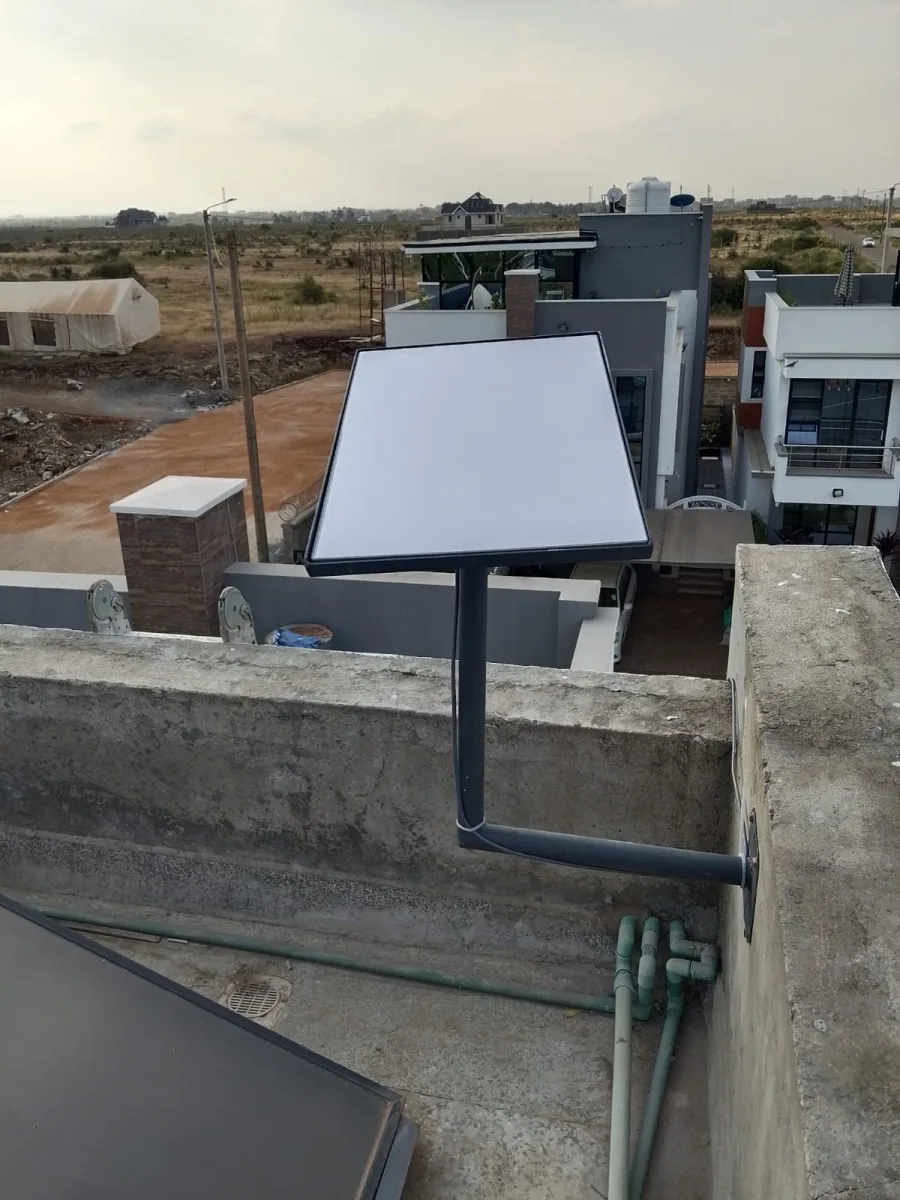
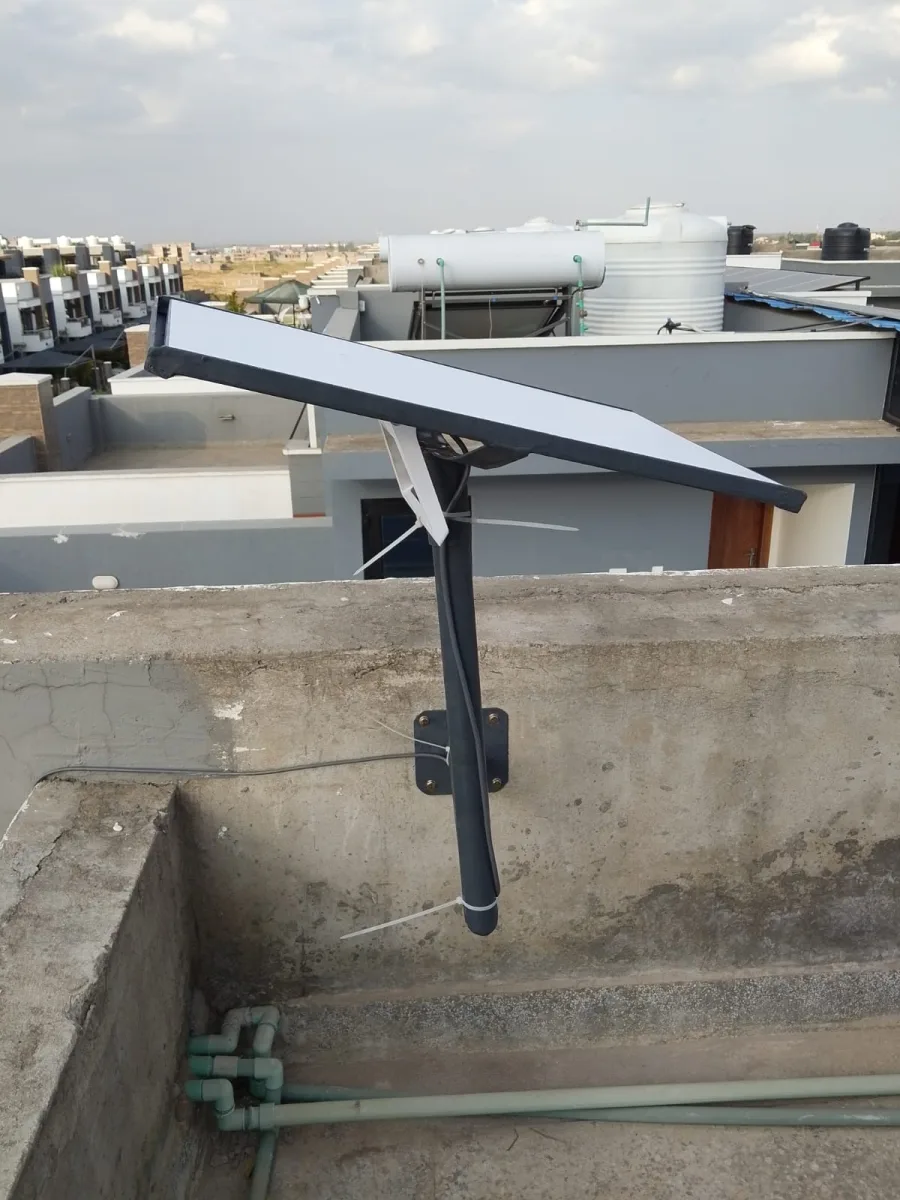
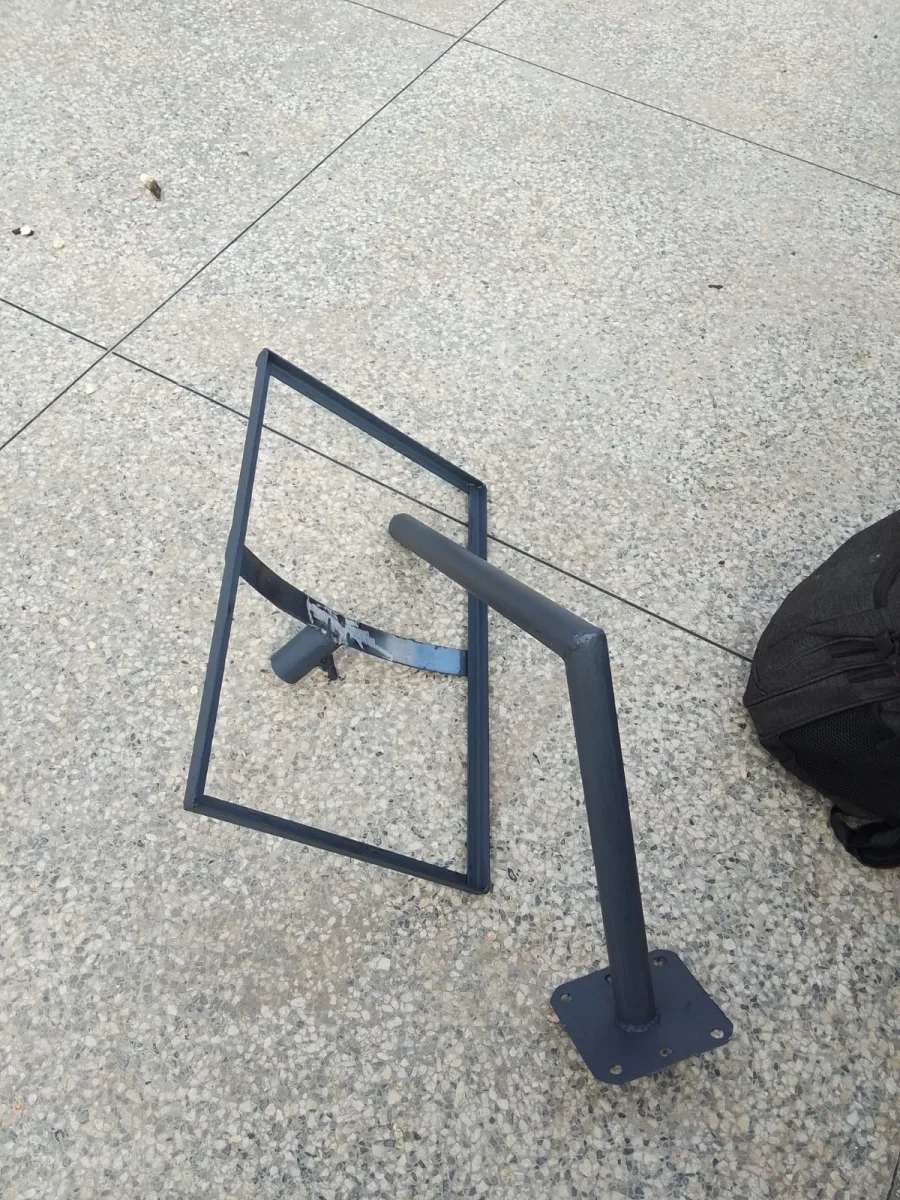
Need Starlink Installation or Network Optimization?
We help homes, offices, apartments, and businesses with Starlink installation, WiFi coverage improvement, and professional setup in Kenya.
Request Installation Chat on WhatsApp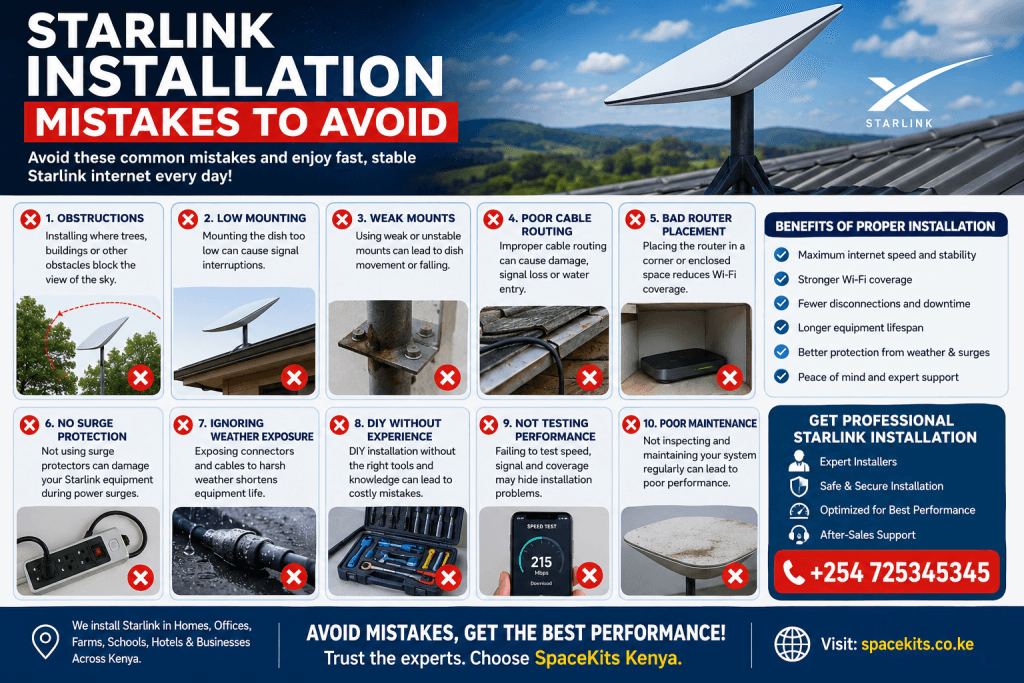
Starlink Installation Mistakes to Avoid: A Complete Guide for Homes and Businesses in Kenya
The demand for Starlink installation in Kenya has grown rapidly as more homeowners, businesses, schools, farms, hotels, and organizations look for fast and reliable internet. Unlike traditional internet providers that rely on fiber cables or mobile towers, Starlink connects users directly to satellites orbiting the Earth. This allows people even in remote areas to enjoy high-speed internet.
Talk to Spacekits
Need Starlink help for your home or business?
Talk to Spacekits before you buy or book installation. We help with kit supply, mounting, activation, router placement, WiFi coverage, and written quotes.
However, buying the Starlink kit is only the first step. The quality of your internet experience depends heavily on proper installation. Many users unknowingly make installation mistakes that lead to poor speeds, unstable connections, frequent outages, and unnecessary repair costs.
Understanding the common Starlink installation mistakes to avoid can save you money, improve performance, and extend the lifespan of your equipment.
At SpaceKits Kenya, we specialize in professional Starlink installation services across Kenya, ensuring every customer enjoys the maximum performance from their Starlink system.
Contact SpaceKits Kenya Today
📞 Phone: +254 725345345
🌐 Website: spacekits.co.ke
Why Proper Starlink Installation Matters
Many people assume Starlink works immediately after plugging it in. While the system is designed to be user-friendly, proper installation requires technical knowledge.
Correct installation ensures:
- Maximum internet speed
- Stable connection throughout the day
- Better Wi-Fi coverage
- Protection against harsh weather
- Longer equipment lifespan
- Fewer maintenance issues
- Reduced downtime
Poor installation, on the other hand, often results in:
- Slow downloads
- Constant buffering
- Frequent disconnects
- Hardware damage
- Signal interference
- Increased repair costs
Professional Starlink installation in Kenya helps eliminate these problems before they occur.
Mistake #1: Installing the Dish Where There Are Obstructions
This is by far the most common Starlink installation mistake.
Starlink communicates directly with satellites. If trees, buildings, water tanks, hills, chimneys, or electric poles block the sky, the dish loses connection.
Common obstructions include:
- Tall eucalyptus trees
- Apartment balconies
- Metal roofing extensions
- Cell towers
- Billboards
- Nearby office buildings
Even a small obstruction can interrupt communication with satellites.
The result includes:
- Random internet drops
- Slow browsing
- Video call interruptions
- Poor streaming quality
- High latency
Professional installers always perform a site survey before mounting the dish.
Mistake #2: Ignoring the Starlink App Before Installation
The official Starlink App includes an obstruction scanner.
Many users skip this important step.
The app helps determine:
- Whether your chosen location has a clear sky
- Possible obstructions
- Best installation position
- Dish orientation
- Expected performance
Skipping this simple test often leads to poor installation decisions.
Professional Starlink installers in Kenya always use obstruction analysis before mounting the equipment.
Mistake #3: Mounting the Dish Too Low
Some users install the dish on:
- Short poles
- Low walls
- Small fences
- Verandas
- Balcony railings
Although the dish may initially work, nearby obstacles gradually interfere with satellite communication.
Installing the dish higher provides:
- Better visibility
- Stronger satellite connection
- Improved weather resistance
- Fewer signal interruptions
Professional installers select the safest mounting height depending on your property.
Mistake #4: Using Weak Mounting Structures
Another common mistake is mounting the Starlink dish on unstable surfaces.
Examples include:
- Rotten wooden poles
- Weak iron sheets
- Loose metal frames
- Temporary structures
- Plastic poles
Kenya experiences:
- Strong winds
- Heavy rainfall
- Dust storms
- Intense sunshine
Weak installations eventually fail.
A loose dish can:
- Shift position
- Damage the cable
- Fall off completely
- Break the mount
Professional Starlink installation uses heavy-duty mounting brackets designed for long-term durability.
Mistake #5: Poor Cable Routing
The Starlink cable is responsible for both power and data transmission.
Improper cable routing causes many future problems.
Common mistakes include:
- Leaving cables exposed
- Running cables across pathways
- Sharp cable bends
- Pinching the cable through windows
- Exposing cables to direct sunlight
These mistakes can damage the internal wiring.
Professional installers protect cables using:
- PVC conduits
- Cable clips
- Waterproof entry points
- Protective sleeves
This increases cable lifespan significantly.
Mistake #6: Installing Near Electrical Interference
Although Starlink is resistant to many forms of interference, nearby electrical equipment can still affect overall network performance.
Avoid placing equipment near:
- High-voltage transformers
- Industrial machinery
- Large generators
- Microwave transmitters
- Radio antennas
Professional installers understand how to minimize environmental interference.
Mistake #7: Poor Wi-Fi Router Placement
Many users focus entirely on the satellite dish while forgetting about the router.
Even if the satellite connection is perfect, poor router placement creates weak Wi-Fi coverage.
Avoid placing the router:
- Inside cupboards
- Under desks
- Behind televisions
- Near refrigerators
- Inside metal cabinets
Instead, place the router:
- Near the center of the house
- Elevated on a shelf
- Away from metal objects
- In open spaces
Good router placement improves internet coverage throughout the building.
Mistake #8: Ignoring Weather Exposure
Although Starlink hardware is built for outdoor use, poor installation can expose it to unnecessary damage.
Examples include:
- Flood-prone roofs
- Unstable rooftops
- Corrosive coastal environments without protection
- Falling tree branches
- Loose roofing sheets
Professional installers evaluate environmental risks before selecting the mounting point.
Mistake #9: Choosing DIY Installation Without Experience
Many online videos make Starlink installation appear extremely easy.
Unfortunately, every property is different.
DIY installers often overlook:
- Cable protection
- Roof safety
- Structural stability
- Lightning considerations
- Wi-Fi optimization
- Proper mounting hardware
Small mistakes become expensive repairs later.
Professional installation eliminates guesswork.
Mistake #10: Ignoring Future Expansion
Many homeowners only think about today’s internet needs.
However, internet demand keeps growing.
Future additions may include:
- CCTV cameras
- Smart TVs
- Smart home systems
- Office computers
- VoIP phones
- Security systems
- Gaming devices
Professional installers position the system with future upgrades in mind.
Mistake #11: Poor Power Management
Starlink requires consistent power.
Many installations fail because users connect the system to:
- Damaged extension cables
- Low-quality sockets
- Overloaded power strips
- Unstable electrical systems
Power fluctuations can interrupt service.
In areas with unreliable electricity, installers may recommend:
- UPS backup systems
- Surge protectors
- Solar backup integration
These protect your Starlink investment.
Mistake #12: Forgetting Surge Protection
Lightning and power surges can damage networking equipment.
Although Starlink systems include built-in protections, external surge protection adds another layer of safety.
Professional installations often include:
- Surge protectors
- Proper grounding
- Safe cable routing
- Weather-resistant connectors
These reduce equipment damage during storms.
Mistake #13: Choosing the Wrong Mount
Different buildings require different mounting solutions.
Examples include:
- Roof mounts
- Wall mounts
- Pole mounts
- Chimney mounts
- Ground mounts
Using the wrong mount may lead to:
- Dish movement
- Reduced stability
- Safety risks
- Frequent maintenance
Professional installers select mounts based on:
- Roof type
- Wind conditions
- Building design
- Cable distance
Mistake #14: Failing to Secure the Installation Properly
Loose bolts eventually become major problems.
Poor fastening can result in:
- Dish vibration
- Misalignment
- Water leaks
- Roof damage
Professional installers tighten and inspect every mounting point carefully.
Mistake #15: Not Testing Performance After Installation
Installation doesn’t end after mounting the dish.
A professional installation includes:
- Signal testing
- Speed testing
- Wi-Fi coverage testing
- Router optimization
- Cable inspection
- Final customer demonstration
Testing ensures everything works correctly before the installer leaves.
Benefits of Professional Starlink Installation in Kenya
Hiring experts provides several advantages:
- Correct positioning of the dish
- Faster installation
- Better internet performance
- Safe roof access
- Proper cable management
- Reliable Wi-Fi optimization
- Professional troubleshooting
- Long-term support
- Reduced maintenance costs
- Peace of mind
Many internet issues reported by Starlink users are actually installation-related rather than equipment defects.
Why Choose SpaceKits Kenya?
At SpaceKits Kenya, we have extensive experience installing Starlink systems for:
- Homes
- Apartments
- Offices
- Hotels
- Schools
- Farms
- Construction sites
- Hospitals
- Warehouses
- Remote businesses
Our team ensures every installation is optimized for speed, reliability, and long-term performance.
Whether you are installing a new Starlink kit or correcting a poor installation, we are ready to help.
Contact Us
SpaceKits Kenya
📞 +254 725345345
Advanced Guide to Starlink Installation Mistakes to Avoid (Approx. 2,000 Words)
More Starlink Installation Mistakes to Avoid for Better Internet Performance
Understanding the common Starlink installation mistakes to avoid can make the difference between enjoying consistently fast internet and dealing with frustrating connection issues. While the first part covered the most frequent installation errors, there are several additional mistakes that many Starlink users overlook. Avoiding these problems will help you maximize your investment and enjoy uninterrupted connectivity for years to come.
Whether you have recently purchased your Starlink kit or are planning an installation, learning these Starlink installation mistakes to avoid will help ensure your system delivers the speeds and reliability that Starlink is known for.
Mistake #16: Installing Without a Professional Site Assessment
Many homeowners choose the first convenient location they see without evaluating whether it is the best place for satellite communication.
A professional site assessment considers:
- Tree growth over the next several years
- Building expansion plans
- Signal obstructions during different seasons
- Wind direction
- Roof strength
- Safe cable routing
- Accessibility for future maintenance
Skipping a proper survey is one of the biggest Starlink installation mistakes to avoid because relocating the dish later can cost both time and money.
Mistake #17: Using Low-Quality Mounting Accessories
Some installers attempt to reduce costs by using cheap brackets, screws, or poles that are not designed for outdoor use.
Low-quality hardware may:
- Rust quickly
- Loosen after heavy winds
- Bend under pressure
- Cause the dish to shift
- Require frequent replacements
Professional installers use galvanized or stainless-steel hardware designed to withstand Kenya’s varying weather conditions.
Mistake #18: Ignoring Roof Safety During Installation
One of the most overlooked Starlink installation mistakes to avoid involves unsafe roof work.
Attempting to install the dish without proper safety equipment can result in accidents or property damage.
Professional installers use:
- Safety harnesses
- Stable ladders
- Roof anchors
- Protective equipment
They also ensure the roof remains watertight after drilling or mounting hardware.
Mistake #19: Running Excessively Long Cable Routes
The longer the cable route, the greater the chances of damage, signal issues, and installation complexity.
Poor cable planning often leads to:
- Visible messy wiring
- Increased wear
- Difficult maintenance
- Additional installation costs
Professional installers design efficient cable paths that protect the cable while maintaining a neat appearance.
Mistake #20: Forgetting About Future Maintenance Access
Some installations place the Starlink dish in locations that become almost impossible to reach later.
Maintenance may eventually require:
- Cleaning the dish
- Replacing mounting hardware
- Inspecting cables
- Checking roof fasteners
One of the smartest Starlink installation mistakes to avoid is mounting the dish where it can be safely accessed without risking damage to the property.
Mistake #21: Installing Near Birds’ Nesting Areas
Birds often choose elevated structures for nesting.
Installing the Starlink dish near active nesting areas can result in:
- Bird droppings
- Cable damage
- Physical obstruction
- Frequent cleaning
Professional installers look for locations that minimize wildlife interference while maintaining excellent satellite visibility.
Mistake #22: Failing to Protect Connectors from Moisture
Water is one of the biggest enemies of electronic connections.
Poorly protected connectors may develop:
- Corrosion
- Short circuits
- Reduced performance
- Complete failure
Weatherproof installation techniques help protect your investment throughout rainy seasons.
Mistake #23: Overlooking Wi-Fi Dead Zones
A perfectly installed satellite dish does not guarantee excellent Wi-Fi coverage inside your home.
Large houses often have dead zones caused by:
- Thick concrete walls
- Multiple floors
- Steel structures
- Long hallways
Professional installers perform Wi-Fi coverage tests and recommend mesh networking systems where necessary.
Avoiding this is another important Starlink installation mistakes to avoid consideration.
Mistake #24: Ignoring Internet Usage Requirements
Every household uses the internet differently.
Some families only browse websites while others:
- Stream 4K videos
- Work remotely
- Attend online classes
- Operate security systems
- Play online games
- Upload large files
Understanding your internet needs helps determine the best router placement and network configuration.
Mistake #25: Failing to Update Equipment
Starlink frequently improves its software.
Ignoring firmware updates may result in:
- Lower performance
- Missed security improvements
- Reduced stability
- Compatibility issues
Professional installers ensure systems are fully updated during installation.
Mistake #26: Not Securing Indoor Network Equipment
While much attention goes to the outdoor dish, indoor equipment also requires protection.
Keep the router:
- Away from direct sunlight
- In a cool environment
- Free from dust buildup
- Well ventilated
Overheating can reduce performance and shorten equipment lifespan.
Mistake #27: Using Poor Internal Network Design
Many users connect dozens of devices to a single router without considering network optimization.
This can cause:
- Congestion
- Slow speeds
- Higher latency
- Reduced streaming quality
Professional network configuration helps distribute traffic efficiently.
Mistake #28: Hiring Unqualified Installers
Perhaps the most expensive Starlink installation mistakes to avoid is hiring inexperienced installers.
Poor workmanship often results in:
- Roof leaks
- Weak mounting
- Cable damage
- Poor signal quality
- Repeat installation costs
Always work with experienced Starlink installation professionals.
How Professional Starlink Installation Improves Performance
Professional installation delivers numerous long-term benefits.
These include:
- Proper dish alignment
- Maximum satellite visibility
- Neat cable management
- Reliable Wi-Fi coverage
- Safe roof installation
- Professional testing
- Long-term durability
- Lower maintenance costs
Professional installers also identify problems before they become expensive repairs.
Signs Your Starlink Installation Needs Improvement
Your installation may require inspection if you notice:
- Frequent internet interruptions
- Slow download speeds
- High latency
- Random disconnects
- Buffering during streaming
- Video call interruptions
- Weak Wi-Fi signal
- Visible cable damage
- Loose mounting hardware
These symptoms often indicate one or more Starlink installation mistakes to avoid were overlooked during the initial setup.
Preventative Maintenance Tips
Proper maintenance extends the life of your Starlink equipment.
Recommended practices include:
- Inspect mounting hardware every few months.
- Remove leaves and debris around the dish.
- Check cables for wear.
- Clean the dish when necessary.
- Inspect connectors after heavy storms.
- Test internet speeds periodically.
- Keep the router dust free.
- Ensure proper ventilation.
Regular maintenance reduces unexpected downtime and costly repairs.
Why Kenyan Homes and Businesses Trust Professional Installation
Across Kenya, Starlink has become an excellent solution for:
- Rural homes
- Urban apartments
- Hotels
- Schools
- Hospitals
- Construction sites
- Farms
- Offices
- Retail businesses
- Warehouses
However, achieving reliable performance depends on avoiding common Starlink installation mistakes to avoid from the very beginning.
Professional installation ensures the system performs efficiently regardless of location.
Frequently Asked Questions
Can I install Starlink myself?
Yes, but professional installation is recommended to avoid common Starlink installation mistakes to avoid that can reduce performance and shorten equipment life.
How long does professional installation take?
Most installations are completed within two to four hours, depending on the property layout and mounting requirements.
Does weather affect Starlink?
Heavy rain may occasionally reduce performance, but proper installation minimizes weather-related disruptions.
Can trees block Starlink?
Yes. Trees are among the most common causes of signal obstruction. Professional site selection is essential.
How often should the system be inspected?
A professional inspection every year helps ensure the dish, mounting hardware, and cables remain in excellent condition.
Why Choose SpaceKits Kenya for Professional Starlink Installation?
At SpaceKits Kenya, we understand that every property is unique. Our experienced technicians carefully assess each site, identify the best mounting location, and install every component to the highest standards.
Our services include:
- Professional Starlink installation
- Site surveys
- Roof and wall mounting
- Pole installations
- Cable management
- Wi-Fi optimization
- System troubleshooting
- Starlink relocation
- Maintenance services
- Performance testing
- Commercial Starlink installations
- Residential Starlink installations
We focus on helping customers avoid every possible Starlink installation mistakes to avoid, ensuring fast, reliable, and long-lasting internet connectivity.
Whether you are installing Starlink at a home, office, school, hotel, farm, or business premises, our team is ready to deliver a professional solution tailored to your needs.
Additional Guide: Starlink Installation Mistakes to Avoid
If you are searching online for Starlink installation mistakes to avoid, you are already taking an important step toward ensuring your Starlink system performs at its best. Understanding the most common Starlink installation mistakes to avoid can help you avoid expensive repairs, frustrating internet interruptions, and poor network performance. Many people assume that Starlink is simply a plug-and-play system, but overlooking critical Starlink installation mistakes to avoid often leads to slow speeds, unstable connections, and unnecessary maintenance costs.
One of the biggest Starlink installation mistakes to avoid is choosing an installation location without checking for obstructions. Trees, tall buildings, water tanks, and even nearby structures can interfere with the satellite’s line of sight. Another of the common Starlink installation mistakes to avoid is mounting the dish on weak or unstable surfaces that cannot withstand strong winds or heavy rain. Professional installers know exactly how to identify and prevent these Starlink installation mistakes to avoid, ensuring your equipment remains secure throughout the year.
Ignoring cable management is another important item on the list of Starlink installation mistakes to avoid. Poorly routed cables can become damaged by sunlight, moisture, rodents, or accidental pulling. Proper cable protection is one of the easiest ways to eliminate Starlink installation mistakes to avoid while extending the lifespan of your Starlink equipment. Similarly, placing the Wi-Fi router in a hidden corner of the house is among the Starlink installation mistakes to avoid because it reduces wireless coverage even when the satellite signal is excellent.
Another of the frequently overlooked Starlink installation mistakes to avoid is failing to perform a complete performance test after installation. Many users simply power on the system and assume everything is working correctly. Professional installers test signal strength, internet speed, Wi-Fi coverage, and system stability to ensure there are no hidden Starlink installation mistakes to avoid before completing the installation.
Homeowners and businesses should also understand that failing to maintain the system is one of the long-term Starlink installation mistakes to avoid. Regular inspections of mounting brackets, cables, connectors, and the dish itself help prevent small issues from becoming expensive repairs. Keeping your system clean and checking for loose hardware are simple ways to avoid common Starlink installation mistakes to avoid while maintaining excellent internet performance.
The safest approach is always to work with experienced Starlink professionals who understand every aspect of Starlink installation mistakes to avoid. A professional installer has the tools, knowledge, and experience to identify potential problems before they affect your connection. Instead of spending money correcting Starlink installation mistakes to avoid later, investing in professional installation from the beginning provides better reliability, stronger Wi-Fi coverage, and maximum internet speeds.
At SpaceKits Kenya, we help customers across Kenya avoid every major Starlink installation mistakes to avoid by providing professional site surveys, expert mounting, secure cable management, Wi-Fi optimization, system testing, and ongoing technical support. Whether you are installing Starlink in a home, office, school, farm, hotel, or commercial building, our team ensures that every Starlink installation mistakes to avoid is addressed before the installation is completed. Contact SpaceKits Kenya today on +254 725345345 or visit spacekits.co.ke for reliable, professional Starlink installation services anywhere in Kenya.
Final Thoughts
Investing in Starlink is an excellent decision for anyone seeking high-speed internet across Kenya, but the quality of your experience depends heavily on proper installation. By understanding the most common Starlink installation mistakes to avoid, you can prevent slow speeds, signal interruptions, costly repairs, and unnecessary downtime.
From selecting the ideal mounting location to securing cables, protecting connectors, optimizing Wi-Fi, and performing routine maintenance, every step plays a role in ensuring your Starlink system performs at its best. Professional installation not only saves time but also protects your investment and delivers consistent performance for years to come.
If you want a hassle-free installation with expert guidance, trust SpaceKits Kenya to get the job done right the first time.
Contact SpaceKits Kenya Today
Website: spacekits.co.ke
Phone: +254 725345345
Our experienced technicians are ready to help you avoid every Starlink installation mistakes to avoid, providing safe, professional, and reliable Starlink installation services anywhere in Kenya. Let us help you unlock the full potential of your Starlink internet with an installation built for speed, stability, and long-term performance.
Need Starlink Installation or Network Optimization?
We help homes, offices, apartments, and businesses with Starlink installation, WiFi coverage improvement, and professional setup in Kenya.
Request Installation Chat on WhatsApp