


Starlink Roof Mount Kit: The Ultimate Guide for Seamless Satellite Internet Installation
In today’s world, staying connected is more than a luxury—it’s a necessity. Starlink, SpaceX’s revolutionary satellite internet service, brings high-speed internet to even the most remote locations. But to get the best performance from your Starlink satellite dish, proper installation is key. That’s where a Starlink roof mount kit comes in.
Talk to Spacekits
Need Starlink help for your home or business?
Talk to Spacekits before you buy or book installation. We help with kit supply, mounting, activation, router placement, WiFi coverage, and written quotes.
Whether you’re a rural homeowner, a small business, or a digital nomad, understanding the benefits and installation process of a Starlink roof mount kit will ensure you maximize your internet speed and reliability.
What is a Starlink Roof Mount Kit?
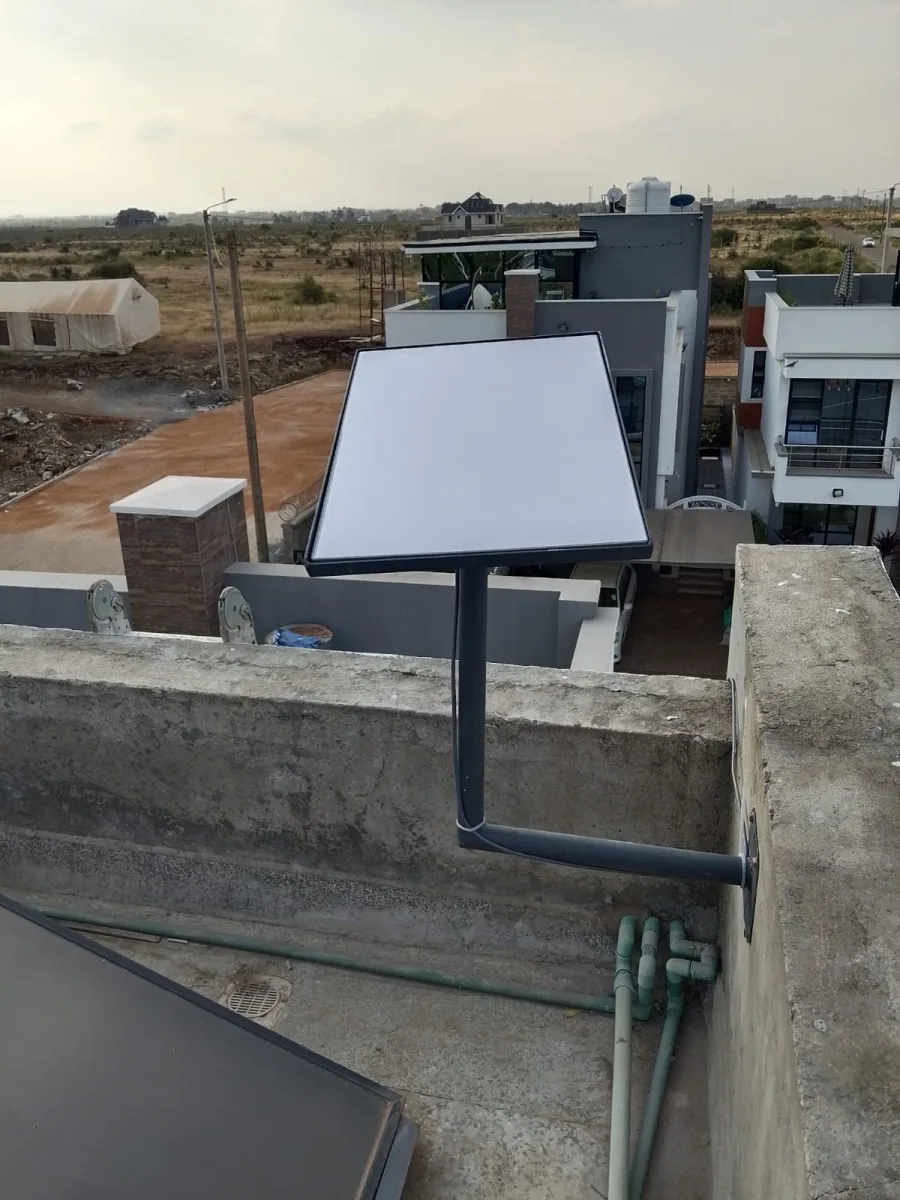
A Starlink roof mount kit is a specialized mounting system designed to securely attach your Starlink satellite dish to the roof of your home or building. Unlike the standard tripod stand, a roof mount provides:
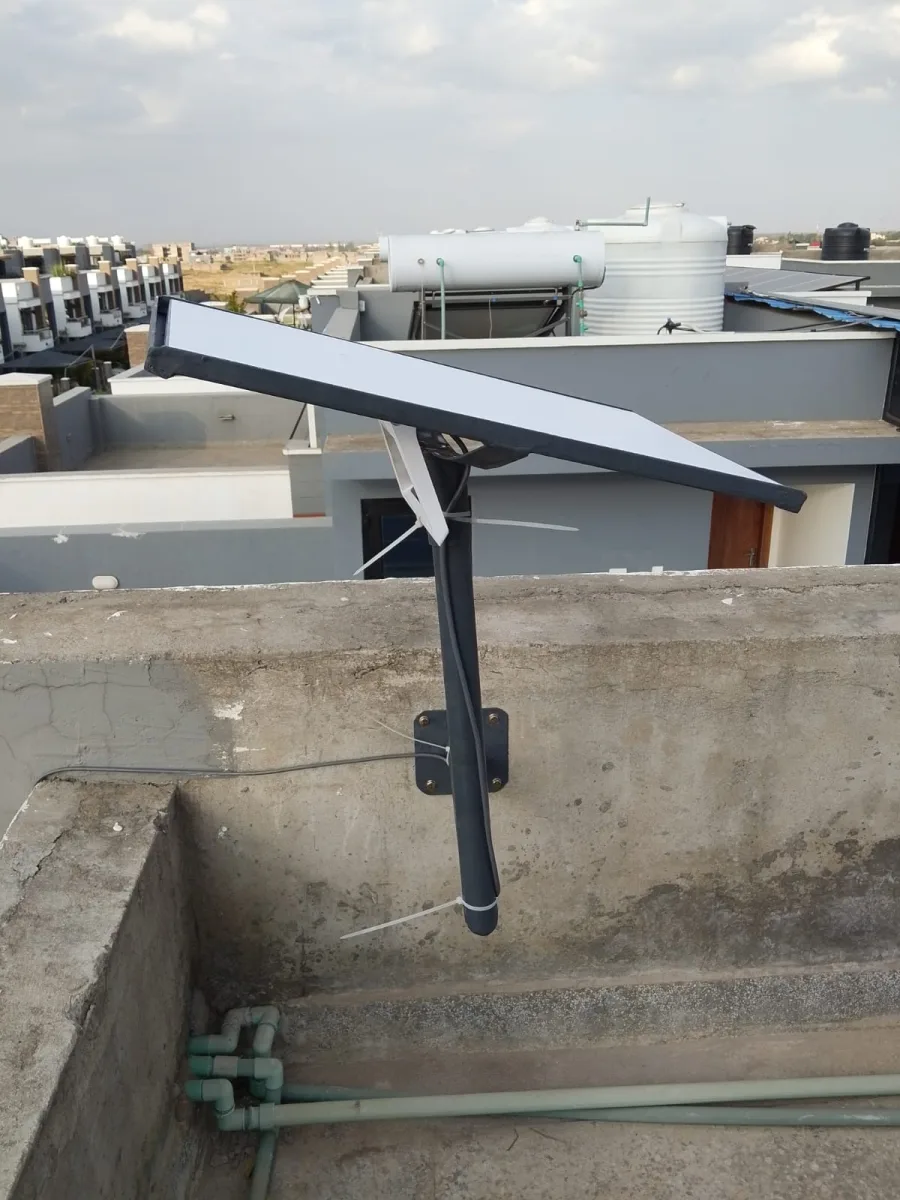
Enhanced stability: Keeps your dish secure against wind and harsh weather conditions.
Optimal signal reception: Elevates the dish for a clear line of sight to the satellites.
Aesthetically pleasing installation: Keeps your dish neatly in place without cluttering outdoor spaces.
By using a roof mount, you reduce the risk of signal interruptions and improve the longevity of your Starlink equipment.
Types of Starlink Roof Mount Kits
Starlink roof mount kits come in different designs, each tailored to specific roof types and installation needs:
1. Fixed Roof Mounts
Ideal for permanent installations.
Provides maximum stability and is suitable for residential homes.
2. Adjustable Roof Mounts
Allows you to tilt and rotate the dish for optimal satellite alignment.
Perfect for areas with varying seasonal satellite angles.
3. Low-Profile Roof Mounts
Blends seamlessly with your roofline.
Great for homeowners concerned about the visual impact of a roof-mounted dish.
Benefits of Using a Starlink Roof Mount Kit
Investing in a Starlink roof mount kit offers several advantages:
Reliable Internet Connectivity
Mounting your Starlink dish on the roof ensures a direct line of sight to the satellite network, minimizing obstructions like trees or buildings.Durability and Weather Resistance
Most roof mount kits are made from high-quality materials like stainless steel or aluminum, which resist corrosion and withstand harsh weather.Space Optimization
Free up your yard or balcony space by relocating the dish to the roof.Professional and Secure Installation
Reduces the risk of accidental knocks or misalignment that can occur with ground installations.
How to Install a Starlink Roof Mount Kit
Installing a Starlink roof mount kit is straightforward if you follow these steps carefully:
Choose the Right Location
Select a spot on your roof with a clear view of the sky. Avoid areas with obstructions like trees, chimneys, or antennas.Assemble the Roof Mount Kit
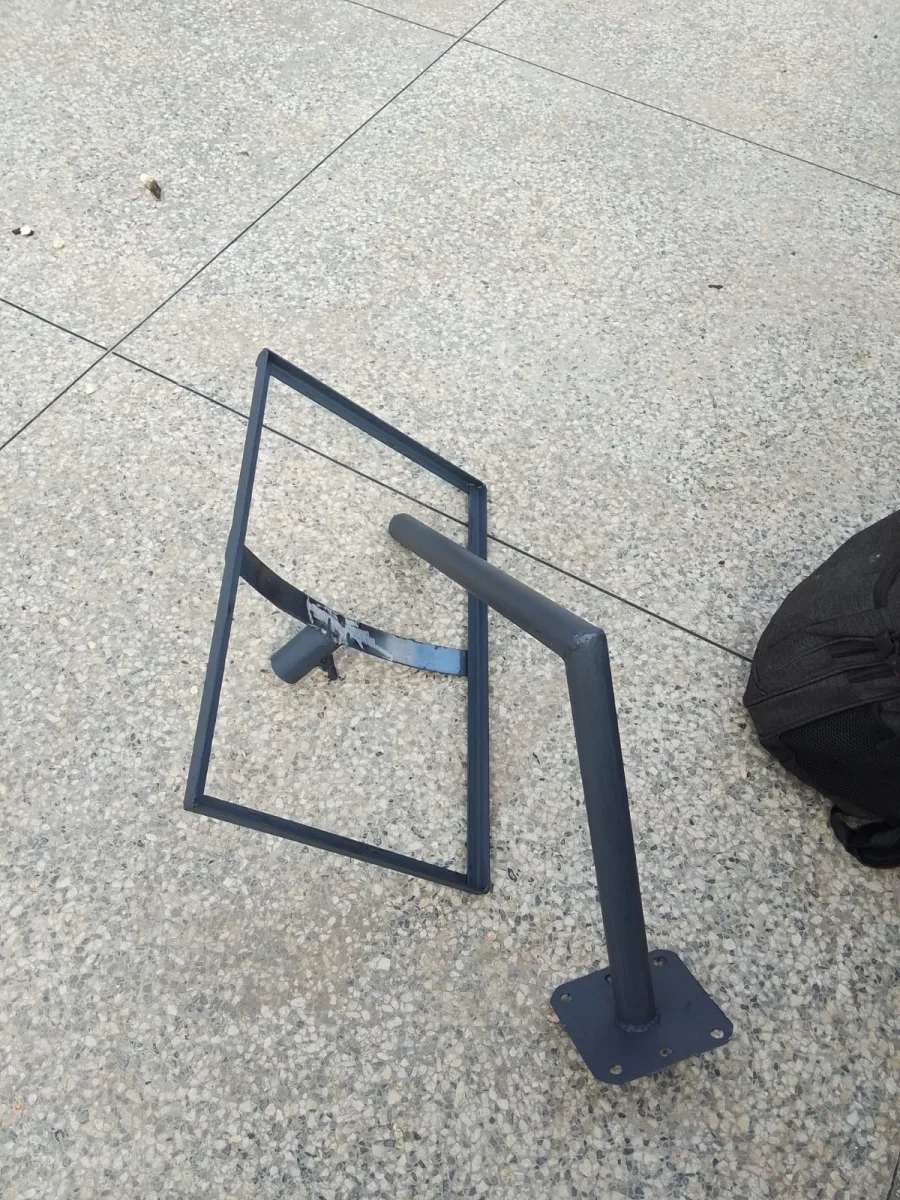
Follow the manufacturer’s instructions to assemble the mount. Most kits include brackets, bolts, and a mounting base.Secure the Mount
Attach the mount to your roof using the provided hardware. Ensure it is tightly secured to prevent movement during high winds.Install the Starlink Dish
Place the Starlink dish on the mount and connect the cables. Make any necessary adjustments to angle and alignment for optimal signal strength.Test the Connection
Power up your Starlink system and use the Starlink app to check signal strength. Make small adjustments as needed.
Tips for Choosing the Best Starlink Roof Mount Kit
Compatibility: Ensure the mount is designed specifically for Starlink dishes.
Durability: Look for corrosion-resistant materials like stainless steel or powder-coated aluminum.
Ease of Installation: Kits with clear instructions and adjustable angles save time and effort.
Warranty: A good warranty offers peace of mind for your investment.
Starlink Roof Mount Kit vs. Ground Mount
While a ground mount is easier to install and can be moved, it has some limitations:
| Feature | Roof Mount Kit | Ground Mount |
|---|---|---|
| Stability | High | Moderate |
| Space Requirement | Minimal | Requires open area |
| Signal Interference | Low | Higher |
| Weather Exposure | High (wind, rain) | Moderate |
| Aesthetic Appeal | Low-profile | Can be obtrusive |
For most homeowners, a roof mount kit offers the best combination of performance, security, and aesthetics.
Where to Buy a Starlink Roof Mount Kit
Starlink roof mount kits are available online and through select electronics and satellite service stores. When purchasing:
Choose authorized retailers or reputable e-commerce platforms.
Compare prices, shipping options, and customer reviews.
Look for kits with adjustable brackets for maximum flexibility.
Conclusion
A Starlink roof mount kit is a smart investment for anyone seeking a stable, high-performance Starlink internet connection. By mounting your dish on the roof, you enjoy superior signal reception, protection from damage, and a cleaner installation. Whether you’re in a remote rural area or just want to optimize your home internet, a roof mount kit ensures your Starlink system performs at its best.
Upgrade your Starlink setup today with a quality roof mount kit and experience uninterrupted, high-speed internet like never before.
Advanced Tips for Installing Your Starlink Roof Mount Kit
Proper installation is key to maximizing your Starlink performance. Here are some advanced tips that professional installers recommend:
1. Check Your Roof Material
Different roof materials require different mounting techniques:
Asphalt Shingles: Standard roof mounts usually work well. Use proper flashing to prevent leaks.
Metal Roofs: Use clamps designed for metal panels to avoid drilling.
Tile Roofs: Consider a specialized tile mount bracket to avoid cracking tiles.
2. Use a Level for Perfect Alignment
Even a slight tilt can affect signal quality. Use a spirit level during installation to ensure the mount is perfectly horizontal.
3. Seal All Penetrations
Any screws or bolts that go through your roof should be properly sealed with waterproof roofing sealant. This prevents leaks and water damage.
4. Consider Wind Load
If you live in a high-wind area, choose mounts that are reinforced or have guy-wire options. Starlink dishes are lightweight, but strong winds can tilt or move them, affecting signal quality.
5. Keep Cables Organized
Run your Starlink cable through a weatherproof conduit along your roof or down the wall. This protects it from UV damage and keeps your installation neat.
Starlink Roof Mount Kit Installation Step-by-Step (Detailed)
Here’s a more detailed step-by-step guide to installing your Starlink roof mount kit:
Site Survey: Walk around your property and use the Starlink app’s “Check for Obstructions” feature. This helps identify potential obstacles like trees or nearby buildings.
Prepare the Mount: Assemble the bracket, base plate, and screws. Make sure all bolts are included and in good condition.
Attach Base Plate: Position the mount where you want your dish. Drill pilot holes for screws and attach the base plate securely.
Seal and Protect: Apply roofing sealant around screw holes to prevent leaks.
Mount the Dish: Attach the Starlink dish to the bracket. Ensure it clicks into place and is secure.
Cable Connection: Run the cable carefully down the roof. Connect it to your Starlink router inside your home.
Final Testing: Open the Starlink app and check signal strength. Adjust the tilt and rotation slightly if needed.
Common Mistakes to Avoid
Even experienced installers can make mistakes. Here’s what to avoid:
Choosing a Shady Spot: Trees, antennas, or even nearby buildings can block satellites.
Ignoring Roof Pitch: Incorrect mounting angles can reduce signal strength.
Skipping Waterproofing: Water leaks can damage your roof and Starlink equipment.
Loose Fasteners: Every bolt must be tight. A loose mount may shift in strong winds.
How to Maintain Your Starlink Roof Mount Kit
Maintenance is simple but essential for long-term performance:
Check Bolts and Screws: Inspect every 6 months to ensure nothing has loosened.
Clean the Dish: Remove dust, dirt, snow, or leaves to avoid signal interference.
Inspect Roof Integrity: Ensure that the mount hasn’t caused shingles or tiles to crack.
Monitor Signal: Use the Starlink app to detect performance dips that might indicate alignment issues.
FAQs About Starlink Roof Mount Kits
Q1: Can I install the Starlink dish myself?
Yes, most roof mount kits are DIY-friendly, but some users prefer professional installation for safety and precision.
Q2: Will the roof mount affect my internet speed?
A properly installed roof mount often improves internet speed and reliability by giving your dish a clear line of sight to satellites.
Q3: Can I install a Starlink dish on a flat roof?
Absolutely. Use a roof mount kit designed for flat surfaces with adjustable angles to optimize signal reception.
Q4: What is the lifespan of a roof mount kit?
High-quality mounts can last 10+ years with proper maintenance, even in harsh weather conditions.
Q5: Do I need a permit to install a roof mount?
Most residential installations do not require a permit, but check local building regulations, especially for multi-story or commercial buildings.
Choosing the Best Starlink Roof Mount Kit for Your Home
When shopping for a roof mount kit, here’s what to prioritize:
Material Quality: Stainless steel or powder-coated aluminum resists rust and corrosion.
Adjustability: Kits with tilt and swivel options allow optimal satellite alignment.
Installation Ease: Pre-drilled holes and clear instructions save time.
Weather Resistance: Ensure the mount can withstand heavy rain, snow, or high winds.
Warranty & Support: Choose kits with at least a 1-year warranty and responsive customer service.
Starlink Roof Mount Kit vs. Other Mounting Options
| Mount Type | Advantages | Disadvantages |
|---|---|---|
| Roof Mount Kit | Optimal signal, secure, space-saving | Requires roof access |
| Ground Mount | Easy to adjust and install | Obstruction risk, requires yard space |
| Pole Mount | Can be installed on fences or decks | Less stable in strong winds |
| Tripod Mount | Portable, no roof drilling | Less stable, may affect signal |
For most users, a roof mount kit offers the perfect balance of performance, security, and aesthetics.
Conclusion
A Starlink roof mount kit is more than just a mounting accessory—it’s an investment in reliable, high-speed satellite internet. With proper installation, maintenance, and a clear view of the sky, your Starlink system will deliver consistent, fast internet, even in the most remote locations.
Whether you’re upgrading from a tripod or installing Starlink for the first time, a roof mount kit ensures your dish is secure, weatherproof, and perfectly aligned for optimal performance.
Don’t compromise your internet connection—choose a high-quality Starlink roof mount kit today and enjoy uninterrupted connectivity with the power of Starlink.