
Need Starlink Installation or Network Optimization?
We help homes, offices, apartments, and businesses with Starlink installation, WiFi coverage improvement, and professional setup in Kenya.
Request Installation Chat on WhatsAppStarlink Warranty Kenya questions often begin when a dish, router, cable or power supply stops working as expected. The best response is a documented process that separates product faults from installation, power, obstruction and Wi-Fi problems.
Talk to Spacekits
Need Starlink help for your home or business?
Talk to Spacekits before you buy or book installation. We help with kit supply, mounting, activation, router placement, WiFi coverage, and written quotes.
This guide explains how Kenyan customers can prepare evidence, use official support and protect their equipment. SpaceKits provides installation and network assistance on 0725345345, while Starlink remains responsible for account, billing and warranty decisions.

What Starlink Warranty Kenya Usually Covers
A warranty review normally starts by separating a suspected manufacturing fault from installation damage, accidental damage, weather exposure, power problems and ordinary wear. The official decision belongs to Starlink, so customers should use the support channel in their own account. SpaceKits can inspect the installation, document symptoms and help the customer understand what evidence may be useful, but it cannot promise that a claim will be approved.
Typical evidence includes the kit serial details, account email, purchase or order record, clear photographs, app screenshots, dates when the failure started and a list of troubleshooting steps already completed. Preparing this information before opening a support request makes the description easier to understand and can reduce unnecessary back-and-forth.
1. Confirm the Correct Account and Kit
Begin by signing in to the account that currently owns and manages the Starlink kit. The dish, router and service subscription must be associated with the correct customer account. A technician should never ask for the customer password; the owner should control the app and submit the official request directly.
If the equipment was bought second-hand, confirm that an official transfer was completed before assuming warranty support is available. A used kit that remains tied to another account can create activation and support complications. Keep the seller’s receipt, transfer confirmation and any written description of the kit’s condition.
2. Record the Original Purchase Information
Locate the order confirmation, invoice, retailer receipt or other proof showing where and when the kit was purchased. Warranty terms may depend on the product, seller, territory and circumstances. Avoid relying on verbal statements from an informal seller when an official record is available.
Photograph labels on the dish, router, power supply and packaging without publishing sensitive account information online. Match the identifiers shown in the Starlink app with the physical equipment. This helps prevent a support request from being opened for the wrong kit after routers, cables or dishes have been moved between sites.
3. Diagnose the Symptom Before Claiming
Describe the problem precisely. Examples include no power, repeated rebooting, a damaged connector, a router that will not broadcast Wi-Fi, an app message showing the dish is disconnected, or unstable service despite a clear sky. Statements such as “internet is bad” are too broad for efficient diagnosis.
Run safe checks first: inspect cable seating, verify the power outlet, review the app status and look for visible damage. Do not open sealed hardware or make irreversible modifications. If electrical supply is unstable, test through a suitable surge protector or UPS because repeated voltage disturbances can imitate equipment failure and damage replacement hardware.
4. Use the Starlink App Evidence
The Starlink app provides status, outage, obstruction, speed and device information that can support a technical description. Take screenshots while the problem is occurring and note the time. Compare a router-to-internet test with a device-to-router test so Wi-Fi weakness is not mistaken for a satellite hardware fault.
A clear obstruction map may reveal trees, buildings or roof features blocking the dish. In that case the correct remedy may be relocation rather than warranty replacement. SpaceKits can assess mounting, cable routing and Wi-Fi coverage, while official account and warranty decisions remain with Starlink support.
5. Inspect Installation and Cable Routing
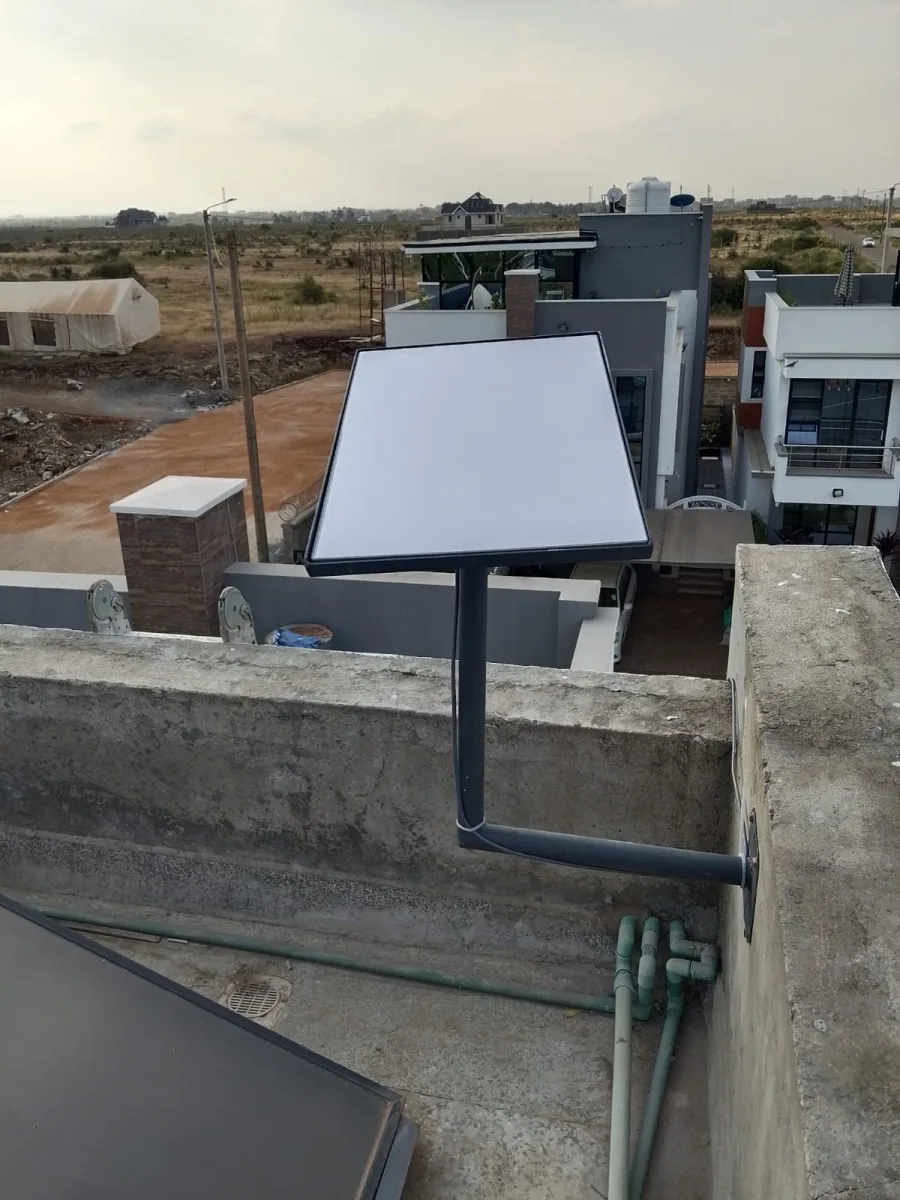
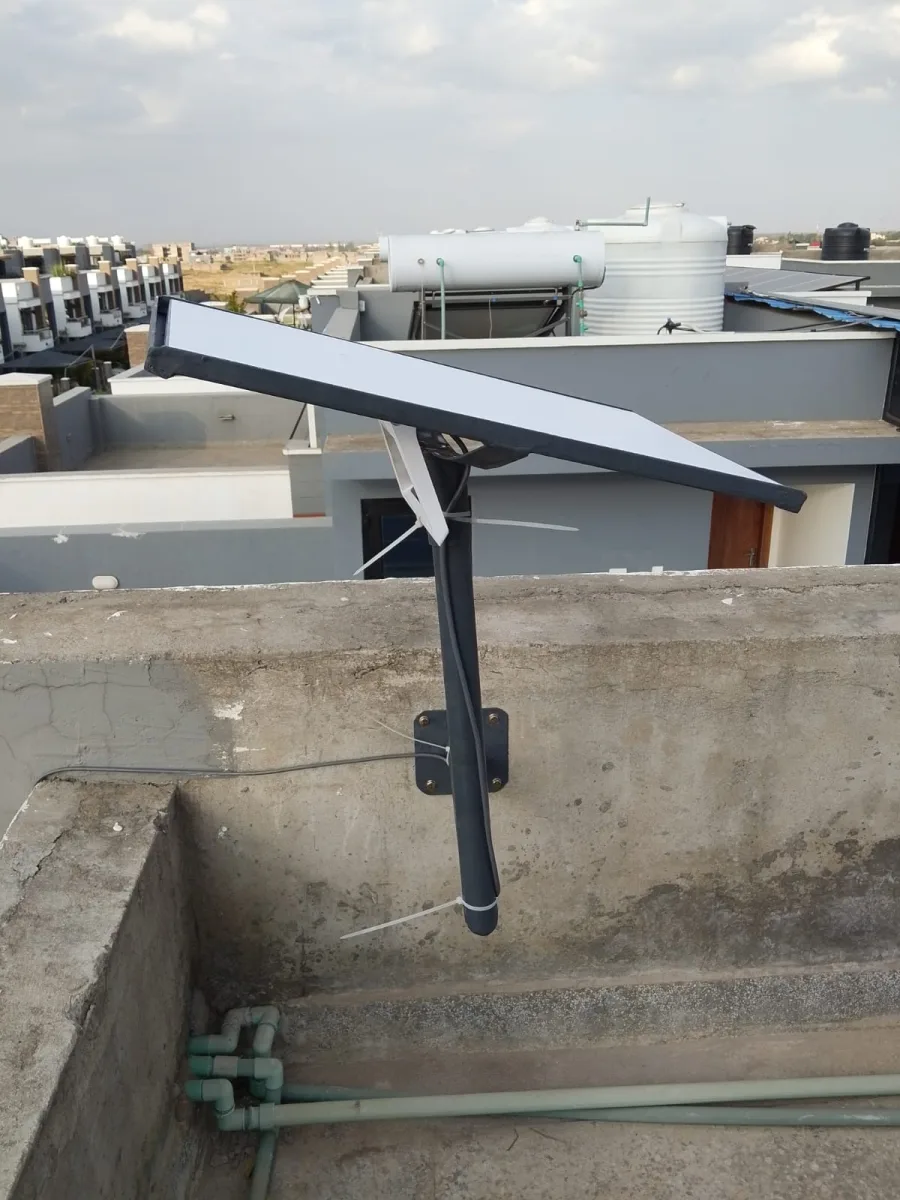
Poor cable routing is a common source of avoidable trouble. Check for tight bends, crushed sections, exposed joints, water entry, loose clips and places where doors or roofing sheets press on the cable. A cable should be protected from sharp edges and installed with a sensible drip loop where it enters a building.
Also inspect the mount. A dish that moves in wind, collects water around a connector or sits where branches strike it may develop intermittent faults. Correct installation protects performance and strengthens the customer’s documentation by showing that the equipment was used carefully.
6. Separate Wi-Fi Problems from Dish Problems
Slow internet inside one room does not automatically mean the Starlink kit is defective. Thick walls, long distances, interference, crowded channels and poorly positioned routers can reduce local Wi-Fi performance even while the satellite connection is healthy.
Test near the Starlink router and compare results with a wired or third-party network test where appropriate. For larger homes, schools, hotels and offices, a planned access-point system may solve coverage more effectively than replacing the dish. Read the SpaceKits guide to Starlink for schools in Kenya for an example of structured campus planning.
7. Protect Against Power Events
Voltage spikes, abrupt shutdowns and weak backup systems can affect routers and power supplies. Use appropriately rated surge protection and consider a UPS for locations with frequent outages. A backup device must be sized and installed correctly; an undersized unit may repeatedly drop the connection.
When reporting a fault, mention any blackout, lightning event, generator changeover or electrical work that happened before the symptoms began. Accurate context helps distinguish a product issue from site conditions. Never conceal physical damage because doing so can delay the correct repair.
8. Open an Official Support Request
Use the official support function in the Starlink app or the Starlink Support website. Choose the closest topic, explain the timeline, attach the evidence and keep the ticket number. Avoid publishing account numbers, private addresses or screenshots containing sensitive information on social media.
Reply to official questions promptly and follow only instructions shown through the authenticated account or verified Starlink channels. Be cautious of people who promise guaranteed approvals for a fee. SpaceKits can provide installation observations, photographs and network test results, but it does not control the manufacturer’s warranty process.
9. Prepare for Replacement or Repair Instructions
If Starlink authorizes a return or replacement, read the instructions carefully before disconnecting equipment. Confirm which components must be returned, how they should be packaged, the deadline, the delivery method and whether accessories remain on site.
Take photographs before packing and retain shipment evidence. Do not send unrelated customer-owned network equipment. When replacement hardware arrives, compare the items, inspect for shipping damage and complete setup through the account owner’s app. Test the connection before closing the support case.
10. Reinstall and Verify the System
After a replacement, mount the dish securely, protect the cable and allow the system time to update and stabilize. Use the app obstruction tool, run speed tests at appropriate times and verify Wi-Fi in the rooms that matter to the customer.
Document the final installation with photographs and a simple handover note. Record the date, equipment identifiers, router location, any third-party network settings and backup-power arrangement. This creates a useful maintenance history if another issue appears later.
When to Call SpaceKits
Call SpaceKits on 0725345345 when you need installation inspection, dish relocation, cable assessment, Wi-Fi planning or help documenting a technical symptom. The team can identify site problems that may be confused with faulty hardware and recommend practical improvements.
For account access, billing, transfer eligibility or warranty authorization, the customer should contact Starlink through official support. Keeping those responsibilities clear protects the customer and prevents an installer from making promises that only the manufacturer can decide.
Starlink Warranty Kenya Checklist
Before opening a ticket, confirm the owning account, purchase evidence, equipment identifiers, power condition, cable routing, obstruction status and exact error message. Capture photographs and app screenshots, then write a short timeline describing when the problem started and what changed.
After support responds, keep every instruction and shipment reference together. If equipment is replaced, update the installation record and test both the satellite link and the local Wi-Fi. A disciplined checklist makes Starlink Warranty Kenya support easier to manage and reduces repeated troubleshooting.
Document Performance Before and After Service
A useful maintenance record includes more than one speed-test screenshot. Record the app status, obstruction percentage, uptime symptoms, router placement and the devices used for testing. Run checks at comparable times and locations so the results can be interpreted fairly. A phone tested beside the router should not be compared directly with a laptop behind several concrete walls. Consistent test conditions help show whether a change came from the satellite connection, the local network or the user device.
After a repair, replacement or relocation, repeat the same tests and keep the results with the installation photographs. Check normal activities such as video meetings, cloud applications, learning platforms or payment systems rather than relying only on a peak download number. This creates a practical baseline for future support and helps the owner explain the business impact of any recurring fault.
Common Mistakes That Delay Support
One common mistake is opening several tickets for the same symptom without responding to the original conversation. Another is submitting an unclear photograph, omitting the error message or changing the installation while diagnosis is in progress. Customers should keep one organized timeline and tell support about every meaningful change. If the dish was moved, a cable replaced or a router factory-reset, include that fact.
Do not buy replacement parts from an unknown source simply because they look similar. Confirm compatibility with the exact hardware generation and official guidance. Avoid paying anyone who requests the account password or claims to unlock a guaranteed manufacturer replacement. The safest process keeps account control with the customer and uses traceable installation records, invoices and official support messages.
Planning for Business Continuity
Businesses, schools and hospitality sites should decide how work will continue if the connection is unavailable during diagnosis. A suitable backup may be a mobile connection, fibre link or second independent service configured through a compatible failover router. The design should be tested before an emergency, not improvised after the primary service stops. Critical devices should also have appropriate power backup and documented restart procedures.
Business continuity does not change warranty eligibility, but it reduces operational pressure and prevents rushed decisions. Keep administrator contact details, network diagrams and equipment records where an authorized manager can find them. SpaceKits can help plan resilient Wi-Fi and failover arrangements while the customer retains ownership of all service accounts and credentials.
Starlink Warranty Kenya Evidence Summary
Use this final evidence summary before contacting official support. Each item keeps the claim organized while helping an installer distinguish equipment problems from power, mounting, obstruction and local Wi-Fi faults.
- Starlink Warranty Kenya account check: confirm the current owner and the correct kit.
- Starlink Warranty Kenya purchase check: keep the order confirmation, invoice or retailer receipt.
- Starlink Warranty Kenya hardware check: photograph the dish, router, cable and power components.
- Starlink Warranty Kenya app check: record the exact status message and obstruction information.
- Starlink Warranty Kenya transfer check: verify that second-hand equipment was officially released.
- Starlink Warranty Kenya power check: document outages, lightning events and repeated restarts.
- Starlink Warranty Kenya cable check: inspect bends, connectors, weather exposure and water entry.
- Starlink Warranty Kenya Wi-Fi check: compare tests near the router with tests in distant rooms.
- Starlink Warranty Kenya timeline check: note when the problem started and what changed.
- Starlink Warranty Kenya support check: keep the official ticket and every response together.
- Starlink Warranty Kenya replacement check: photograph returned and received equipment.
Frequently Asked Questions
Does SpaceKits approve Starlink warranties?
No. Starlink makes warranty and replacement decisions through its official support system. SpaceKits can inspect an installation, document symptoms and help identify whether mounting, cable, power or Wi-Fi conditions may be contributing to the problem.
What evidence should I prepare?
Prepare the order or purchase record, equipment identifiers, photographs, app screenshots, dates, error messages and a concise list of safe troubleshooting steps. Do not share passwords or publish private account details.
Can a second-hand kit have warranty support?
Eligibility depends on the official terms and the status of the transferred equipment. Confirm that the transfer is complete and ask Starlink support using the current owner’s account rather than relying on the seller’s promise.
Should I open the router to inspect it?
No. Avoid opening sealed hardware or making irreversible changes. Start with external inspection, safe cable checks, app diagnostics and official support instructions.
What if only one room has slow internet?
That is often a local Wi-Fi coverage problem rather than a dish fault. Test close to the router, compare app results and consider a planned access-point or mesh network for larger buildings.
Can bad power look like hardware failure?
Yes. Repeated outages, voltage variation and weak changeovers can cause restarts or damage. Note electrical events and use suitable surge protection or backup power designed for the installation.
How long does a claim take?
Timelines vary with diagnosis, support workload, location and replacement availability. Providing complete evidence and replying promptly can reduce avoidable delays, but no installer should guarantee a particular timeframe.
Where can I learn more about SpaceKits services?
Visit the SpaceKits homepage for installation and network services, or call 0725345345 to discuss the site. For official product rules, use the authenticated Starlink support channel.
Conclusion
Starlink Warranty Kenya claims are easier to manage when the customer keeps accurate purchase records, photographs, app diagnostics and a clear timeline. Inspect mounting, cables, power and Wi-Fi before assuming the dish is defective, then use official Starlink support for the final decision.
For professional installation inspection, relocation and network planning, contact SpaceKits Kenya on 0725345345. The goal is a safe, well-documented system and a support request based on evidence.
Need Starlink Installation or Network Optimization?
We help homes, offices, apartments, and businesses with Starlink installation, WiFi coverage improvement, and professional setup in Kenya.
Request Installation Chat on WhatsApp