Need Starlink Installation or Network Optimization?
We help homes, offices, apartments, and businesses with Starlink installation, WiFi coverage improvement, and professional setup in Kenya.
Request Installation Chat on WhatsApp
⭐ Starlink Installation: A Complete Guide (2026)
If you’re looking for fast and reliable internet in areas where traditional connections are weak, Starlink is a top choice. But before you can enjoy high-speed satellite internet, you need to understand the Starlink installation process.
Talk to Spacekits
Need Starlink help for your home or business?
Talk to Spacekits before you buy or book installation. We help with kit supply, mounting, activation, router placement, WiFi coverage, and written quotes.
In this guide, we’ll walk you through everything from unboxing to setup, troubleshooting, and maintenance.
What Is Starlink Installation?
Starlink installation is the process of setting up your Starlink satellite internet kit at your home or business. This includes:
Installing the Starlink dish (also known as the Starlink terminal)
Connecting it to power
Configuring the network via the Starlink app
Testing speed and signal strength
The process is designed to be simple, but there are a few important steps you must follow to get the best performance.
What You Get in a Starlink Kit
A typical Starlink installation kit includes:
Starlink dish
Wi-Fi router
Power supply
Cables
Mounting hardware (optional depending on your package)
Step-by-Step Starlink Installation Guide
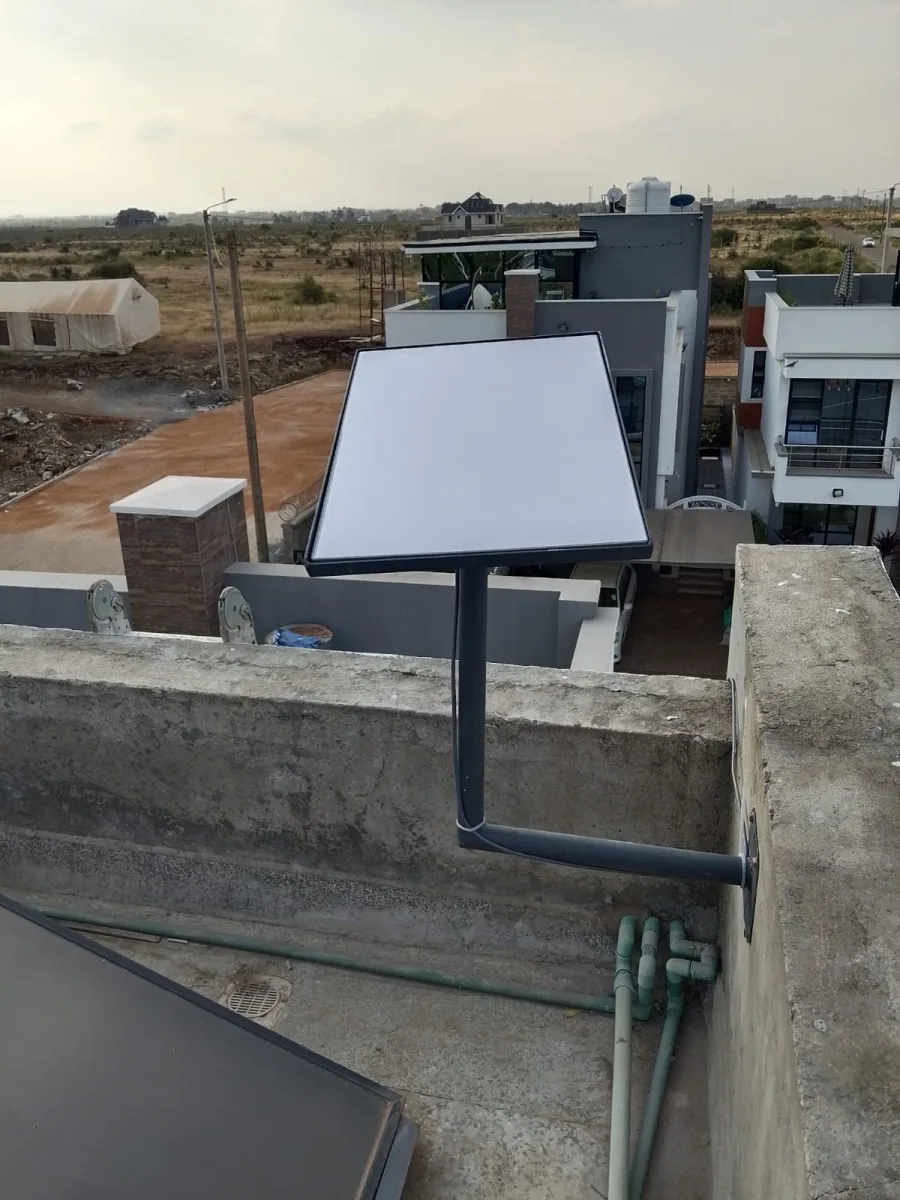
✅ Step 1: Choose the Best Location
The Starlink dish needs a clear view of the sky. Ideally, it should be placed:
On the roof
On a pole
In an open area free from trees and buildings
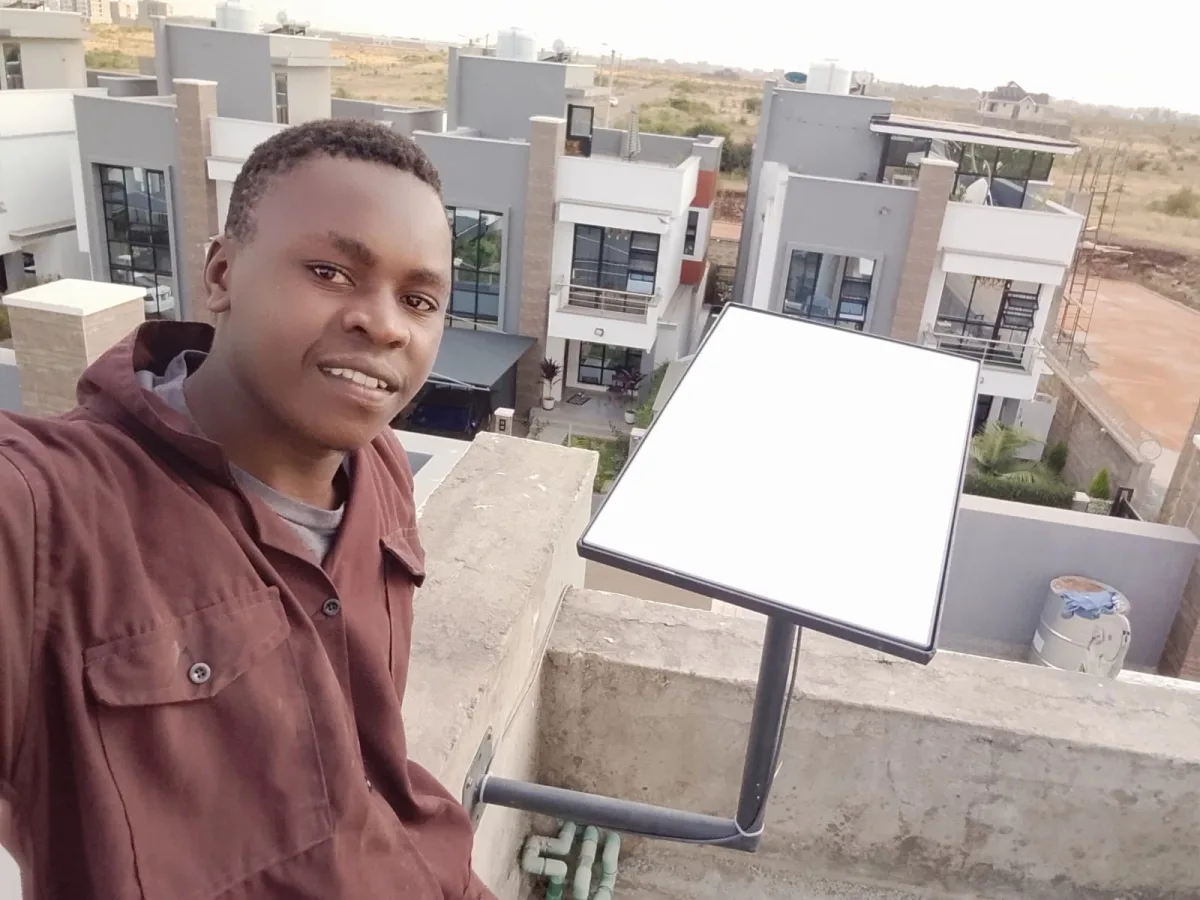
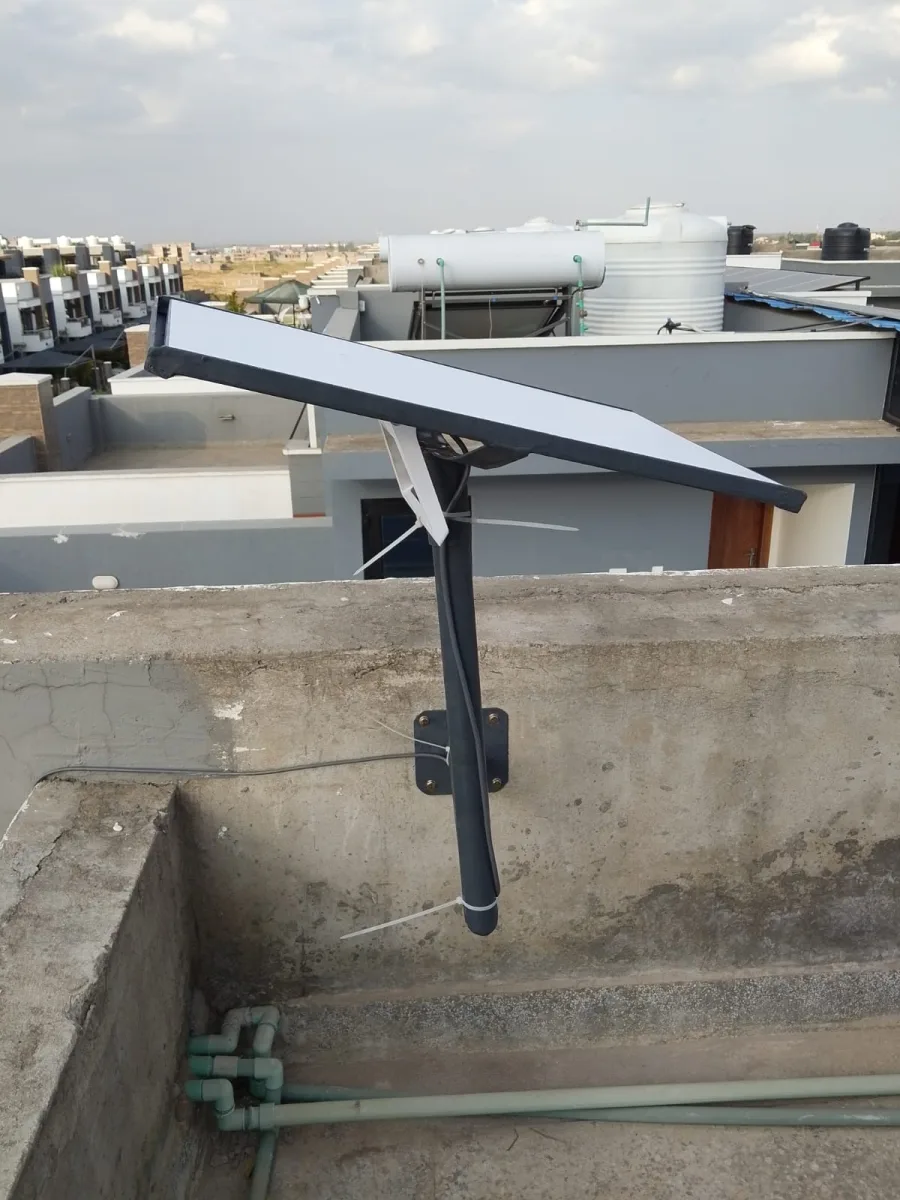
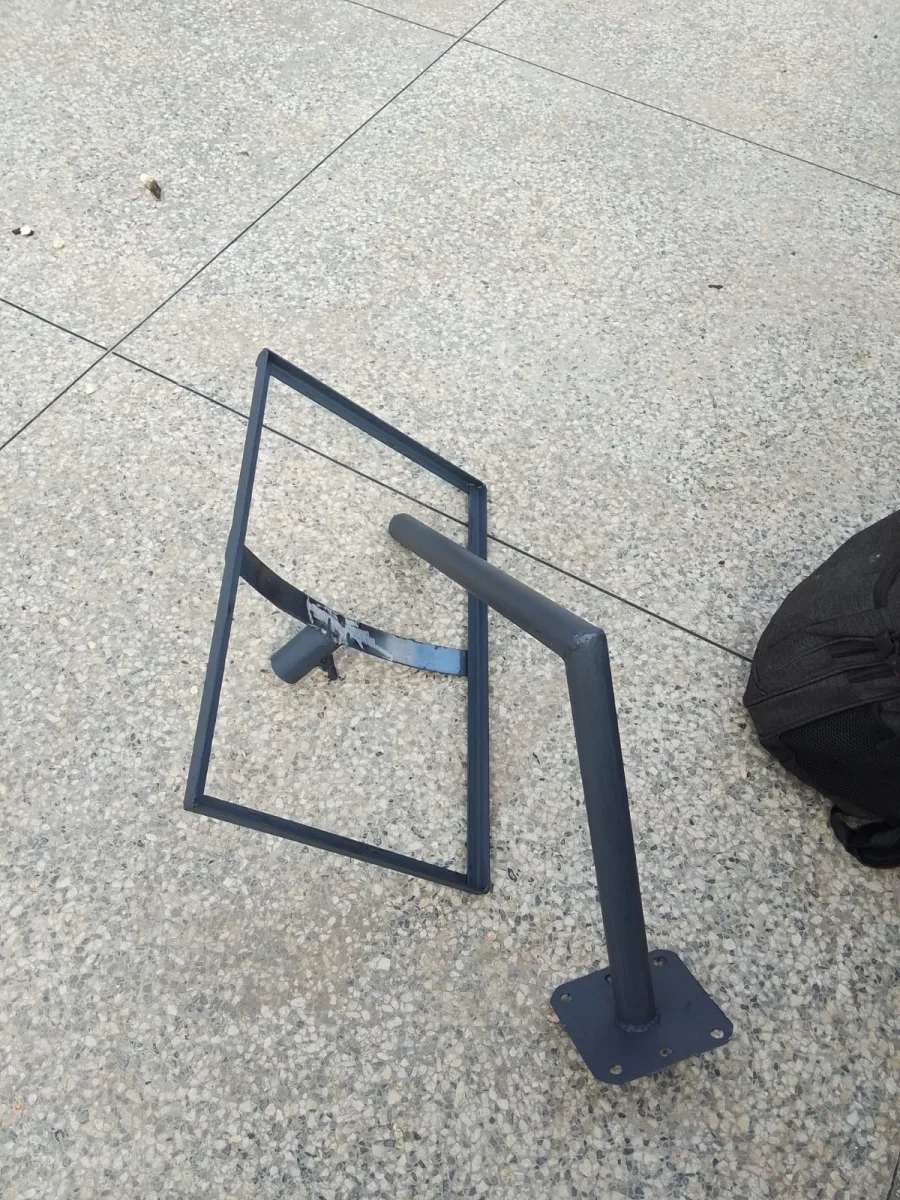
✅ Step 2: Mount the Dish
Use the included mount or a tripod. Make sure the dish has:
A stable surface
No obstructions
Minimal movement in strong wind
✅ Step 3: Connect the Power and Router
Plug the dish into the power supply and connect the router.
✅ Step 4: Download the Starlink App
The Starlink app is available on:
Android
iOS
The app guides you through the setup and helps you choose the best dish location.
✅ Step 5: Configure Your Network
Open the Starlink app and follow the prompts:
Create your Wi-Fi name
Set a password
Confirm location and signal
✅ Step 6: Test Your Connection
Run a speed test. Starlink speeds can vary, but you should expect:
Download speeds of 50–250 Mbps
Low latency
Stable performance in most areas
Best Practices for Starlink Installation
To ensure your Starlink setup performs well:
Avoid Obstructions
Trees, tall buildings, or roofs can block the signal.
Use a Stable Mount
The dish should not wobble or shake.
Consider a Higher Mount
The higher the dish, the better the signal.
Protect Against Weather
Wind and rain can affect performance. Ensure your mount is secure.
⚠️ Common Starlink Installation Problems (and Solutions)
❌ Problem: No Signal
Solution: Move the dish to a clearer location or higher elevation.
❌ Problem: Slow Speeds
Solution: Check for obstructions or ensure the dish is not shaded.
❌ Problem: Dish Keeps Rebooting
Solution: Confirm the power connection is stable and not damaged.
Starlink Installation Cost (2026)
The cost of Starlink installation varies based on:
Mount type (roof mount vs. pole mount)
Professional installation vs. DIY
Location accessibility
A typical DIY installation is affordable, but professional installation can add extra cost.
⭐ Benefits of Starlink Installation
Fast Internet in Remote Areas
Starlink is ideal for rural areas where fiber and cable internet are unavailable.
Reliable Connection
Satellite internet is less affected by local infrastructure issues.
Easy Setup
The installation process is simple and user-friendly.
Final Thoughts
Starlink installation is a straightforward process that brings high-speed internet to places where it was previously impossible. With the right location and setup, you can enjoy stable and fast internet in remote areas.
If you’re planning to install Starlink, follow the steps above to ensure a smooth setup and excellent performance.
⭐ Starlink Installation (Continued)
Starlink Installation: Advanced Setup Tips
If you want the best possible performance, here are advanced tips for your Starlink installation:
Use a High-Quality Mount
The mount you use affects stability and signal quality. Consider:
Roof mount
Pole mount
Tripod mount
A secure mount reduces movement and improves signal reliability.
Consider a Dedicated Power Backup
Starlink requires continuous power to work. If you live in an area with frequent outages, use:
UPS (Uninterruptible Power Supply)
Solar power backup
Ensure Good Cable Management
Keep cables away from heat, water, and sharp edges. This prevents damage and signal loss.
️ Weather & Starlink Installation
Starlink performs well in most weather conditions, but extreme weather can affect signal quality.
❄️ In Rain or Snow
Heavy rain or snow may temporarily reduce speed. To prevent snow buildup:
Use a heated mount
Install the dish at an angle
Ensure it has good airflow
In Strong Wind
Wind can cause the dish to shake if not mounted properly. Use:
A sturdy mount
Additional bracing if needed
Starlink Installation for Businesses
If you’re installing Starlink for a business, consider:
Multiple users
High data needs
Backup internet requirements
Businesses often need a more robust setup, such as:
Commercial-grade mounts
Higher elevation installation
Network optimization
Starlink Installation for Remote Areas
Starlink is ideal for remote areas like:
Farms
Wildlife camps
Rural homes
Coastal areas
The installation in such areas should prioritize:
Clear sky view
Secure mount
Backup power
Starlink Installation Checklist (Quick)
Use this checklist to ensure your Starlink installation is successful:
✅ Choose a clear sky location
✅ Secure the mount
✅ Connect the power supply
✅ Install the router
✅ Use the Starlink app to set up
✅ Test speed and signal
✅ Secure cables
✅ Perform final checks
❓ Starlink Installation FAQs (Frequently Asked Questions)
1. How long does Starlink installation take?
Most users can complete installation in 30–60 minutes, depending on the mount and location.
2. Do I need professional installation?
No. Starlink is designed for DIY setup. However, professional installation may be helpful if:
You need roof mounting
You want a permanent pole setup
Your location has challenging access
3. Can Starlink be installed indoors?
No. The dish must be installed outdoors with a clear view of the sky.
4. Is Starlink installation safe?
Yes, as long as you follow safety guidelines, especially when installing on roofs or poles.
5. Can Starlink be moved?
Yes, Starlink can be moved, but you may need to update your location in the Starlink app.
Final Summary
Starlink installation is a simple process that brings fast, reliable internet to remote areas. With the right setup, you can enjoy high-speed connectivity for home or business.
Need Starlink Installation or Network Optimization?
We help homes, offices, apartments, and businesses with Starlink installation, WiFi coverage improvement, and professional setup in Kenya.
Request Installation Chat on WhatsApp