
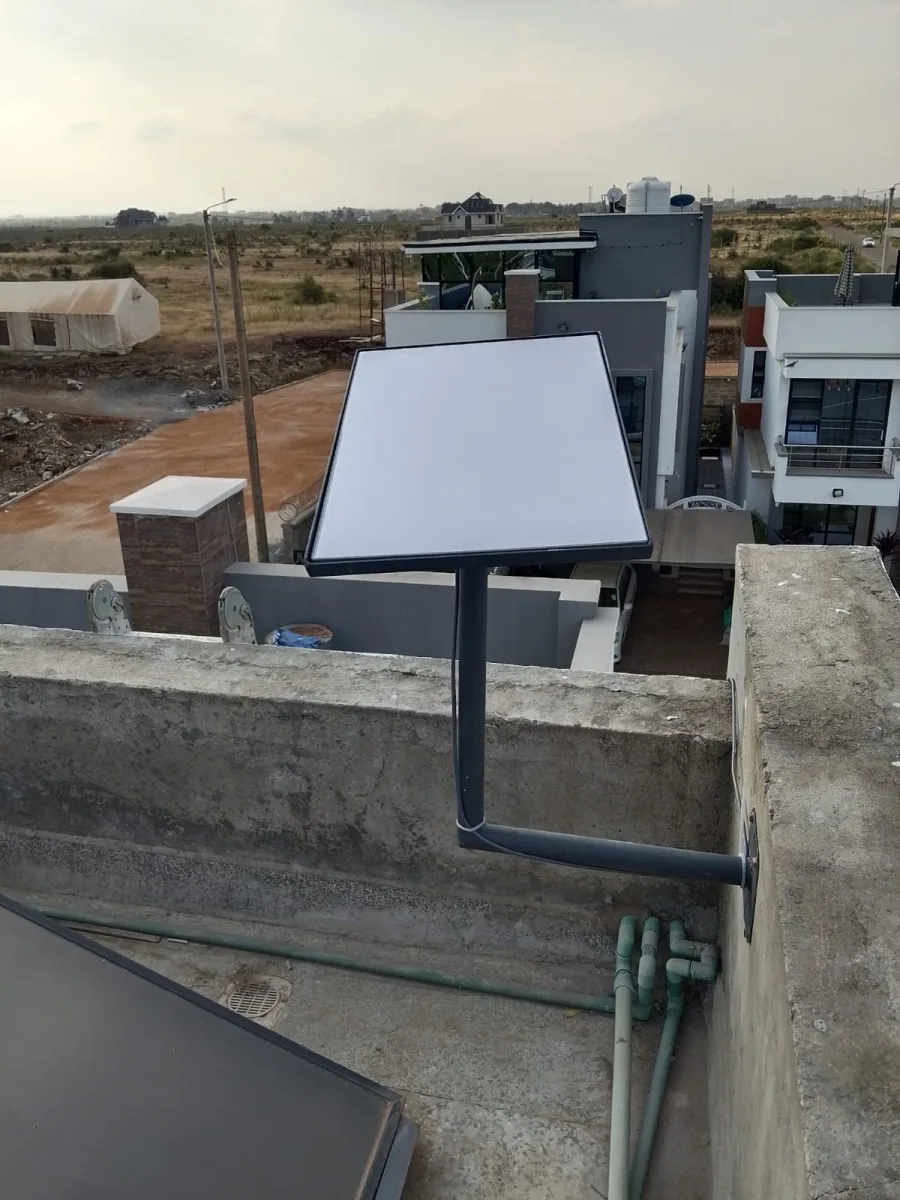
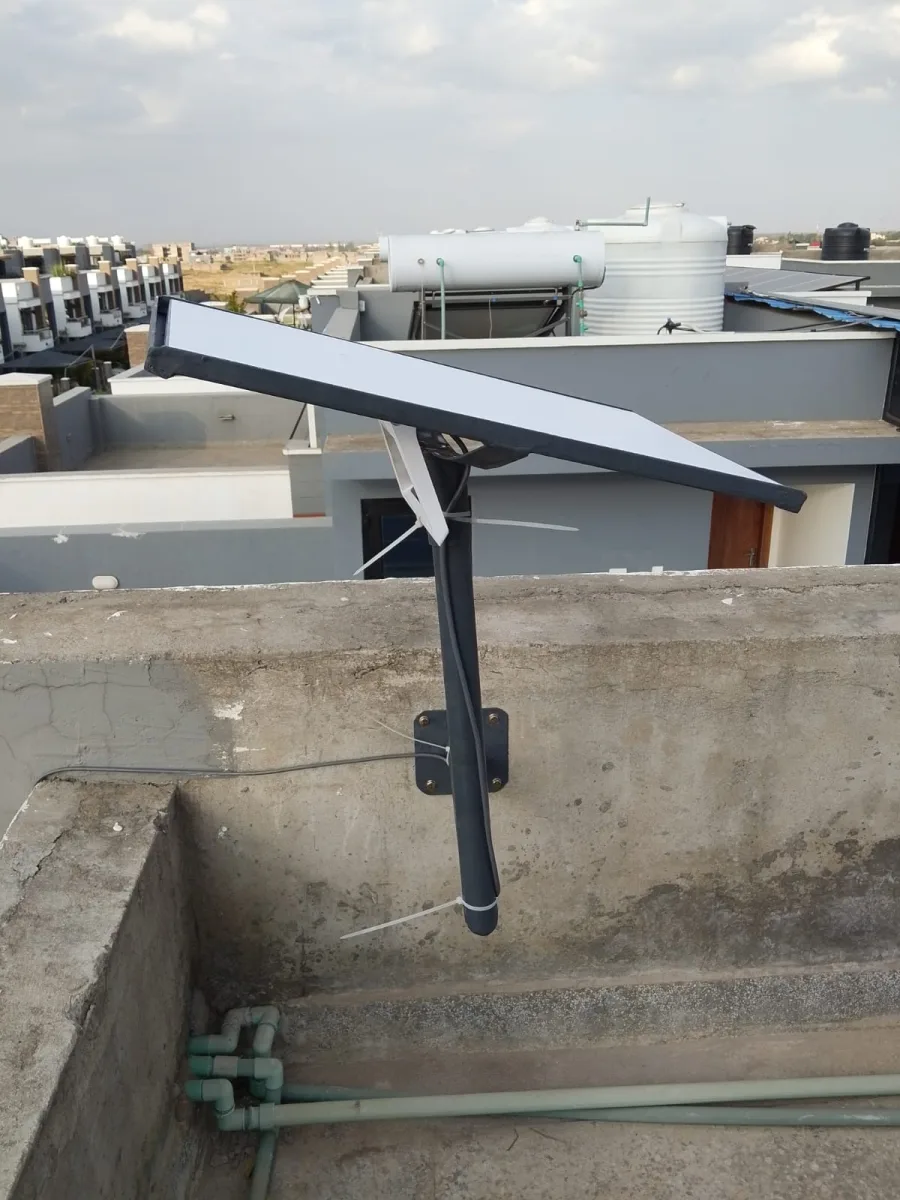
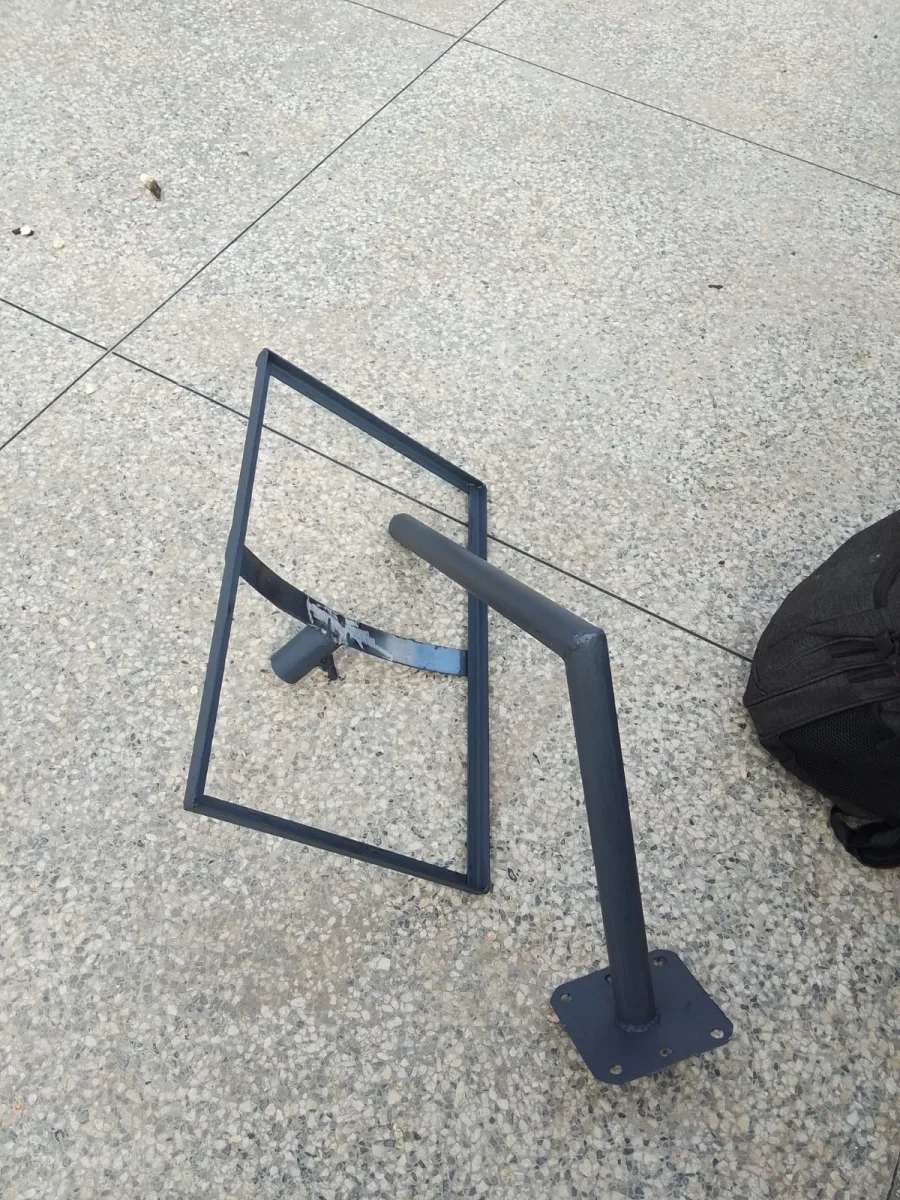
Need Starlink Installation or Network Optimization?
We help homes, offices, apartments, and businesses with Starlink installation, WiFi coverage improvement, and professional setup in Kenya.
Request Installation Chat on WhatsApp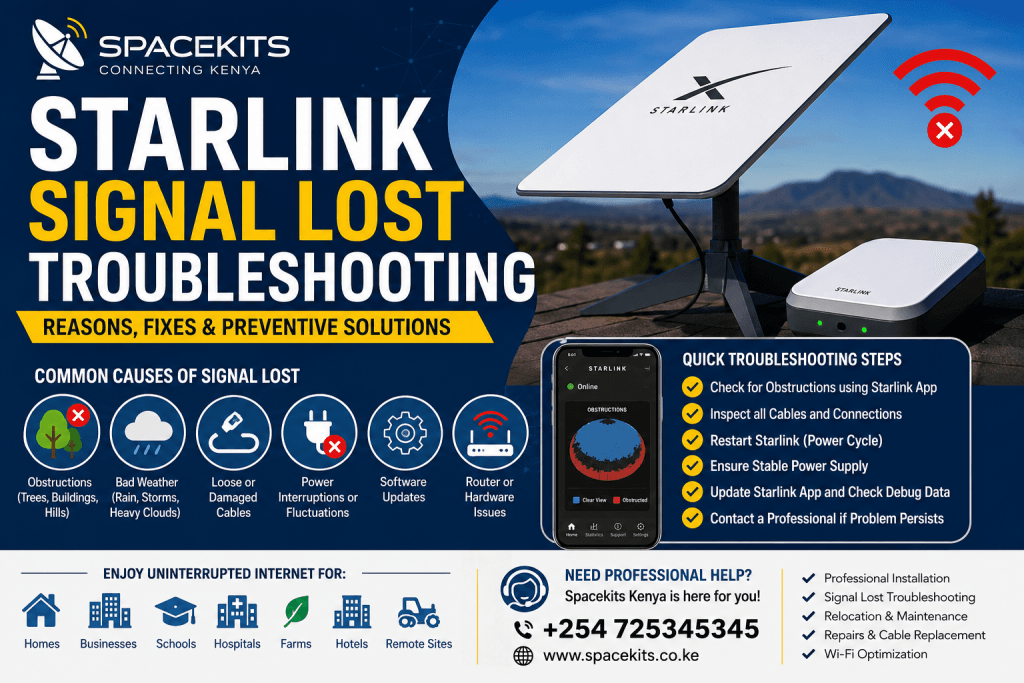
Starlink Signal Lost Troubleshooting: How to Restore Your Internet Quickly
Starlink has transformed internet connectivity in Kenya by providing reliable high-speed satellite internet to homes, businesses, schools, hospitals, farms, and remote locations where fiber and mobile networks are unavailable or unreliable. However, like every internet service, users occasionally experience one common issue—the Starlink Signal Lost error.
Talk to Spacekits
Need Starlink help for your home or business?
Talk to Spacekits before you buy or book installation. We help with kit supply, mounting, activation, router placement, WiFi coverage, and written quotes.
If you are searching for Starlink signal lost troubleshooting, you’ve come to the right place. Understanding why your Starlink system loses signal and how to restore connectivity can save you time, prevent unnecessary downtime, and keep your internet running smoothly.
At Spacekits Kenya, we specialize in professional Starlink installation, diagnostics, maintenance, relocation, and repairs throughout Kenya. Whether you recently installed your Starlink kit or have been using it for months, this comprehensive guide will help you understand the causes of signal loss and the best solutions available.
For professional Starlink support, call +254 725345345 or visit spacekits.co.ke.
What Does “Starlink Signal Lost” Mean?
The Starlink Signal Lost notification appears when your Starlink dish temporarily cannot communicate with the Starlink satellite network. During this period, your internet connection pauses until communication is restored.
The duration may range from:
- A few seconds
- Several minutes
- Longer periods if there is a serious installation or hardware problem
Many users immediately assume the Starlink hardware is faulty. Fortunately, this is rarely the case.
Most Starlink signal lost troubleshooting situations involve one or more of the following:
- Obstructions blocking the dish
- Poor installation
- Loose cables
- Temporary satellite switching
- Weather interference
- Power interruptions
- Software updates
- Router problems
Understanding these possibilities is the first step toward solving the issue.
Why Starlink Signal Matters
Unlike traditional internet services that rely on underground fiber or cellular towers, Starlink communicates directly with satellites moving rapidly across the sky.
Your dish automatically tracks these satellites and switches between them continuously.
This process requires:
- A completely unobstructed sky
- Stable electrical power
- Proper dish positioning
- Secure cable connections
- Healthy networking equipment
Any interruption can produce the dreaded Signal Lost notification.
Common Causes of Starlink Signal Lost
Understanding the root cause makes Starlink signal lost troubleshooting much easier.
1. Obstructions
This is the number one reason for signal interruptions.
Common obstructions include:
- Trees
- Tall buildings
- Electric poles
- Water tanks
- Hills
- Roof extensions
- Billboards
- Construction cranes
Even partial obstruction may interrupt communication.
The Starlink dish requires a very wide field of view.
2. Poor Installation
Incorrect installation creates numerous connectivity problems.
Examples include:
- Dish mounted too low
- Dish tilted incorrectly
- Dish installed beneath tree branches
- Weak mounting pole
- Loose mounting brackets
- Incorrect cable routing
Professional installation greatly reduces these problems.
3. Bad Weather
Although Starlink performs remarkably well in rain, severe weather can still affect performance.
Heavy:
- Rain
- Thunderstorms
- Dense clouds
- Hail
- Strong winds
may temporarily interrupt satellite communication.
Fortunately, service usually returns automatically.
4. Loose Starlink Cable
Many users accidentally loosen the proprietary Starlink cable while cleaning, relocating furniture, or moving equipment.
A partially connected cable can cause:
- Frequent disconnections
- Random signal loss
- Router restarting
- Slow speeds
- Offline notifications
5. Power Problems
Starlink requires stable electrical power.
Common power issues include:
- Power outages
- Voltage fluctuations
- Faulty extension cables
- Poor-quality surge protectors
- Loose wall sockets
These interruptions often appear as repeated signal loss.
6. Software Updates
Starlink automatically updates its firmware.
During updates you may notice:
- Temporary offline status
- Signal interruptions
- Reboot cycles
This is completely normal.
7. Hardware Damage
Physical damage may occur from:
- Lightning
- Falling branches
- Animals
- Rodents chewing cables
- Water ingress
- Improper handling
Professional inspection is recommended.
Signs You Need Starlink Signal Lost Troubleshooting
You may notice one or more of these symptoms:
- Internet disconnects repeatedly
- Video calls freeze
- Netflix buffers
- Websites stop loading
- Gaming disconnects
- Smart TVs lose connection
- Wi-Fi remains connected but internet disappears
- Starlink App reports “Signal Lost”
- Frequent reconnecting
Ignoring these signs often allows the problem to worsen.
How the Starlink App Helps
The Starlink App is your first troubleshooting tool.
It provides useful diagnostics including:
- Obstruction detection
- Network status
- Connection quality
- Cable health
- Router information
- Download speeds
- Upload speeds
- Latency statistics
Checking the app before making hardware changes can save time.
Step 1: Check for Obstructions
During Starlink signal lost troubleshooting, always begin with obstructions.
Open the Starlink App.
Navigate to:
Settings → Obstructions
If red areas appear on the obstruction map, something is blocking satellite visibility.
Common solutions include:
- Trim nearby trees
- Raise the mounting pole
- Move the dish
- Install on the roof
- Install on a tower
Even a small branch can create recurring interruptions.
Step 2: Inspect the Dish
Carefully inspect the Starlink dish.
Look for:
- Dirt
- Bird droppings
- Leaves
- Snow (where applicable)
- Physical damage
- Loose mounting bolts
A damaged dish may require professional replacement.
Step 3: Inspect the Cable
The Starlink cable should be checked carefully.
Look for:
- Cuts
- Pinches
- Sharp bends
- Animal bites
- Loose connectors
- Water damage
If damaged, replace the cable immediately.
Step 4: Restart the System
Many temporary issues disappear after restarting.
Power off:
- Router
- Starlink power supply
Wait approximately two minutes.
Reconnect power.
Allow several minutes for the dish to reconnect with satellites.
Step 5: Check Wi-Fi
Sometimes the issue isn’t satellite communication.
Instead, the Wi-Fi network itself has problems.
Verify:
- Wi-Fi signal strength
- Router placement
- Device compatibility
- Number of connected devices
A weak Wi-Fi signal can resemble internet outages.
Step 6: Verify Power Supply
Ensure:
- Power adapter is securely connected.
- Wall outlet functions correctly.
- Extension cables are in good condition.
- UPS or inverter operates normally.
- No breaker has tripped.
Power instability often causes repeated reboots that users mistake for satellite issues.
How Trees Affect Starlink Performance
Trees remain the leading cause of signal loss in Kenya.
The Starlink dish continuously changes satellite connections.
Unlike traditional satellite TV, it does not point permanently toward one satellite.
As satellites move overhead, tree branches may block different sections of the sky.
This creates intermittent outages.
Professional installers use the Starlink obstruction scanner before selecting the mounting location.
Why Professional Installation Matters
DIY installation can work well in ideal conditions, but many long-term connectivity issues stem from poor placement.
Professional installers evaluate:
- Sky visibility
- Roof strength
- Cable routing
- Wind resistance
- Lightning protection
- Future tree growth
- Safety requirements
Proper installation significantly reduces the need for future Starlink signal lost troubleshooting.
Starlink Signal Lost During Rain
One frequently asked question is:
Why does Starlink lose signal when it rains?
Although Starlink is designed for adverse weather, very heavy rainfall can weaken the radio signals traveling between satellites and your dish. This phenomenon, known as rain fade, is generally short-lived.
If your connection only drops during severe storms and recovers afterward, your equipment is likely functioning normally.
However, if rain causes prolonged outages, it may indicate another issue such as poor alignment, partial obstructions, loose cables, or water-damaged connectors that become more problematic when wet.
Signal Lost Every Few Minutes
If you experience a Signal Lost message every few minutes, the issue is often related to one of these:
- Partial obstructions from trees or nearby structures.
- An unstable mounting point that shifts in the wind.
- Loose or damaged Starlink cables.
- Intermittent power supply issues.
- A failing router or power adapter.
These recurring interruptions should not be ignored, as they can worsen over time and affect video conferencing, online gaming, security cameras, and business operations.
Need Starlink Installation or Network Optimization?
We help homes, offices, apartments, and businesses with Starlink installation, WiFi coverage improvement, and professional setup in Kenya.
Request Installation Chat on WhatsApp