
Need Starlink Installation or Network Optimization?
We help homes, offices, apartments, and businesses with Starlink installation, WiFi coverage improvement, and professional setup in Kenya.
Request Installation Chat on WhatsAppSite preparation for Starlink installation in Kenya starts before the technician arrives. Your mounting position, roof access, power supply and indoor coverage needs all affect the work required. Preparing these details early helps you request a useful quote and avoids discovering missing requirements halfway through installation.
Talk to Spacekits
Need Starlink help for your home or business?
Talk to Spacekits before you buy or book installation. We help with kit supply, mounting, activation, router placement, WiFi coverage, and written quotes.
Spacekits offers Starlink installation services in Kenya, including mounting, cable routing, activation support and testing. Whether you already have a kit or need help sourcing one, use the checklist below to explain your site and agree on the work before booking.
1. Describe the property and daily internet use
Share your town, estate and building type. A single-storey home, apartment block and rural compound can need different mounting and cable arrangements. Mention where you make video calls, work online or use connected equipment. A rough room sketch is often more useful than saying you need coverage everywhere.
For business premises, identify the work that depends on connectivity. A team using Zama web portals and business systems, for example, should include its reception desk and staff workstations in the coverage discussion. This describes a planning need, not an integration between providers.
2. Agree on access and the mounting position
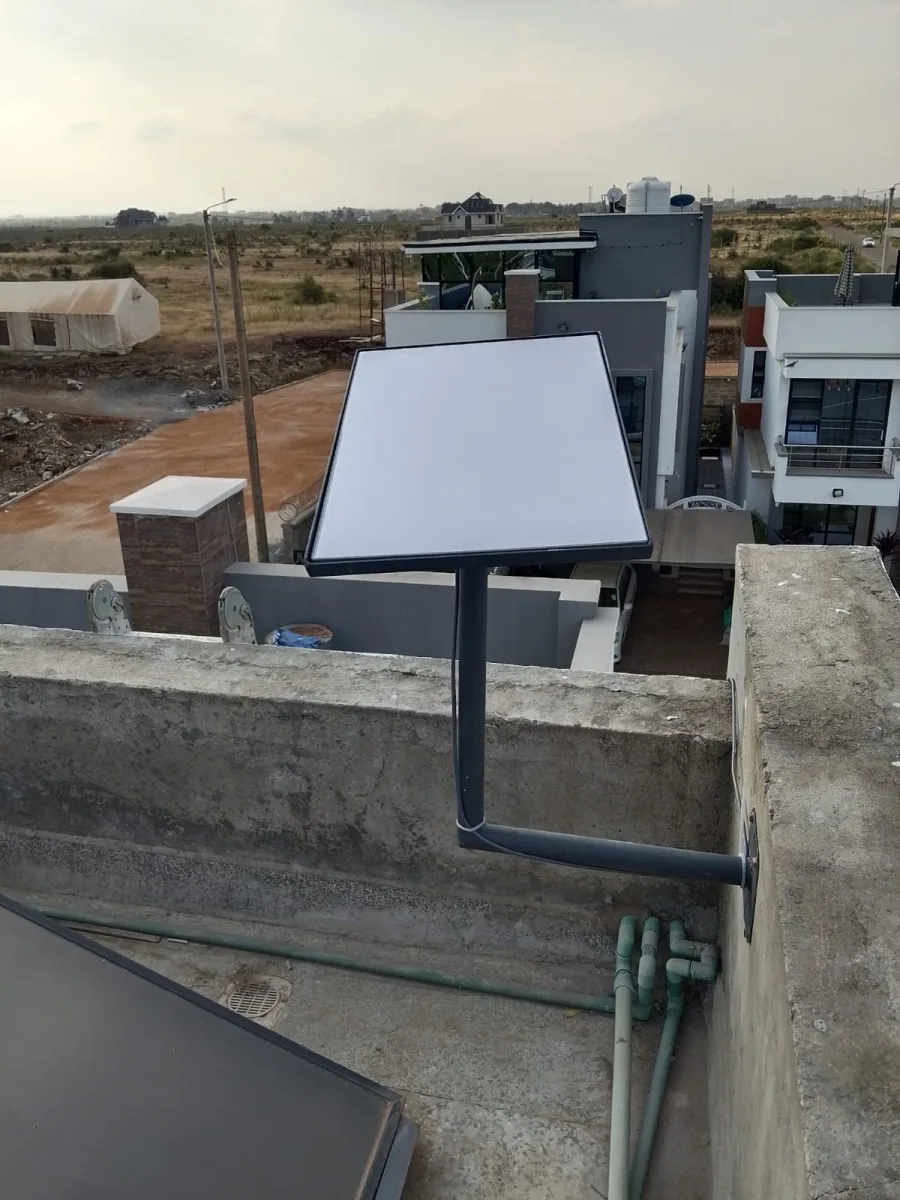
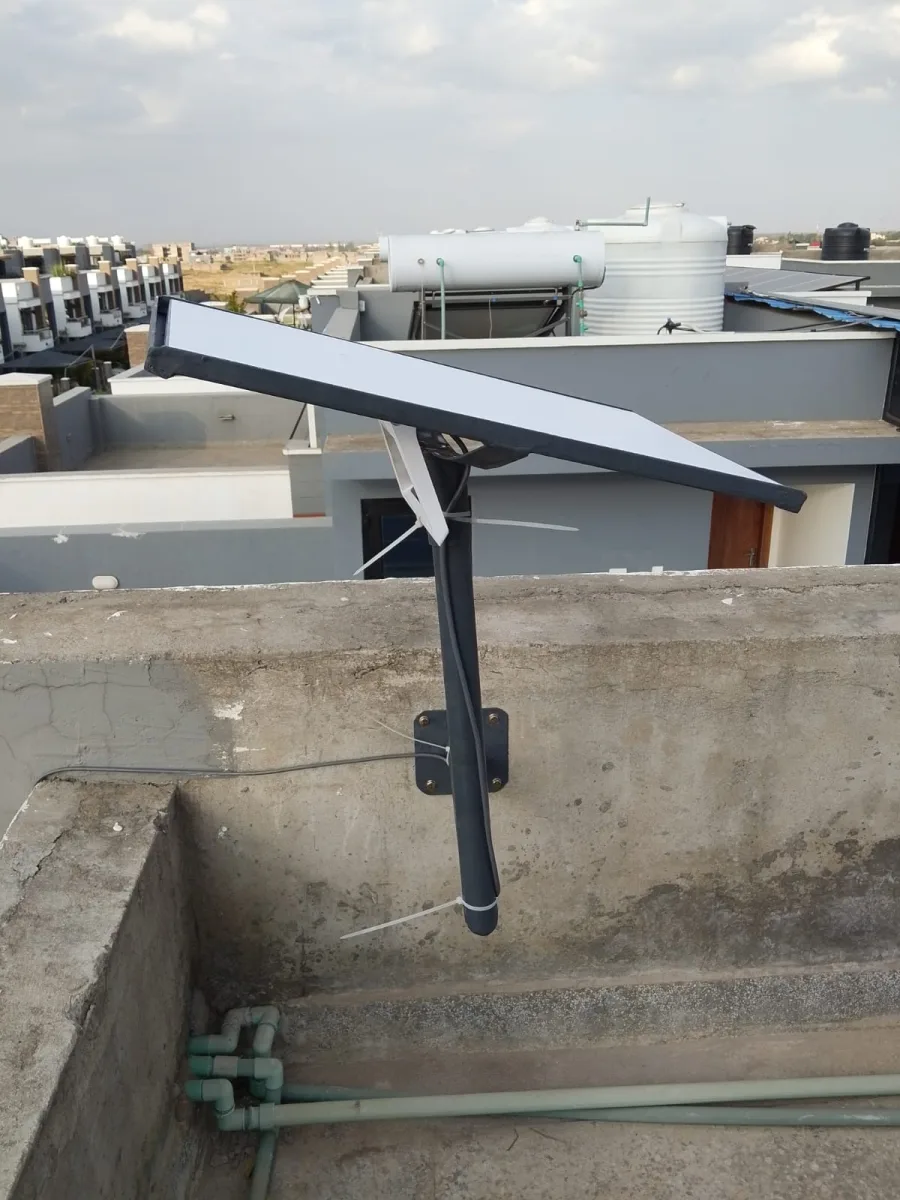
Tell the installer about nearby trees, taller buildings and any restrictions on accessing the roof. Arrange building-management permission where needed. Let the technician assess the mounting point; a convenient wall position may not provide the view or stability the equipment needs.
Also agree on when the installer can enter the compound and which person will provide access. For managed buildings, confirming these details in advance can prevent a wasted visit.
3. Plan the cable route and router location
Choose the rooms where reliable coverage matters most and discuss the route between the outdoor equipment and indoor router. Ask how entry points will be finished and where cables will be secured. Avoid choosing a hidden router location solely because it looks tidy.
If your premises include several rooms or detached buildings, review Spacekits Wi-Fi extension and mesh setup before assuming the main router will cover the whole property.
4. Agree on the handover checks
- Confirm that the installed equipment is working.
- Test the connection in the rooms you identified.
- Check who controls the service account and billing.
- Record the support contact and any remaining coverage work.
Can Spacekits install a kit I already own?
Yes. Spacekits advertises installation for customer-owned kits. Share the kit model, what parts you have and whether the account is active when requesting a quote.
1. Start site preparation with one clear property brief
Write down the location, building type, kit status and intended use. Explain whether the property is a home, office, lodge or another type of premises. Include the rooms where people normally work and any separate building that should form part of the coverage discussion.
Good site preparation gives the installer a consistent starting description. If different staff members answer questions, keep the same brief available to all of them. This reduces the chance that one person requests whole-property coverage while another discusses only the main office.
Separate essential requirements from optional improvements. A reception desk needed for daily work may be a priority, while a rarely used outdoor area could be a later stage. The provider can then explain a proposal in relation to the actual requirement and budget discussion.
2. Site preparation: confirm existing equipment
If you own a kit, list the model details and the components you have. Explain whether it has been used before and whether the relevant account is active. Share the information needed for the provider to assess installation requirements without sending private account credentials in an ordinary enquiry.
Use site preparation to identify missing information early. If you are unsure which parts belong to the kit, ask what details or photographs the provider needs. Do not assume that a mounting accessory or older networking device will suit the planned arrangement without checking.
If you need equipment supplied, request a proposal that identifies the included kit and accessories. Keep hardware and installation work distinguishable in the written scope. This helps you understand what will arrive and what the technician is expected to do during the visit.
3. Site preparation: arrange access and decisions
Confirm how the installer will enter the property and who will be available to provide access. Explain any sign-in process, working-hour restriction or room that needs separate permission. These practical details can affect the visit even when the equipment itself is ready.
Site preparation should identify who can approve a change to the agreed work. The person opening the gate may not be authorised to decide on a new cable route or extra equipment. Keep the responsible contact available so an unexpected question can be resolved clearly.
For managed buildings, confirm the required permissions before the appointment. Ask the property manager about access and any conditions on the work. An installation quote does not itself establish permission to fix equipment to a shared structure or enter a restricted area.
4. Let the installer assess the mounting requirement
Describe nearby trees, taller buildings and any limits on the positions available for equipment. Provide the requested site information from safe, accessible locations. Let the technician assess a suitable arrangement rather than choosing a position only because it looks convenient or hides the equipment.
During site preparation, identify questions that require an actual visit. A remote discussion may help organise the work without settling every detail of the mounting position. Record the assumptions in the estimate so both parties understand what remains subject to assessment.
Keep roof access and specialist work with the appropriate provider. You do not need to climb or make physical changes in order to prepare a useful brief. Clear information about the building and access is the customer’s starting contribution to the assessment.
5. Discuss the cable route before work begins
Explain where the main indoor equipment may be placed and which spaces the cable could pass through. Mention areas that should remain clear, visible finishing concerns and any building-management conditions. Ask the installer to explain the proposed route as part of the scope discussion.
Site preparation should include how entry points and visible runs will be finished. If the route cannot be confirmed until the technician attends, note that clearly. A shared understanding of the intended work prevents the indoor result from becoming an afterthought.
Keep the route discussion connected to the rooms that matter. A convenient equipment position may not align with your working areas or practical access needs. Discuss these priorities with the installer before treating one location as final.
6. Include room coverage in site preparation
Make a list of priority rooms and the ordinary activities carried out there. Include workstations, reception, guest rooms or an upstairs office where relevant. Mark detached buildings separately so the provider does not assume they are covered by a discussion of the main house.
A site preparation checklist should ask what coverage work is included in the proposal. Confirm whether additional indoor equipment is being considered, where it would sit and what area it is intended to serve. Avoid assuming that one router will answer every requirement across a large property.
Read the Wi-Fi coverage guide if an existing setup has weak areas. Share what happens, where it happens and which devices are affected. A specific problem list helps the provider assess the relevant rooms.
7. Describe normal use and power requirements
Explain which activities are likely to happen at the same time. A quiet household, an occupied lodge and a busy reception area can present different practical requirements. Describe the work rather than asking for an undefined maximum level of performance.
During site preparation, identify any requirement for backup power and ask the provider to discuss it separately. The conversation should account for the equipment actually included in the proposed arrangement. Do not assume that one backup device supports every part of a larger network.
Keep the limits of any proposal clear. A discussion of backup arrangements is not a guarantee that every interruption will be covered. Ask for the intended use, assumptions and normal instructions to be explained in terms the responsible user can understand.
8. Compare the quote with the prepared brief
Read the proposal against the property information and priority-room list you supplied. Check the equipment, mounting, cable work, coverage work and completion tests. Ask the provider to identify exclusions, optional items and anything awaiting further assessment.
Use site preparation to make costs easier to understand. Separate the initial equipment and installation amount from ongoing service and optional upgrades. Confirm current details directly with the provider instead of assuming an older advertised figure applies to your property.
The Starlink package comparison guide provides a useful worksheet approach. Send the same brief when comparing proposals so differences reflect the offers rather than different requirements supplied to each company.
9. Prepare the people who will use the setup
Identify who manages routine use, who handles account questions and who should contact support. For a business, include the colleague responsible for the day-to-day workstations. For a household, make sure the person attending the visit knows the rooms and activities that matter.
Site preparation should include an absence plan. Another authorised person should be able to find the support contact and the installation note if the usual contact is away. This keeps ordinary questions from depending on one person’s memory.
Ask what information will be provided at handover. Equipment details, room-test notes and unresolved items should be understandable to the person taking responsibility. Keep administrative account information separate from general instructions shared with other users.
10. Agree on the completion checks
Before the visit, name the locations and ordinary tasks that will be checked when the work is finished. A successful result beside the main router may not demonstrate coverage in every priority room. Keep the acceptance discussion connected to what the scope actually includes.
A practical site preparation plan ends with an understandable handover. Record what was installed, which rooms were tested and what remains outstanding. Ask the technician to explain relevant equipment positions from a safe location and keep the supplied documents together.
Use the installation handover checklist to organise that review. It connects the original brief to the finished work and provides a useful starting record for future support or a later coverage extension.
A site preparation example for a small office
Imagine an office with reception, a meeting room and an upstairs workstation. The manager lists these as essential locations and identifies the normal online activities in each. A storeroom is excluded, while an outdoor staff area is recorded as a possible later improvement.
The site preparation brief identifies the person who can provide building access and the manager who can approve a change. It also records whether a kit is already available and asks the installer to assess the mounting and cable route. Unconfirmed details remain questions rather than assumptions.
When the quote arrives, the manager checks that the priority rooms and agreed tests appear in the scope. After installation, the same list is used for review. This example shows how a short written brief can support the whole process without prescribing the same equipment for every property.
Frequently asked questions about site preparation
What if the mounting position is not yet known?
Explain the property layout and access restrictions, then ask which details can be assessed remotely and which need a visit. Keep the final position subject to the provider’s assessment. Site preparation is about making the necessary information available, not guessing a technical decision in advance.
Do I need to buy extra coverage equipment first?
Describe the rooms and intended use before buying additional items. Ask the installer which equipment is appropriate to the proposed design and which existing items can be retained. This reduces the risk of purchasing something that does not fit the actual requirement.
Can installation proceed if I cannot attend?
Arrange a responsible contact who understands the brief and can provide the agreed access. Make sure decisions outside their authority can reach the appropriate person. Request a clear handover record so you can review what was completed and what remains open.
What should I prepare for a lodge?
Include rooms, cottages, reception and common areas in the requirement list. Explain occupancy patterns and access restrictions. The guest Wi-Fi planning guide helps organise those hospitality-specific questions alongside ordinary site preparation.
Does a prepared brief guarantee installation can be completed immediately?
No. The provider may identify additional assessment or work after reviewing the actual property. A good brief makes that discussion more focused, but it does not remove the need for a site-specific decision. Confirm scheduling and current availability directly.
Keep the site preparation record useful after booking
Update the brief if the property arrangement or intended use changes before the visit. Tell the provider about a new room requirement, changed access condition or different kit status. An outdated brief can produce an avoidable mismatch between the planned work and what is now needed.
Keep changes in one clear record. If several people communicate with the installer, identify the current version and responsible contact. Site preparation remains most useful when everyone is working from the same information and unresolved questions are visible.
Before the appointment, confirm access and review the scope once more. After the work, keep the brief with the completion note and invoice. That small collection of records explains what was requested, what was agreed and what was actually delivered.
A concise site preparation enquiry you can adapt
Begin with the town and property type, then explain whether you already own the kit. Name the rooms that need coverage and describe the ordinary activity in each. Include any detached building explicitly so the provider understands the full requirement from the first discussion.
For site preparation, the next part of the enquiry should identify practical access. State who can attend, whether building approval is required and when the relevant rooms can be entered. Ask the provider which further information is needed before a reliable scope can be prepared.
Finish the enquiry by requesting a written breakdown of equipment, installation work, optional coverage improvements and completion checks. Ask which details remain subject to assessment. This gives you a focused response to compare with the site preparation checklist instead of an unexplained headline amount.
Review the answer before confirming the appointment
Check whether the provider has answered the questions about access, supplied equipment and priority rooms. If something is unclear, resolve it while the visit is being organised. Keep the answer in the same record as the brief so the person attending can find it easily.
Site preparation does not need a complicated document. A concise, current brief with clear questions is enough to improve the conversation. The important feature is that it reflects the actual property and distinguishes confirmed information from a point still awaiting review.
Return to the site preparation record whenever the requirement changes. A newly occupied room or a different building contact can affect the planned visit. Updating the brief promptly keeps the installation discussion practical and gives both parties the same basis for the final handover.
Book your installation assessment
Check the installation coverage areas, then call 0725345345 or WhatsApp Spacekits with your location, kit status and preferred date. Spacekits is an independent provider, not an official representative of Starlink or SpaceX.
Need Starlink Installation or Network Optimization?
We help homes, offices, apartments, and businesses with Starlink installation, WiFi coverage improvement, and professional setup in Kenya.
Request Installation Chat on WhatsApp